


Chapter 6 6-27
Removing and Replacing Parts
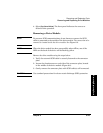
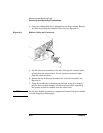
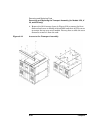
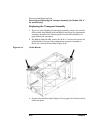
Removing and Replacing Drive Modules
Errors and Troubleshooting
Removing/Replacing Parts
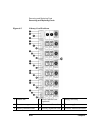
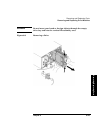
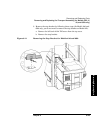
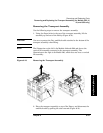
7. Holding the connector plate in place, tighten the thumbscrews on
each side of the connector.
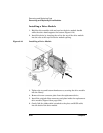
Bringing the Drive Online
Bring the new drive module online using the front panel display by
following these steps:
1. Enter the
Service or Administration menu then the Online Drive Repair
menus.
2. Select the drive module that has been replaced or installed, and press
[OK].
3. Select
[Put Drive Online].
4. If you have increased the number of drives since the last power cycle
or if you downloaded new drive firmware, you must power cycle the
library.
The library will automatically run a self test when the drive has been
brought online.
When the drive is successfully brought online, the new drive will adopt
the SCSI ID of the current drive position. The library will also confirm
the new drive is online in the
Service/Online Drive Repair menu.
NOTE If the new drive module has a different firmware revision than the drives
already in the library, the library will go into a partial availability state.
When this occurs, the front panel will display
Partly Available, and the
illuminated LED beneath the front panel display will be solid amber. This
is not an indication of a failure, but may be an indication to download
firmware. (See “Upgrading Firmware” on page 6-68.)
NOTE You may need to use the host backup software to recognize the new drive
when bringing it online. If the software does not have the capability to
automatically detect the new drive, you may need to reboot the host.