


115
Controlling the AR-3000R Using MIDI Signals (MIDI Control)
Applications
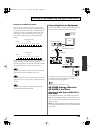
Selecting the Sync Source (INTERNAL or MTC)
This sets the Sync Source to “MTC.”
INTERNAL:
The slave device operates according to the AR-
3000R’s internal clock. Select this to make the unit the master.
MTC:
The unit operates according to MIDI time code
information from the master device. Select this to make the
unit the slave.
Note that when Sync Source is set to MTC, there is no
operation unless MTC information is input from the external
MIDI instrument.
Procedure for Setting the Sync Source
1.
Press the MODE button.
The MODE indicator lights up.
2.
Use the SELECT dial to choose “6.9 MTC,” then press the
dial.
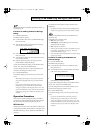
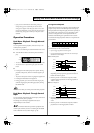
3.
Turn the SELECT dial to set the Sync Source to “MTC,”
then press the dial.
fig.16-g16e
• If you are continuing by making the setting for “Sync
Out,” proceed to step 4 of the procedure for setting Sync
Out (p. 117).
To finish making the setting, press the ENTER button.
4.
When the prompt appears on the screen, press the
ENTER button to enable the settings.
To quit without making the settings, use the SELECT dial to
choose “NO,” then press the ENTER button.
Once the settings have been successfully modified, you’re
returned to the setting item selection screen.
5.
Press the MODE button.
This ends the setting process and returns you to the usual
screen.
* If you press the MODE button while making settings, a message
asking you to confirm that you want to exit the setting process
appears. Note that if you choose “YES,” then press the ENTER
button, you are returned to the usual screen, and all setting
changes you’ve made up to that point will be discarded.
Selecting the MTC Type (30/29N/29D/25/24)
This selects the MTC type (frame rate).
Check the specifications of the connected external MIDI
instrument, then make the settings.
Types of MTC (Frame Rates)
→
p. 112
Procedure for Setting the MTC Type
1.
Press the MODE button.
The MODE indicator lights up.
2.
Use the SELECT dial to choose “6.9 MTC,” then press the
dial.
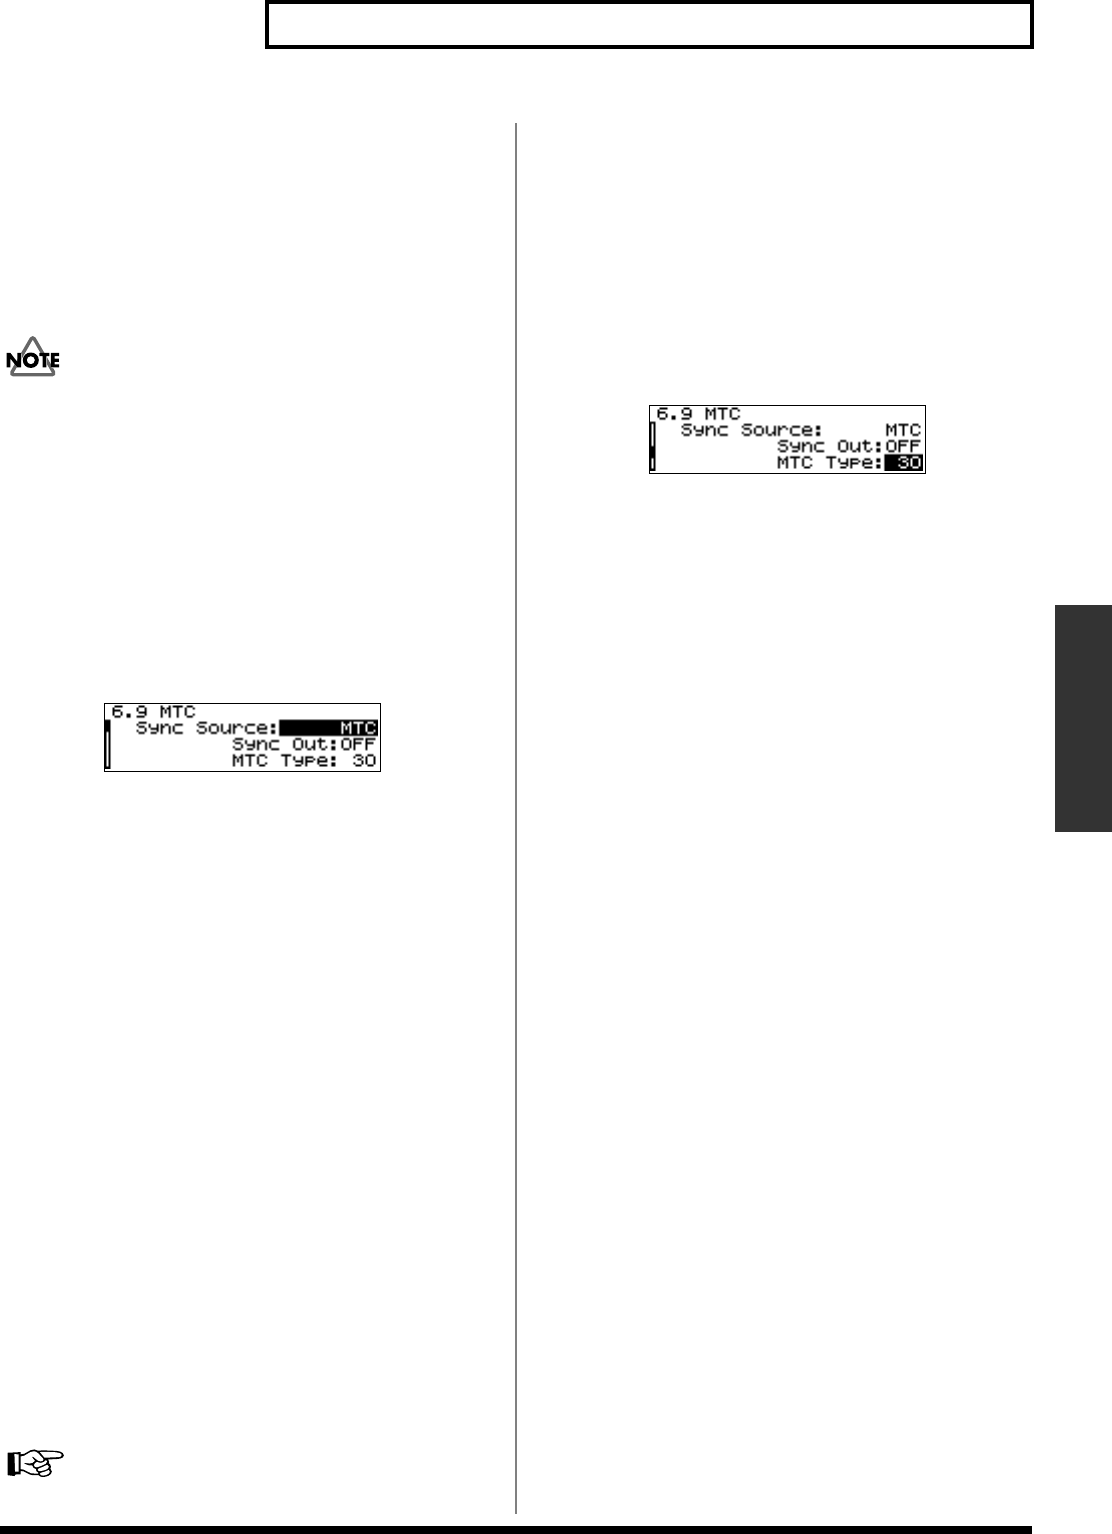
3.
Press the SELECT dial to advance the input location
(highlighted) to “MTC Type.”
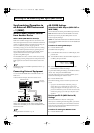
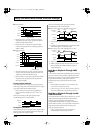
4.
Turn the SELECT dial to choose the MTC type (30, 29N,
29D, 25, or 24), then press the dial.
fig.16-g17e
• If you are continuing by making the setting for “MTC
Error Level,” proceed to step 4 of the procedure for
setting the MTC Error Level (p. 115).
To finish making the setting, press the ENTER button.
5.
When the prompt appears on the screen, press the
ENTER button to enable the settings.
To quit without making the settings, use the SELECT dial to
choose “NO,” then press the ENTER button.
Once the settings have been successfully modified, you’re
returned to the setting item selection screen.
6.
Press the MODE button.
This ends the setting process and returns you to the usual
screen.
* While making the settings, you can go back to the previous
entry position (highlighted) by using the PAUSE (BACK)
button.
* If you press the MODE button while making settings, a
message asking you to confirm that you want to exit the
setting process appears. Note that if you choose “YES,” then
press the ENTER button, you are returned to the usual screen,
and all setting changes you’ve made up to that point will be
discarded.
Selecting the MTC Error Level (0 to 10)
This sets the interval at which the MTC reception status is
checked (from 0 to 10). When you are conducting
synchronization with the unit as the slave, this constantly
checks whether the unit is correctly sending MIDI time
codes. When MIDI time codes are not sent continuously, it is
determined that there is a problem with MTC
synchronization, and synchronized operation stops.
The MTC error level sets the reference standard for this
determination. Larger values increase the degree of error
tolerance, making slave playback possible even when there
are minor problems in receiving MIDI time codes.
AR-3000R_e.book 115ページ 2010年3月18日 木曜日 午後2時6分