Sonos Multi-Room Music System User Guide
2-14
•Using a Sonos Controller, select System Settings>Add a ZonePlayer or Zone-
Bridge from the Music menu.
Add a Controller
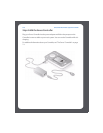
You should charge your new Sonos Controller when you remove it from the packaging.
Plug it into the power adapter, and then follow the Controller’s on-screen prompts to
add it to your music system (you can use the Controller while it is charging.)
For additional information about your handheld Controller, see "The Sonos®
Controller" on page 7-1.
Renaming a ZonePlayer or ZoneBridge
If you name a ZonePlayer incorrectly, or if you move a ZonePlayer to another room, you
can rename it to suit your preference.
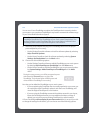
1. Using the Desktop Controller From the Zones menu, select ZonePlayer
Settings. If you want to change a ZoneBridge instead, select ZoneBridge
Settings.
2. Select the zone you wish to change, and click Settings. From the Zone Name tab,
select a name from the list, or type a new name for this ZonePlayer in the Zone
Name field, and then click OK.
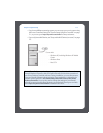
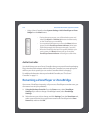
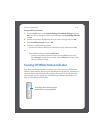
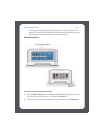
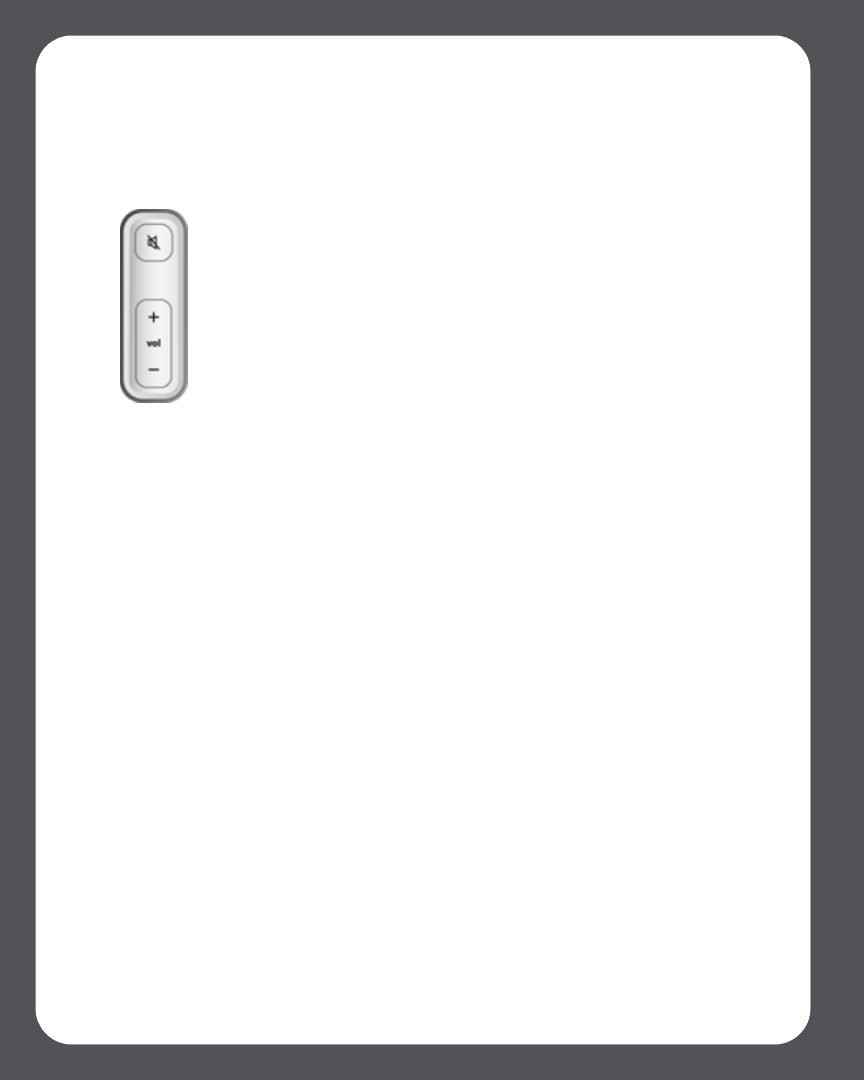
• During the setup process, you will be asked to press and
release the Mute and Volume Up buttons simultaneously
on the ZonePlayer you are adding.
• You may release the buttons as soon as the Mute indicator
(green) and the ZonePlayer Status Indicator (white) start
to blink alternately (this takes approximately 1 second.)
• When the ZonePlayer has been successfully added to your
music system, the Mute indicator will go out and the
ZonePlayer Status indicator will change to solid white.


