Chapter 2: System Setup
2-13
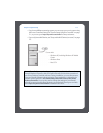
•Using the Desktop Controller software, select Zones>ZoneBridge Settings.
Highlight the ZoneBridge, and then click Settings.
•Using the Sonos Controller, select System Settings>ZoneBridge Settings from
the Music menu.
Add a ZonePlayer
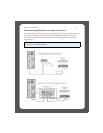
If your house has structured (built-in) wiring, you can make a ‘wired’ connection to the
new Sonos component. Otherwise, you can connect wirelessly.
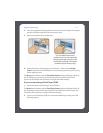
1. Place the ZonePlayer in the room you have selected, and apply power.
2. If you are making a wired connection, connect a standard Ethernet cable from
either your router, another ZonePlayer, or a ‘live’ network wall plate to any of the
Ethernet switch connections on the back of the new ZonePlayer. If you are making
a wireless connection skip this step and proceed to step 3.
3. Choose one of the following options:
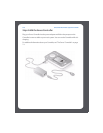
• If you are adding an amplified ZonePlayer, attach desired speakers (see "If you
are connecting a ZonePlayer 120/100" on page 2-6 if you need help with this
step).
• If you are adding a ZonePlayer 90/80, connect an external amplifier (see "If you
are connecting a ZonePlayer 90/80" on page 2-7 if you need help with this step).
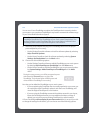
4. Choose one of the following options:
•Using the Desktop Controller software, select Add a ZonePlayer or ZoneBridge
from the Zones menu.
Or,
Note: If you are replacing the Sonos component (ZonePlayer or ZoneBridge) that is
currently connected to your router, first add the new ZonePlayer to your music
system (see steps below). You can then unplug the component from your router,
replace it with the new ZonePlayer, and move the original Sonos component to a
new location.
Caution: Do not place any items on top of your ZonePlayer. This may impede the
air flow and cause your ZonePlayer to overheat.


