


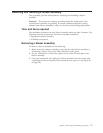


Time and items required
The replacement procedure for an ICL cable takes less than five minutes. A
replacement ICL cable is the only item needed.
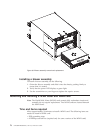
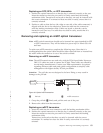
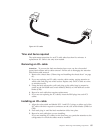
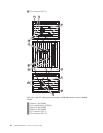
Removing an ICL cable
Attention: To prevent the latch mechanism from wear, use the color-coded
(green) latch-release tab for cable removal. Pull the tab to disengage the retention
latch before cable removal.
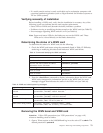
1. Remove the chassis door (“Removing and installing the chassis door” on page
61).
2. If you are replacing an ICL cable, note the cable routing, paying attention to
which cable end plug into which socket. Replace only one ICL cable at a time
to minimize errors.
3. Using the latch release tabs, pull each plug on the cable from its respective
socket on the SAN384B core switch blades (CR4S-8) or SAN768B core switch
blades (CR8).
4. Repeat for each cable that requires replacement.
5. If you are not replacing the ICL cables, insert the EMI plugs into each ICL
socket.
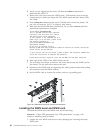
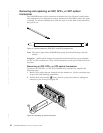
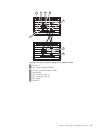
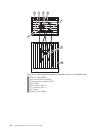
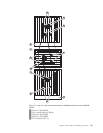
Installing an ICL cable
1. Align the color-coded and labeled (ICL 1 and ICL 0) plugs on either end of the
ICL cable with their respective connectors on the core switch blades (CR4S-8 or
CR8).
2. Push each plug in until the latch mechanism clicks into place.
3. Repeat for each cable that you are installing.
If you are installing ICL cables for the first time, pay particular attention to the
configuration in which the cables must be installed.
ICL 1
ICL 0
384b025
Figure 44. ICL cable
Chapter 5. Removing and installing components 85