Using Play List: Simplified Voice-Over
89
Using Play List
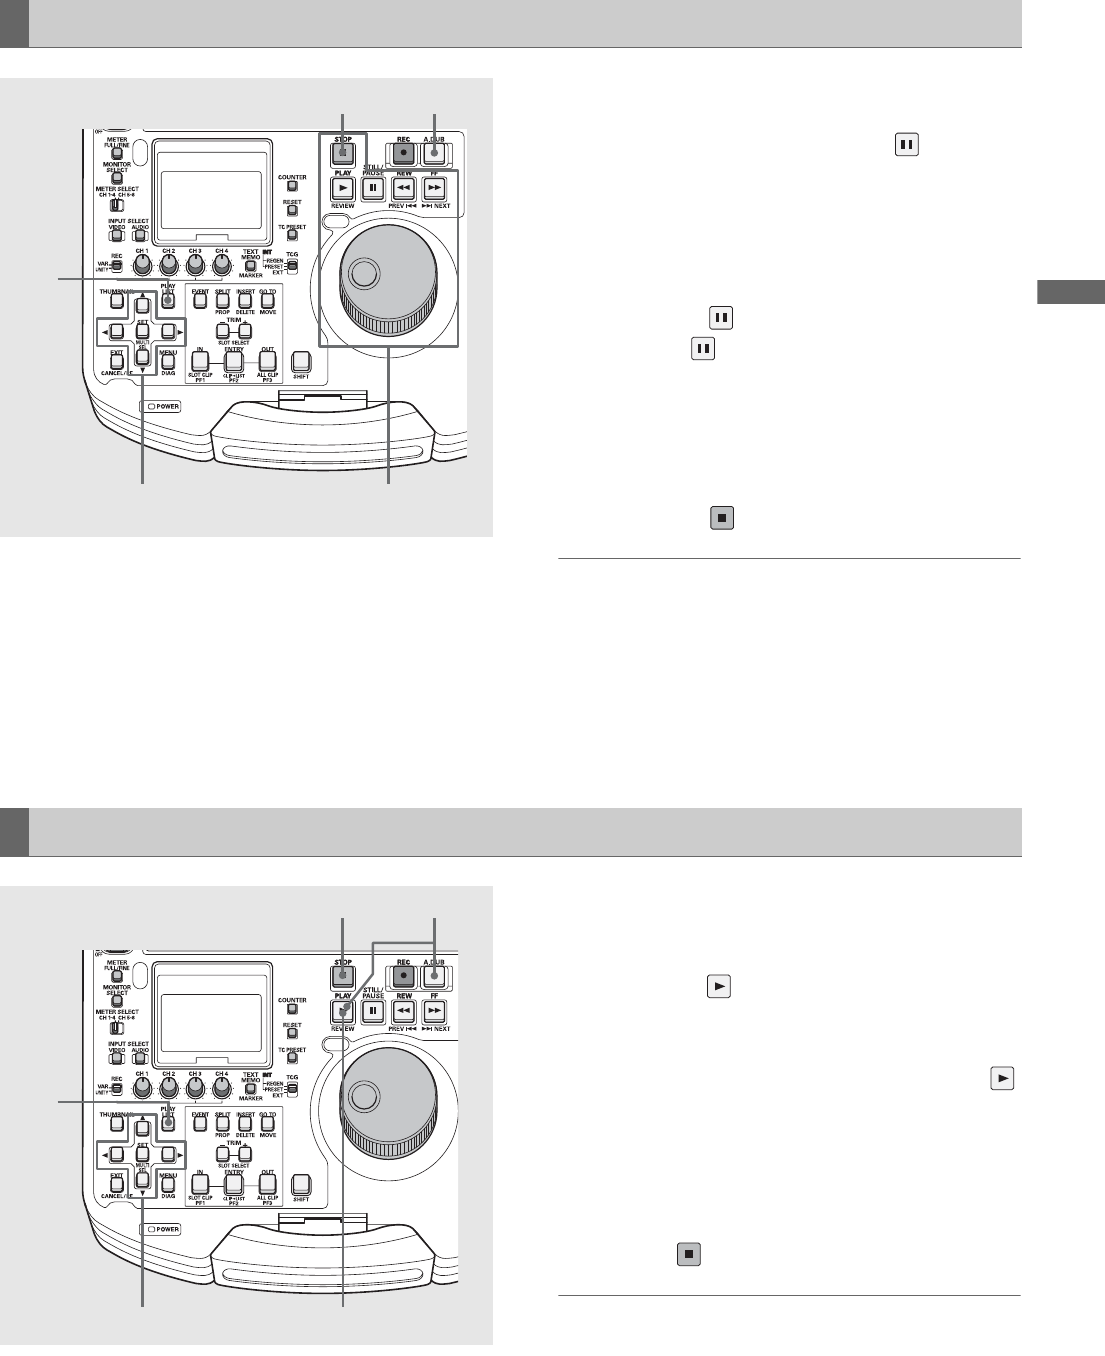
1 Open the play list screen.
2 Use the cursor buttons to select the event where you
want to perform a voice-over.
3 Find the location for the voice-over.
Use the operation buttons or the search dial to find a
location for a voice-over and press STILL .
4 Press the A.DUB button.
This generates an A DUB PAUSE state while a still image
is output at the still location.
5 Press the STILL button.
Press the STILL button again. After a 2-second auto
reverse and a 2-second playback interval, sound
recording starts.
Use the VR (audio volume) controls as necessary to adjust
the playback sound level.
6 Press the STOP button to end the voice-over.
◆ NOTE:
• When the 24PN play list format is set in setup menu No. 026
(PLY LST FMT), the audio IN and OUT points are set in 4-frame
increments. If the recording starts or stops at some other points,
the IN and OUT points are automatically corrected within the
recording range.
• A voice-over cannot be recorded at the beginning of an event,
if the auto reverse time is too short. Save at least 2 seconds for
auto reversing.
1 Open the play list screen.
2 Use the cursor buttons to select the event where you
want to perform a voice-over.
3 Press the PLAY button to start playback at a
location before the voice-over.
4 Hold down the A.DUB button and press the PLAY
button at the voice-over location.
This starts the audio recording.
Use the VR (audio volume) controls as necessary to adjust
the playback sound level.
5 Press STOP button to end the voice-over.
◆ NOTE:
• When the 24PN play list format is set in setup menu No. 026
(PLY LST FMT), the audio IN and OUT points are set in 4-frame
increments. If the recording starts or stops at some other points,
the IN and OUT points are automatically corrected to fall within
the recording range.
Voice-Over From Still Image Status
3,52
64
1
Voice-Over From Playback Status
32
54
1


