NDA-30103 Revision 4 Page 53
OpenWorX Business Attendant System User Guide Configuring the User Options
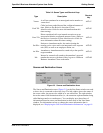
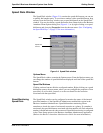
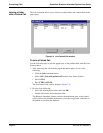
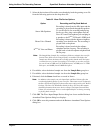
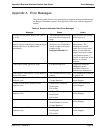
Route/Trunk
Configures the information displayed for routes and trunks in the Source/
Destination area of the Line Status window.
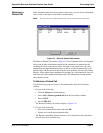
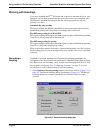
Wave Files
Configures wave file parameters used for recording and playing back greetings and
telephone conversations.
Note: The Wave Files tab is displayed and functional only if the NEC D
term
PC Card or
an alternate device is installed. (Refer to the System Requirements in the Business
Attendant System Administration Guide.)
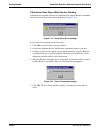
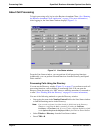
Configuring the Speed Dial Keys
You can add, modify, and delete your speed dial keys. The default number of speed
dial keys shown is 16, but you can define up to 40 speed dial keys. (See “Speed
Dials Window” on page 21 for more information.)
Adding or
Modifying a Speed
Dial Number
Use one of the following methods to add or modify a speed dial number.
Note: If a name is too long to display on a speed dial button, you can modify the
displayed name in the Speed Dial Buttons group box in the Business Attendant
Client Options dialog box.
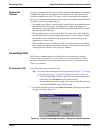
To Add or Modify a Speed Dial from the Line Status Window
Use the following steps to add or modify a speed dial number from the Line Status
window.
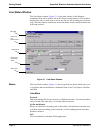
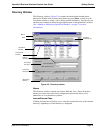
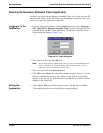
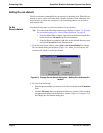
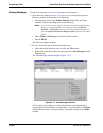
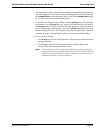
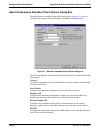
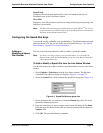
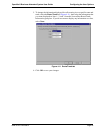
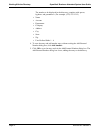
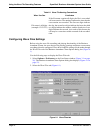
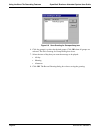
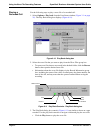
1. Select Options > Preferences from the Line Status window. The Business
Attendant Client Options dialog box displays (Figure 4-1 on page 52).
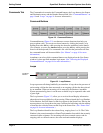
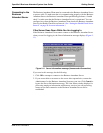
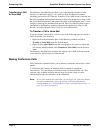
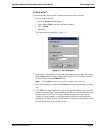
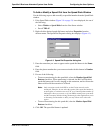
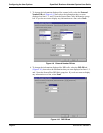
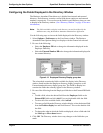
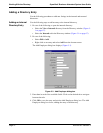
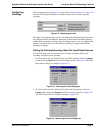
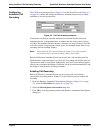
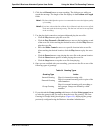
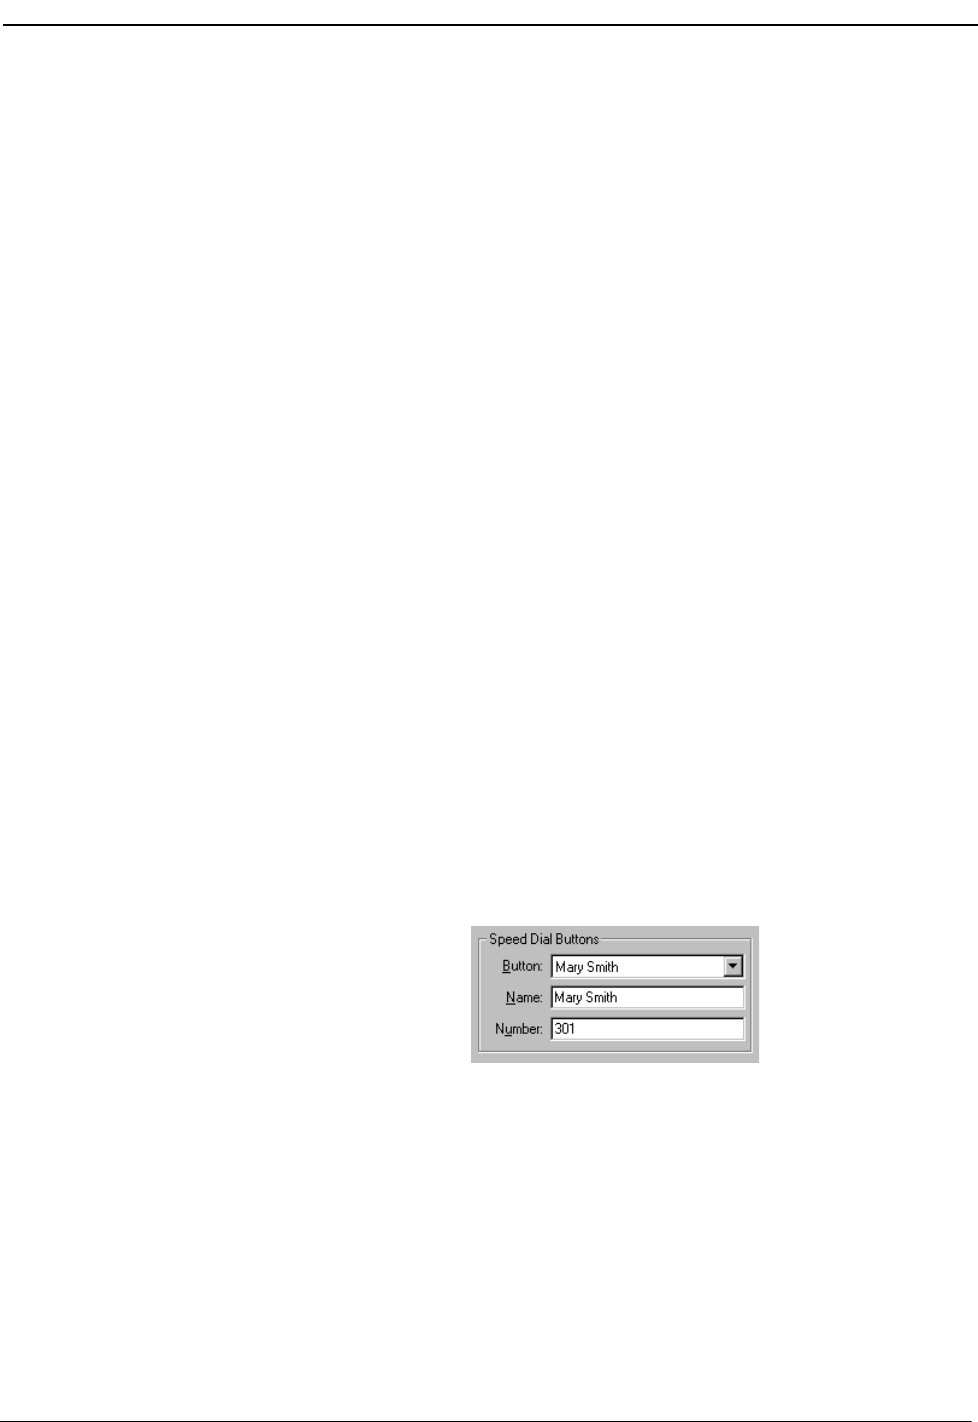
2. Select the General tab, which contains the Speed Dial group box (Figure 4-2).
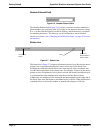
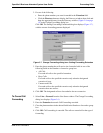
Figure 4-2 Speed Dial Buttons group box
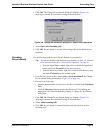
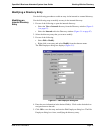
3. Select the button that you want to use from the Button drop-down list in the
Speed Dial Buttons group box.
4. Enter the name that you want to appear on the speed dial button in the Name
field and enter the phone number that you want associated with this button in
Number field.
5. Click OK. The speed dial button is updated.