47
RQT8346
¢ Only when you have selected “480p” in “TV Type” (l 77).
∫ Video menu–Change the picture quality
Picture[HDD] [RAM] [-R] [-R[DL] [-RW‹V›] [+R] [+R[DL] [+RW] [DVD-V]
[DVD-A] [-RW‹VR›] [VCD]
To select the picture quality mode during play.
≥Normal: Default setting
≥Soft: Soft picture with fewer video artifacts
≥Fine: Details are sharper
≥Cinema: Mellows movies, enhances detail in dark scenes.
DNR [HDD] [RAM] [-R] [-R[DL] [-RW‹V›] [+R] [+R[DL] [+RW] [DVD-V]
[DVD-A] [-RW‹VR›] [VCD] and DivX
Reduces mosaic-like distortion and picture degradation.
On ,. Off
Progressive
¢
(l 94)
Select “On” to enable progressive output.
≥Select “Off” if the picture is stretched horizontally.
≥
When progressive output is on, closed captions cannot be displayed.
Transfer
¢
[When “Progressive” (l above) is set to “On”.]
When the tray is opened the setting will return to “Auto1”.
Select the method of conversion for progressive output to suit
the type of material being played (l 93, Film and video).
≥Auto1 (normal):
Automatically detects the film and video content, and
appropriately converts it.
≥Auto2: In addition to “Auto1”, automatically detects film
contents with different frame rates and appropriately
converts it.
≥Video: Select when using “Auto1” and “Auto2”, and the
content is distorted.
Line-in NR (Only when IN1, IN2 or IN3 is selected)
Reduces video tape noise while copying.
Depending on the video tape, jittering may occur.
≥Automatic: Noise reduction only works on picture input from
a video tape.
≥On: Noise reduction works for any video input.
≥Off: Noise reduction is off. Select when you want to
record input as is.
∫ Audio menu–Change the sound effect
V. Surround Sound [HDD] [RAM] [-R] [-R[DL] [-RW‹V›] [+R] [+R[DL]
[+RW] [DVD-V] [DVD-A] [-RW‹VR›]
(Dolby Digital with 2 channels or more only)
≥Emphasis
≥Natural
≥Off
Enjoy a surround-like effect if you are using two front speakers
only.
≥Turn V. Surround Sound off if it causes distortion. (Check the
surround function on the connected equipment.)
≥V. Surround Sound does not work for SAP recordings.
Dialog Enhancer [HDD] [RAM] [-RW‹V›] [+R] [+RW] [DVD-V] [DVD-A]
[-RW‹VR›] and DivX
(Dolby Digital with 3 channels or more only, including a center channel)
The volume of the center channel is raised to make dialog
easier to hear.
On ,. Off
∫ Other menu–Change the display position
Position
1 (Standard)–5:The higher the setting the lower the on-screen
menu moves.
Delete Navigator to delete titles
[HDD] [RAM] [-R] [-R[DL] [-RW‹V›] [+R] [+R[DL] [+RW] [SD]
(You cannot delete items on finalized discs.)
≥A title or a picture cannot be restored once it is deleted. Make
certain before proceeding.
≥You cannot delete while recording or copying.
≥[HDD] [RAM] [SD] If you delete a recorded title (or a still picture), the
space deleted becomes available for recording.
≥[-RW‹V›]
[+RW] Disc space increases only when the last recorded
title is deleted.
≥[-R] [-R[DL]
[+R] [+R[DL] Available space does not increase after
deletion.
Preparation
≥Press [DRIVE SELECT] to select the drive (HDD, DVD or SD).
≥[RAM] [SD] Release protection (l 70)
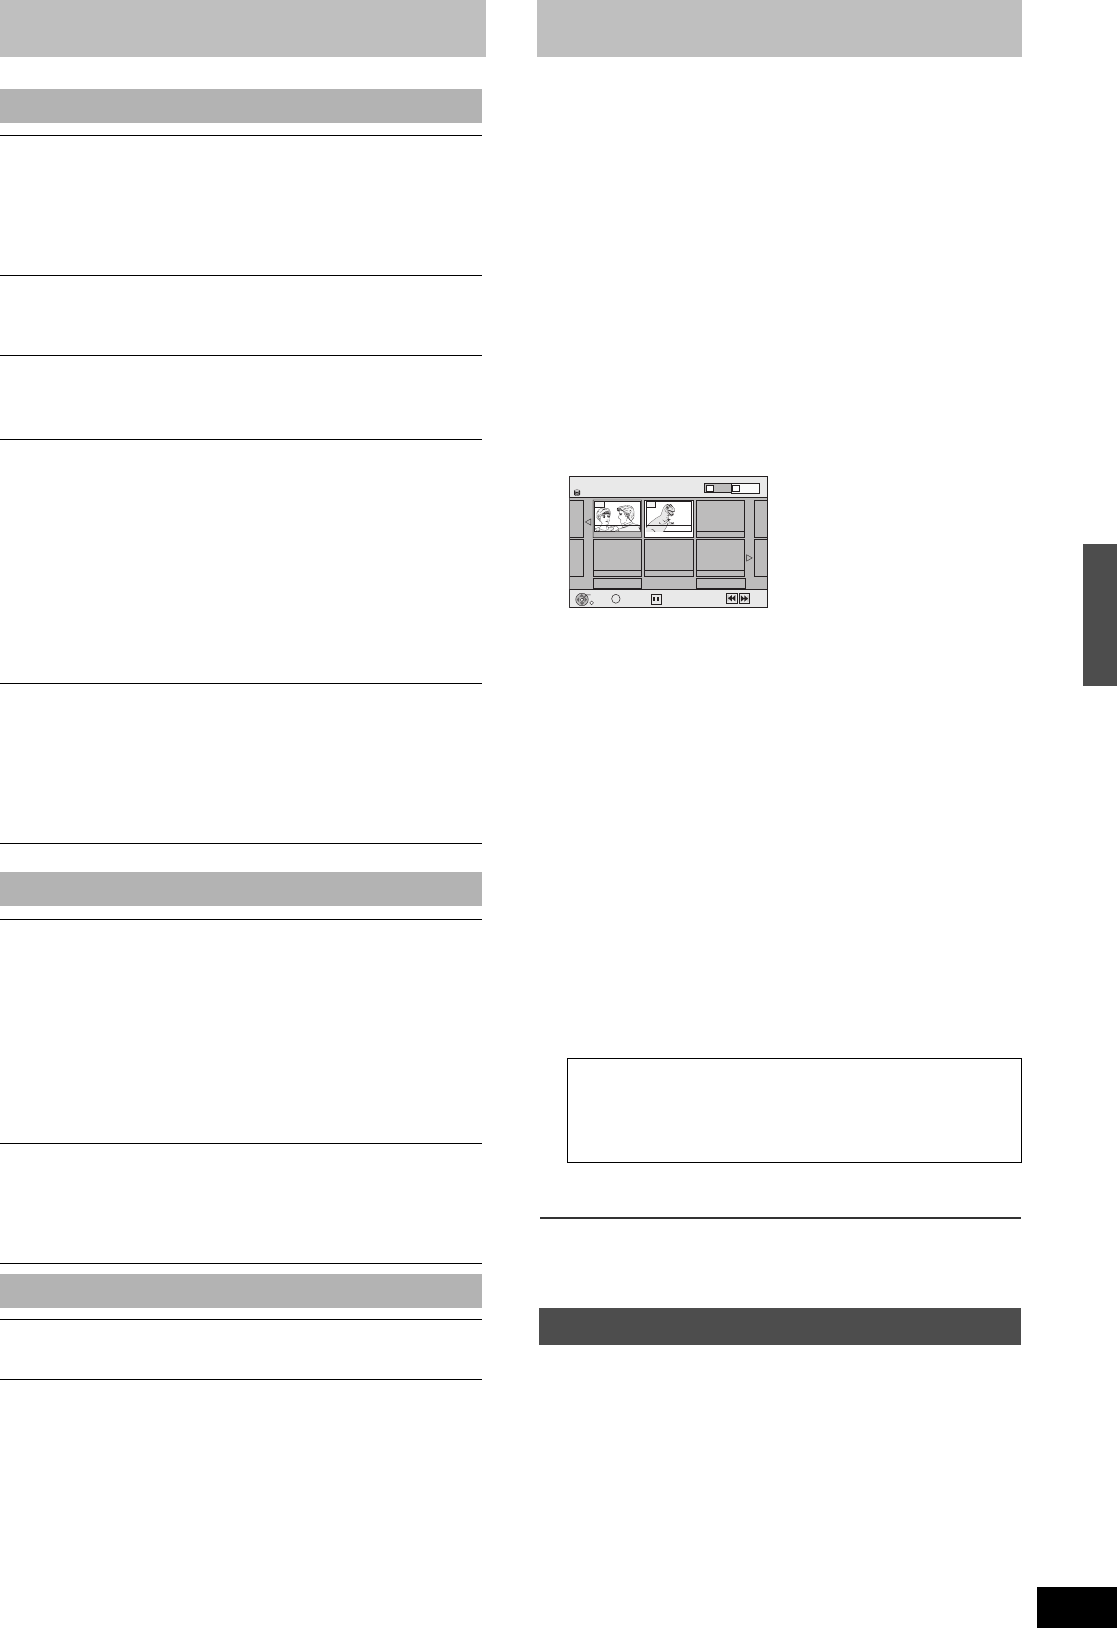
[1] While stopped
Press [FUNCTIONS].
[2] Press [3, 4] to select “Delete” and then press
[ENTER].
[HDD] [RAM] To switch to the other view
Press [B] to select “Picture”.
Press [A] to select “Video”.
[3] Deleting a title:
Press [3, 4, 2, 1] to select the title to be
deleted and then press [ENTER].
Deleting an album:
Press [3, 4, 2, 1] to select the album to be
deleted and then press [DELETE].
Deleting still pictures:
1
Press
[3, 4, 2, 1]
to s
elect the album which
contains the still pictures to delete and then
press [ENTER].
2
Press
[3, 4, 2, 1]
to s
elect the still pictures
to delete and then press [ENTER].
You can confirm the titles or pictures etc. that you have selected
using the sub menu.
≥
Refer to sub menu operations for the “Title View” (
l
51, step 5).
≥Refer to sub menu operations for the “Picture View” or
“Album View” (l 55, step 4).
[4]
Press [
2
] to select “Delete” and then press [ENTER].
The title, album or the picture is deleted.
To return to the previous screen
Press [RETURN].
To exit the screen
Press [RETURN] several times.
[1] During play
Press [DELETE].
You cannot delete a picture during a slideshow.
[2] Press [2, 1] to select “Delete” and then press
[ENTER].
The title or the picture is deleted.
To show other pages
Press [:, SKIP] or [9, SKIP] to show other pages.
Multiple editing
Select with [
3
,
4
,
2
,
1
] and then press [
;
, PAUSE]. (Repeat)
A check mark appears. Press [;, PAUSE] again to cancel.
Deleting titles or pictures during play
Select
Previous
02/02
Next
10 11/27 Mon
007 008
8 11/27 Mon
- - - - - - - - -
- - -
DELETE Navigator Title View
HDD
Delete
SUB MENU
S
Picture
Video
Page
B
A
Previous
Next
Playing backUsing on-screen menus/Delete Navigator to delete titles
M6740P.book 47 ページ 2006年1月30日 月曜日 午後3時30分
