38
RQT8346
Utilizing the TV Guide On Screen
®
system
Refer to the control reference on page 32.
When “SETUP” is selected in step 3 on page 35
SETUP screen is displayed.
The SETUP service allows you to redo the channel settings,
customize the channel line-up and set the TV Guide On Screen
®
system’s start-up pattern.
You can verify any information entered during setup, or completely
redo the setup, for the TV Guide On Screen
®
system.
[1] Press [3, 4] to select “Change system settings” and then
press [ENTER].
The information that was set is displayed, and you are asked to
confirm whether it is correct.
[2] Press [3, 4] to select the message and then press [ENTER].
≥“Yes, everything is correct”
- The information that was set will remain intact.
Press [3, 4, 2, 1] to select “Next” and then press [ENTER]
to exit the screen.
≥“Yes, but my channel lineup is incorrect”
1 Press [3, 4, 2, 1] to select one of the following channel
lineups and then press [ENTER].
2 Press [3, 4, 2, 1] to select “Next” and then press
[ENTER].
Then follow the operation instructions given on screen.
≥“No, repeat setup process”
- The TV Guide On Screen
®
system setup screen is displayed.
Follow the on-screen prompts to redo the setup (l 23,
step 4).
You can customize the channel line-up. You can easily change
channel line-up should the cable company occasionally revise their
channel assignments.
[1] Press [3, 4] to select “Change channel display” and then
press [ENTER].
[2] Press [3, 4] to select the channel to customize and then
press [ENTER].
Grid Options menu is displayed.
Items that can be set up differ depending on the situation.
[3] Press [3, 4] to select the item and then press [2, 1] or the
numbered buttons to change the setting.
Grid Options
You can change the size of the Information box etc., scheduled
recording, and scheduled reminder default settings.
[1] Press [3, 4] to select “Change default options” and then
press [ENTER].
[2] Press [3, 4] to select the option and then press [ENTER].
Items for each option are displayed (l 39).
[3] Press [3, 4] to select the item and then press [2, 1] or the
numbered buttons to change the setting.
[4] Press [3, 4] to select “done” and then press [ENTER].
Using SETUP Service to change the
settings of the TV Guide On Screen
®
system
∫ Access to the TV Guide On Screen
®
system setup screen–“Change system
settings”
∫ Customizing the channel lineup –“Change
channel display”
SCHEDULESEARCH
Change system settings
Change channel display
Change default options
Display setup progress
SETUP
SETUP
INFO
Change system settings
(l below)
Change channel display
(l below)
Change default options
(l right)
Display setup progress
(l 39)
Yes, everything is correct
Yes, but my channel lineup is incorrect
No, repeat setup process
Are the above settings correct?
ZIP
Code - 11111 (USA)
Cable on "RF"
pTV
TV
NWBG
5
12
PTV-S
TV-TR Cable
NWBG
2
Cable
Cable
2
1
3
CHANNEL EDITOR
ON
ON
ON
CHANNEL
EDITOR
screen
position: Change the position where the channel appears
in the LISTINGS screen (and CHANNEL
EDITOR)
channel: On: Channel is always displayed in
LISTINGS and SEARCH screen
Off: Channel is never displayed in
LISTINGS and SEARCH screen
auto-hide:Display a channel only when program
information is available
service: Change the service for a channel if there is more
than one service available (e.g., cable, over-the-
air, antenna, DirecTV, etc.)
input: Change the input for the channel if there is more
than one input (e.g., Antenna 1, Antenna 2, etc.)
tune channel: Correct the tune channel number using the
remote
re-sort
numerically:
Change the channel order in the LISTINGS
screen (and CHANNEL EDITOR) to numeric
undo all
changes:
Reset all channel editor options (and LISTINGS
screen) to their original settings
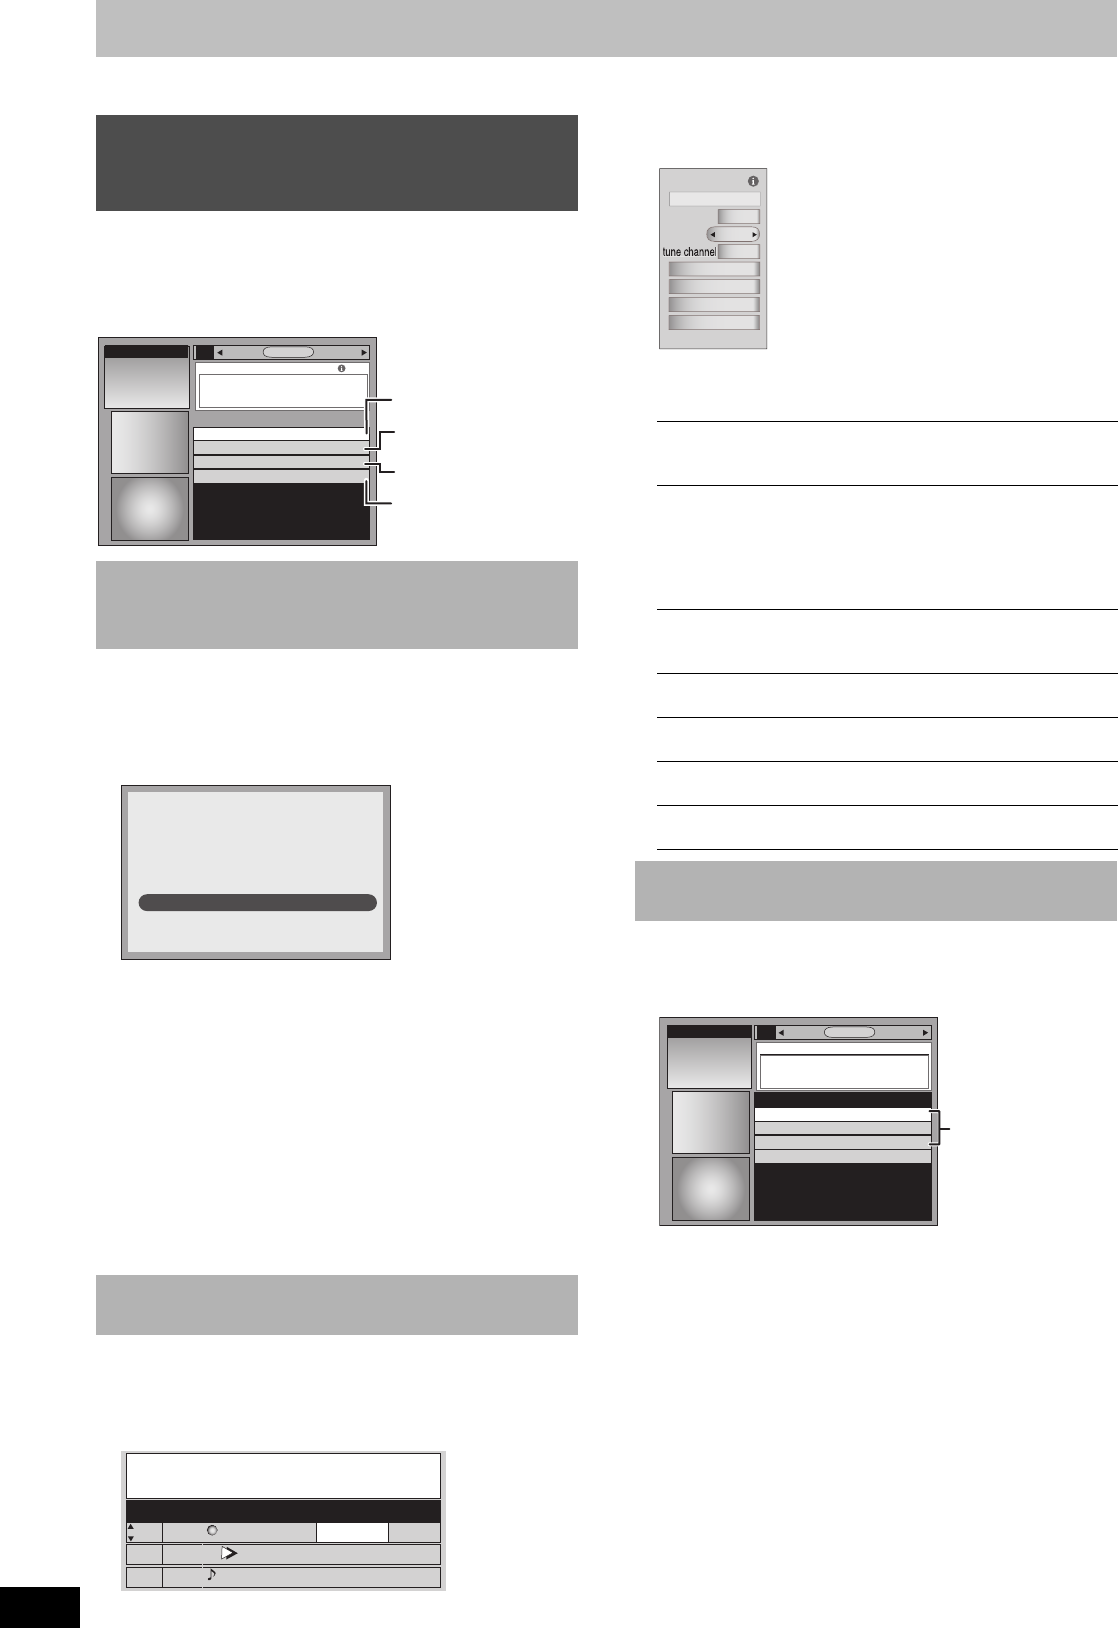
∫ Change the initial settings–“Change
default options”
Grid Options
position
on
channel
go back to Setup
re-sort numerically
undo all changes
done
cancel
1
2
SCHEDULESEARCH
General defaults
Record defaults
Remind defaults
Go back to Setup
SETUP
SETUP: CHANGE DEFAULT OPTIONS
Options
M6740P.book 38 ページ 2006年1月30日 月曜日 午後3時30分
