Performing Diagnostics
Viewing Adapter Port Transceiver Details
SN0054651-00 F 6-7
A
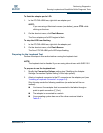
To run a read/write buffer test:
1. Prepare for the test (see “Preparing for Diagnostic Testing” on page 6-2).
2. Set the diagnostic test parameters (see “Setting the Diagnostic Test
Parameters” in the help system).
3. Run the diagnostic test (see “Running Diagnostic Tests” in the help system).
4. View the diagnostic test results (see “Viewing the Diagnostic Test Results” in
the help system).
Viewing Adapter Port Transceiver Details
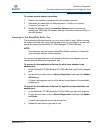
The Transceiver Details page, located within the Diagnostics page, shows the
Digital Diagnostics Monitoring Interface (DDMI) for optical transceivers, allowing
access to device operating parameters. The Transceiver Details page contains
two nested pages, General and Details:
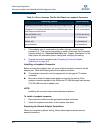
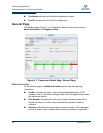
The General page (Figure 6-1) shows an overview of the status data and
inventory data from the optical transceiver device.
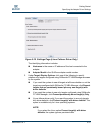
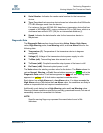
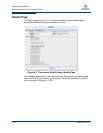
The Details page (Figure 6-2) shows detailed digital diagnostic data from the
optical transceiver device after running diagnostics (per SFF-8472
Specification for Diagnostic Monitoring Interface for Optical Xcvrs, Revision
9.3 August 1, 2002).
The following identifying information appears above the nested pages:
Hostname is the name or IP address of the host connected to the adapter.
HBA Model specifies the model number for the adapter (any ISP2422/2432
based adapter).
HBA Port indicates the adapter port number.
Node Name indicates the World wide adapter node name.
NOTE:
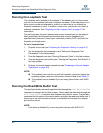
The read/write buffer test must be run without the loopback connector on a
device (disk or tape) that supports the SCSI Read Buffer and SCSI
Write Buffer commands.
NOTE:
The Transceiver Details page is available only for 4Gb or greater adapter
devices.
The Transceiver Details function is unavailable if you are using inbox
drivers with Red Hat 5.0 or SLES 10.0.


