


Chapter 5 Installing Optional Products
5.1 Installing Disks
ETERNUS DX60 S2 Disk storage system User’s Guide -Operation-
62
Copyright 2012 FUJITSU LIMITED P3AM-5512-03ENZ0
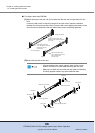
8 Set up RAID groups, volumes, hot spares, and Host Affinity settings on the new
disks, as required.
End of procedure
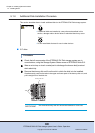
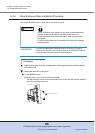
■ 3.5" disks
Procedure
1 Check that all components of the ETERNUS DX Disk storage system are in
normal status, using the Storage System Status screen of ETERNUS Web GUI.
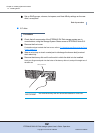
2 Remove the front cover.
For details on how to attach the front cover, refer to "2.3 Attaching and Removing the Front
Cover" (page 37).
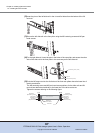
3 Wear a wrist strap or touch a metal part to discharge the human body's natural
static electricity.
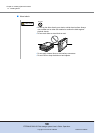
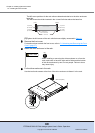
4 Remove the dummy disk unit from the slot in which the disk is to be installed.
Hook your fingers and push into the holes of the dummy disk unit, and pull it straight out of
the disk slot.
IMPORTANT
The removed dummy disk unit should be retained for future use.
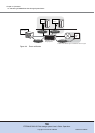
Dummy disk unit