


54 TASCAM DP-32SD
10 - Mixing Down and Mastering Songs
Mixing down tracks
Mixing down tracks is the process of adjusting the volumes and
stereo positions of each recorded track and combining them
into a well-balanced stereo track.
Including recorded tracks (32 maximum) and inputs (8
maximum), you can mix down up to 40 total tracks.
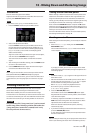
Levels and balance
Use the track faders to balance the relative levels of the tracks.
Then, use the STEREO fader to adjust the overall level. Watching
the stereo level meters on the display, adjust the level until it is
suitable.
If the level is too loud, the sound will become distorted.
NOTE
The track meters on the display show the recorded signal levels of
the tracks. Therefore, these meters do not change when the TRACK
faders are adjusted.
TIP
You do not need to keep the entire song at the same volume. For
example, you could gradually increase the volume during a guitar solo.
Fader group
You can group multiple faders to control them simultaneously
with a single fader.
Group and ungroup tracks while the GROUP button is lit.
ª
Grouping tracks
1. Press the GROUP button.
2. Adjust the level and balance between tracks you want to
control.
3. Press the SELECT buttons of tracks to control.
A lit SELECT button indicates a track in the group.
The track fader with the smallest number will be the master
fader, and faders in the group can be controlled by it. When
a fader other than the master fader is moved, the SELECT
button of the master fader blinks and the movement will
have no effect.
This fader group internally retains the relative level
differences from the master fader that it had when it was set.
The relationship between physical faders is not retained.
NOTE
After tracks have been grouped, they will not be ungrouped when
you press the GROUP button. (The GROUP button will blink.)In this
case, if the group master fader is moved, the SELECT buttons of
tracks in the group will light during operation.
If another fader is moved, the SELECT button of the master fader
will blink and the movement will have no effect.
ª
Ungrouping tracks
1. Press all the SELECT buttons of tracks in the group to turn
them off.
2. Press the GROUP button.
If you press the GROUP button before turning off all the
buttons (a button is still lit), the GROUP button will blink,
indicating that tracks are still grouped.
CAUTION
After ungrouping tracks, the positions of the physical
faders and the actual levels (values shown onscreen)
might not match. In such a case, when you move a
physical fader, the actual level will change to match the
physical fader value, and thereafter the physical fader
will controls the level. This might cause a sudden level
change and loud noise, so turn the stereo fader down
beforehand.
NOTE
After grouping tracks, if the group master fader changes because
the lowest numbered track is ungrouped or a lower numbered track
is added to the group, the track levels are reset to their physical
fader values.
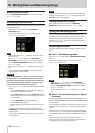
Stereo position (panning)
Use the PAN knobs on the Mixer screen of each mono track to
set the stereo position of the track signal.
For stereo tracks, instead of panning, adjust the balance (BAL)
between left and right channels.
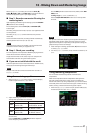
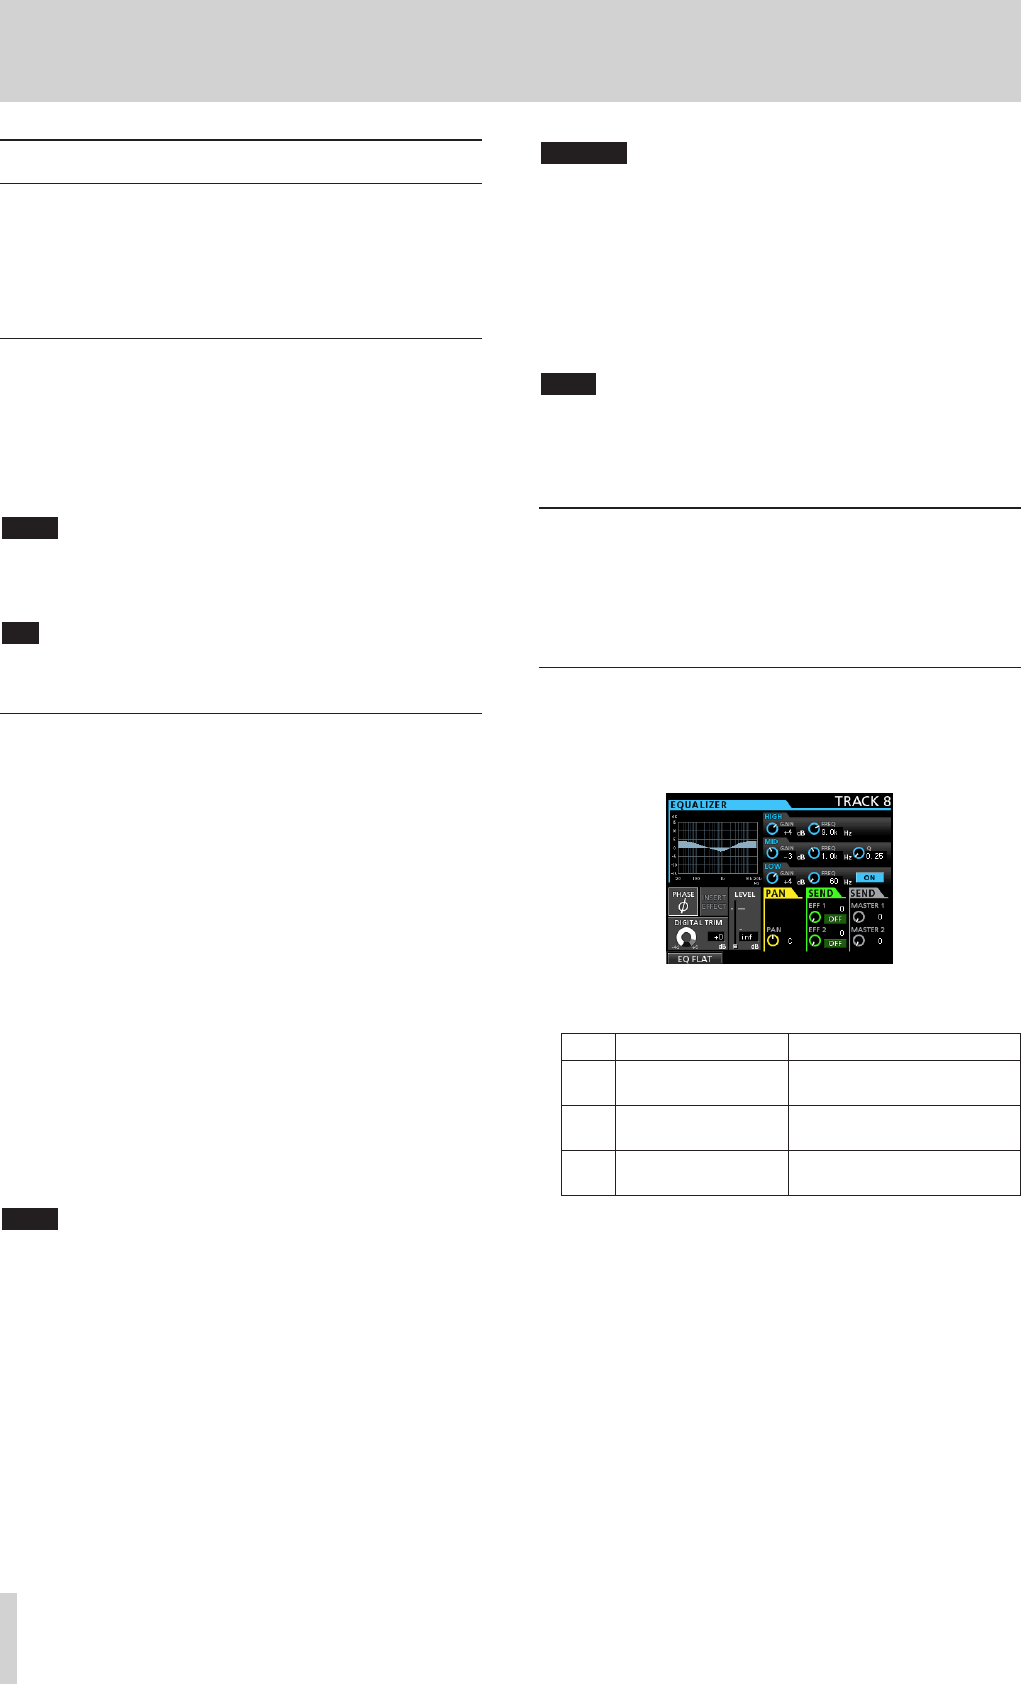
Track equalizer
Each track has a 3-band equalizer that can be adjusted on the
Mixer screen.
1. Press the MIXER button to open the Mixer screen.
2. Adjust the track equalizer.
The equalizer parameters are as follows.
GAIN FREQ
HIGH
Setting range: ±12 dB
(Default: 0 dB)
Setting range: 1.7 kHz to 18 kHz
(Default: 10 kHz)
MID
Setting range: ±12 dB
(Default: 0 dB)
Setting range: 32 Hz to 18 kHz
(Default: 1.0 kHz)
LOW
Setting range: ±12 dB
(Default: 0 dB)
Setting range: 32 Hz to 1.6 kHz
(Default: 100 Hz)
Use track SELECT buttons to select desired tracks.
Use HIGH, MID and LOW GAIN knobs to adjust the gain of each
band.
Use the HIGH, MID and LOW FREQ knobs to adjust the center
frequency of each band.
Use the MID Q knob to set the resonance (width) of the MID
FREQ band.
Setting range:
0.25
to
16
(Default:
0.5
)
Press the EQUALIZER ON/OFF button to turn the equalizer on
or off.
Use INPUT SOURCE (A–H) buttons to select inputs to set the
equalizer. (See “Using the input equalizer” on page 35.)
3. After making the settings, press the HOME button to return
to the Home screen.