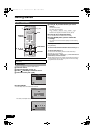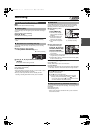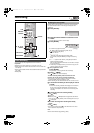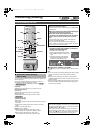
Transferring (Dubbing)
59
VQT0P03
Transferring
(Dubbing)
VHSDVD
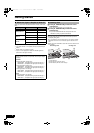
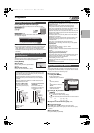
You can transfer (dub) programmes recorded on a tape onto a disc°
by specifying the recording parts while watching them.
° Available discs for transfer (dubbing) from tape are [RAM] [-R]
[-RW‹V›] [+R].
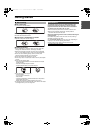
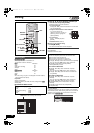
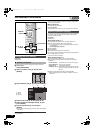
Preparation
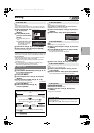
≥Select the unit viewing channel (e.g. AV input) on the TV.
VHS (Recording source)
≥Insert the video cassette containing the programme to be copied.
(l 48)
DVD (Recording target)
≥Release protection. (disc l 28, cartridge l 28) [RAM]
≥Insert a disc and confirm there is sufficient empty space for
recording on it. (l 8, 47)
Settings (l 42, TV System)
≥When transferring (dubbing) an NTSC tape to a DVD
- Set “TV System” on “Connection” in SETUP to “NTSC”.
≥When transferring (dubbing) a PAL tape to a DVD
- Set “TV System” on “Connection” in SETUP to “PAL”.
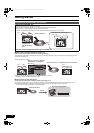
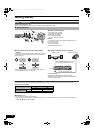
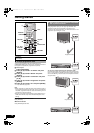
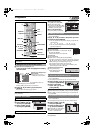
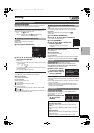
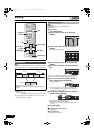
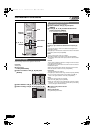
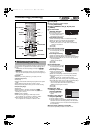
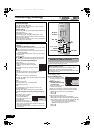
[1] Press [VHS] and press [1, PLAY].
≥Start playing the video cassette and find the start point of the
recording.
≥Press [AUDIO] to select the audio to be played (the audio to be
recorded) beforehand.
[2] Press [;, PAUSE] at the start point of the
recording.
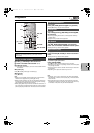
[3] Press [DVD].
[4] Select “TP” channel with [INPUT SELECT] or
[CH, W, X].
≥The VHS picture is displayed on the TV.
≥When the DC channel is selected on VHS, you cannot select
the TP channel.
[5] Press [REC MODE] to select the recording
mode.
(l 23)
[6] Press [¥, REC].
≥Disc recording and VHS play start at the same time.
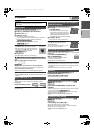
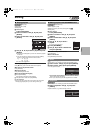
∫About FR mode
When “Time Setting” is set to “Off” in step 6 on page 58:
≥The recording mode is automatically selected by estimating the
remaining capacity of the disc for transfer (dubbing) of only the
recorded parts in the video cassette (unrecorded parts will not
be recorded).
≥When you press [ENTER] to start transfer (dub), the tape is
automatically fast-forwarded to the end and then fast-rewound to
the beginning before the transfer (dubbing) is actually started. It
may take time to start transfer (dub). If the remaining capacity of
the disc is insufficient, the transfer (dubbing) will be stopped in
the middle.
≥The recording is divided into titles every time the tape index
signals are detected.
When “Time Setting” is set to “On” in step 6 on page 58:
≥The recording mode is automatically determined by estimating
the remaining capacity of the disc for transfer (dubbing) of the
contents equivalent to the recording time set from the start point
of the transfer (dubbing) on the video cassette (unrecorded parts
will also be recorded).
≥The recording is not divided into titles.
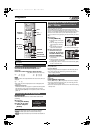
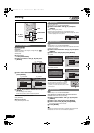
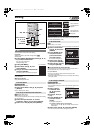
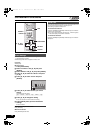
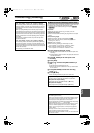
∫ Manual Transfer (Dubbing) (VHS l DVD)
To pause or stop Manual Transfer (Dubbing)
You cannot stop or pause DVD and VHS at the same time.
∫To pause or stop recording
Press [DVD] and then press [;, PAUSE] or [∫, STOP].
∫To pause or stop play
Press [VHS] and then press [;, PAUSE] or [∫, STOP].
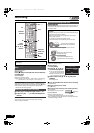
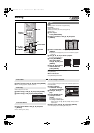
∫About TP channel
(TP: Dubbing input channel)
When the TP channel is selected, it becomes possible for DVD to
receive audio and video signals from VHS. This enables you to
transfer (dub) the video played back on VHS to DVD.
≥The TP channel can be selected by pressing [DVD] and pressing
[INPUT SELECT] or [CH, W, X] several times.
≥When you play back a tape after turning the channel to TP, the
picture on VHS is displayed on the TV screen. Utilizing this
feature, you can enjoy the picture on the tape in progressive
output. (l 50)
≥Contrary to the TP channel, the DC channel enables VHS to
receive audio and video signals from DVD.
≥When the DC channel is selected on VHS, you cannot select the
TP channel on DVD.
M7620(GN).book 59 ページ 2005年5月25日 水曜日 午後12時2分