24
CAUTION: Don’t connect or disconnect any test equipment with ignition on
or engine running.
1) Turn the ignition off.
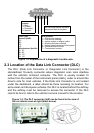
2) Locate the vehicle’s 16-pin Data Link Connector (DLC).
3) Plug the scan tool cable connector into the vehicle’s DLC.
4) Turn the ignition on. Engine can be off or running.
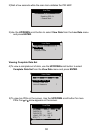
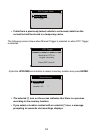
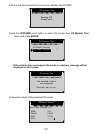
5) Press ENTER to enter Main Menu. Use the UP/DOWN scroll button to
select Diagnostics from the menu.
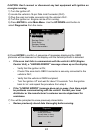
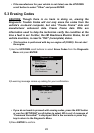
6) Press ENTER to confirm. A sequence of messages displaying the OBDII
protocols will be observed on the display until the vehicle protocol is detected.
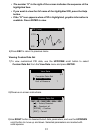
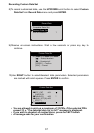
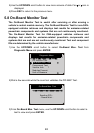
• If the scan tool fails to communicate with the vehicle’s ECU (Engine
Control Unit), a “LINKING ERROR!” message shows up on the display.
- Verify that the ignition is ON;
- Check if the scan tool’s OBD II connector is securely connected to the
vehicle’s DLC;
- Verify that the vehicle is OBDII compliant;
- Turn the ignition ‘off’ and wait for about 10 seconds. Turn the ignition
back to ‘on’ and repeat the procedure from step 5.
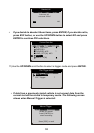
• If the “LINKING ERROR” message does not go away, then there might
be problems communicating with the vehicle. Contact your local
distributor or the manufacturer’s customer service department for
assistance.
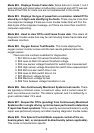
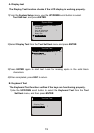
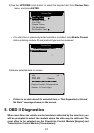
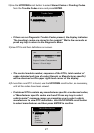
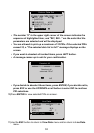
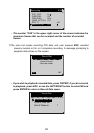
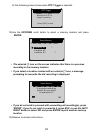
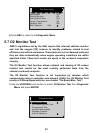
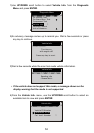
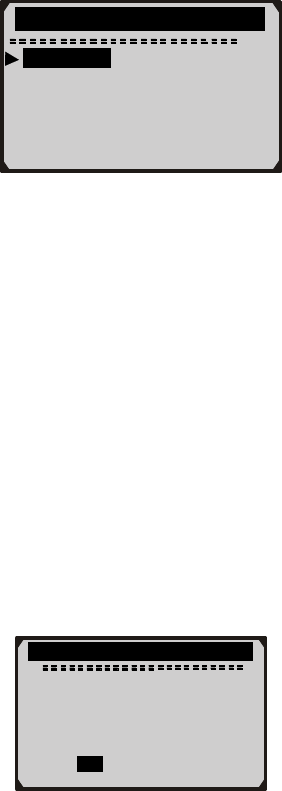
7) You will be prompted to erase previously stored data.
• Review previously stored data thoroughly before erasing.
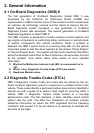
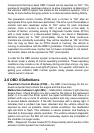
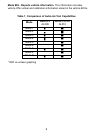
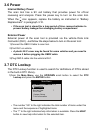
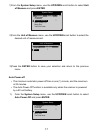
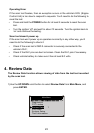
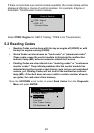
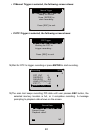
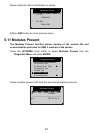
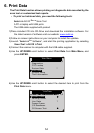
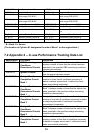
? Diagnostics
DTC Lookup
Review Data ?
Print Data
System Setup
Tool Information
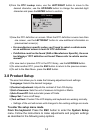
Diagnostic
Erase previously
stored data to save
data from this test?
YES NO