


18
TASCAM DR-22WL
4 – Recording
Setting the Low Cut Filter
The Low Cut Filter function can reduce noise from
air-conditioners, projector fans and unwanted wind noise.
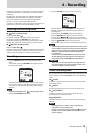
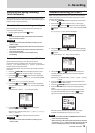
1. Press the RECORD button to set the recording standby
mode.
The RECORD indicator will flash and displays the recording
screen.
2. Press the F4 button to display the input setting screen.
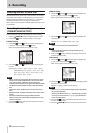
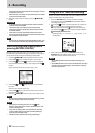
3. Press the F1 button to display the INPUT page of the
input setting screen.
4. Use the F2 and F3 buttons to select (highlight) the
parameter of the LCF item and press the F4 button.
Open the parameter list for the LCF item.
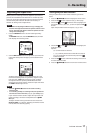
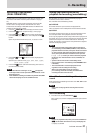
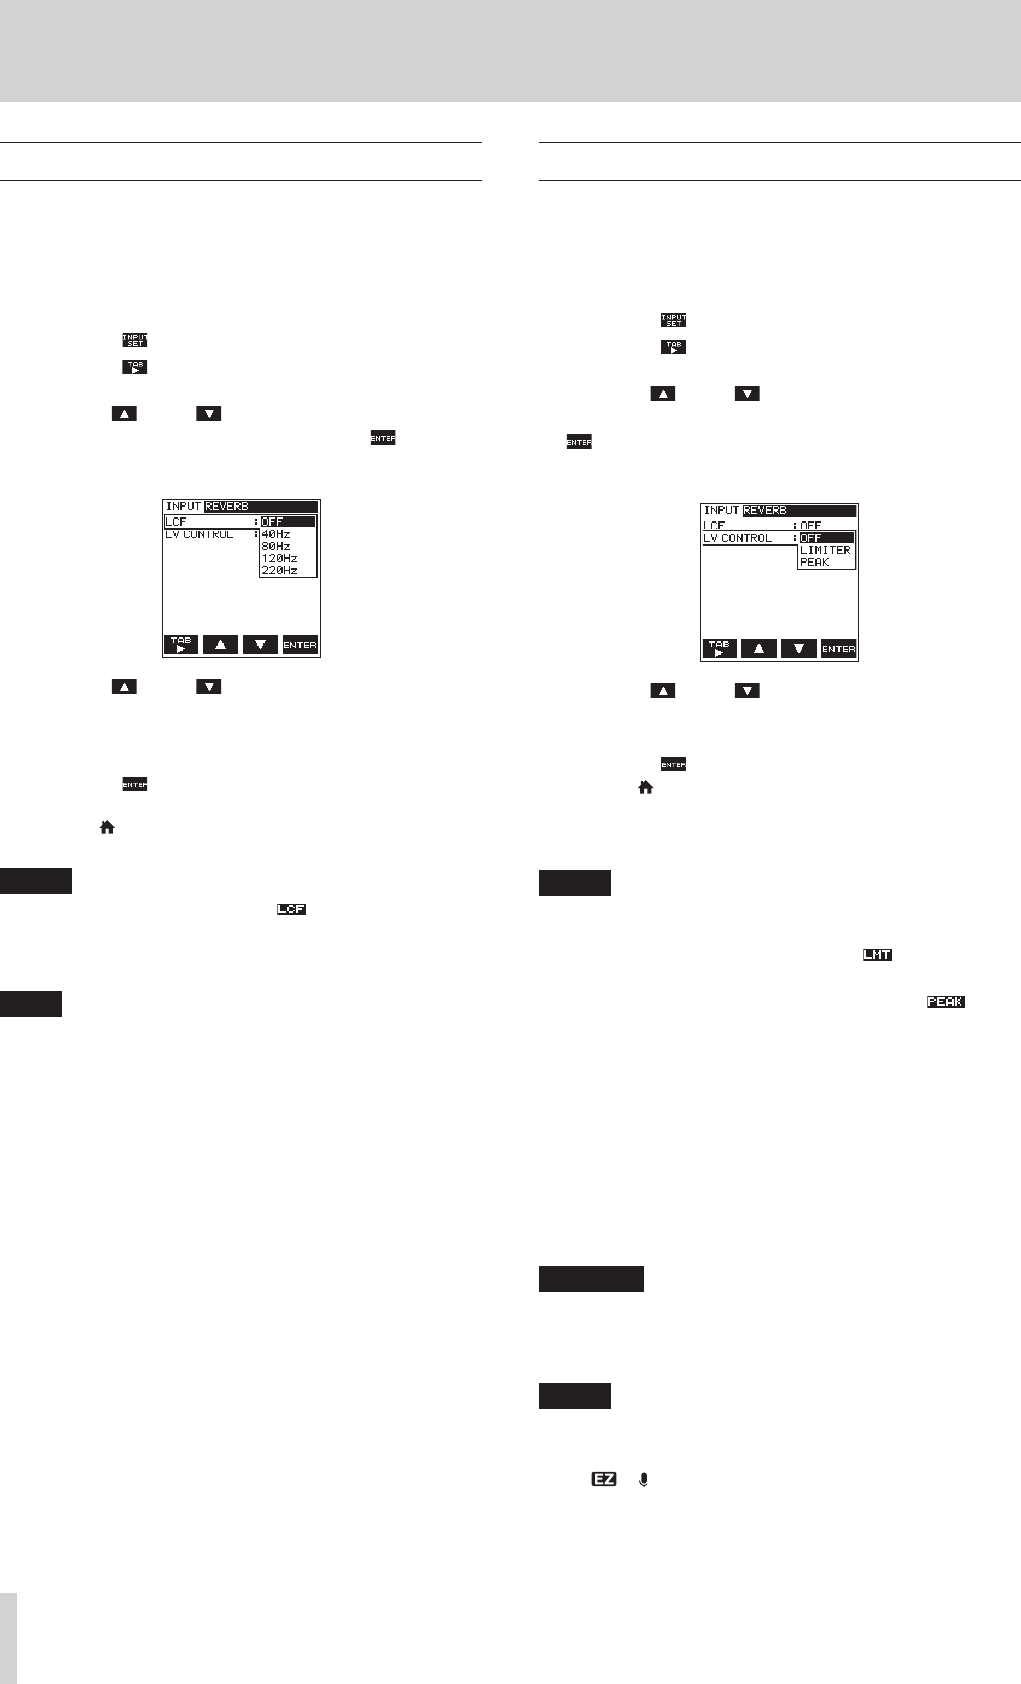
5. Use the F2 and F3 buttons to select (highlight) the
cut-off frequency.
Options: OFF (default value), 40Hz, 80Hz, 120Hz,
220Hz
6. Press the F4 button to finalize the selected cut-off
frequency for the Low Cut Filter.
7. Press the /MENU/8 button to return to the recording
screen.
NOTE
•
When the low-cut filter is on, the icon appears on the
recording screen.
•
The low-cut filter can be set and changed when in recording
standby.
TIPS
•
Setting it to larger value can reduce more noise in the
low-frequency range, but this is not recommended when
recording music.
•
The DR-22WL has a built-in reverb, which can be added to
the input source as desired. (See “Reverb function” on page
30.)
Using the level control function
You can set the recording level for microphone input.
1. Press the RECORD button to set the recording standby
mode.
The RECORD indicator will flash and displays the recording
screen.
2. Press the F4 button to display the input setting screen.
3. Press the F1 button to display the INPUT page of the
input setting screen.
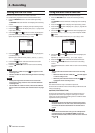
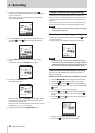
4. Use the F2 and F3 buttons to select (highlight) the
parameter of the LV CONTROL item and press the F4
button.
Open the parameter list for the LV CONTROL item.
5. Use the F2 and F3 buttons to select (highlight) the
function.
Options: OFF (default value), LIMITER, PEAK
6. Press the F4 button to finalize the selected function.
7. Press the /MENU/8 button to return to the recording
screen.
The selected function is shown with an icon in the recording
screen.
NOTE
The selected mode is shown with an icon in the recording
screen.
•
When the limiter function is ON, the icon will appear
on the recording screen.
•
When the peak reduction function is ON, the icon
will appear on the recording screen.
8
LIMITER
The limiter functions only at excessive input level.
This function is useful for musical instrument performance and
musical recordings.
8
PEAK (PEAK REDUCTION)
This function automatically reduce the recording level to an
appropriate value when input signal is too high. It is useful
when you cannot preset the recording level or unable to make
adjustments during recordings.
CAUTION
Distortion might occur if the input sound is too loud even
when the limiter is on. In such a case, lower the input level
or increase the distance between the mic and the sound
source.
NOTE
When level control function is ON, you can still adjust the
recording level by using the INPUT LEVEL volume. This
function cannot be used, however, when the scene dial is set
to or .