


PAGE 26
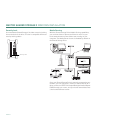
MAXTOR SHARED STORAGE II
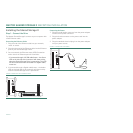
MACINTOSH INSTALLATION
Creating a Public/Home User Account
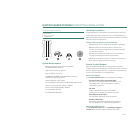
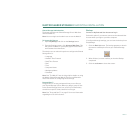
1. From the main
EasyManage
screen, click the
Create a
User Account
button.
2. Select the
Public User Account
type.
3. Select the
Home Folder
type.
4. Type a
Name
for your shared folder.
5. Click
Create
. At this point, the account is created (this
may take a few minutes to complete).
6. When created, the word “
Success
” will appear near the
help button and a shortcut to the shared folder for this
user account will appear on the desktop.
7. Double-click the
shortcut
to view its contents.
Creating a Public/Business User Account
1. From the main
EasyManage
screen, click the
Create a
User Account
button.
2. Select the
Public User Account
type.
3. Select the
Business Folder
type.
4. Type a
Name
for your shared folder.
5. Click
Create
. At this point, the account is created (this
may take a few minutes to complete).
6. When created, the word “
Success
” will appear near the
help button and a shortcut to the shared folder for this
user account will appear on the desktop.
7. Double-click the
shortcut
to view its contents.
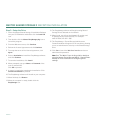
Creating a Public/None User Account
1. From the main
EasyManage
screen, click the
Create a
User Account
button.
2. Select the
Public User Account
type.
3. Select the
None Folder
type.
4. Type a Name for your shared folder.
5. Click
Create
. At this point, the account is created (this
may take a few minutes to complete).
6. When created, the word “
Success
” will appear near the
help button and a shortcut to the shared folder for this
user account will appear on the desktop.
7. Double-click the
shortcut
to view its contents.
Creating a Private/Home User Account
1. From the main EasyManage screen, click the
Create a
User Account
button.
2. Select the
Private User Account
type.
3. Select the
Home Folder
type.
4. Type a
Name
for your shared folder.
5. Type and re-type a
Password
.
6. Click
Create
. At this point, the account is created (this
may take a few minutes to complete).
7. When created, the word “
Success
” will appear near the
help button and a shortcut to the shared folder for this
user account will appear on the desktop.
8. Double-click the shortcut to view its contents.