


PAGE 16
MAXTOR SHARED STORAGE II WINDOWS INSTALLATION
Exit
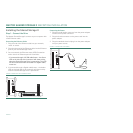
This feature exits (closes and removes) the OneTouch Status
icon from your System Tray. To exit OneTouch Status:
1. Click on the OneTouch Status icon and select Exit from
the menu.
2. A window appears asking you to confirm this task. Click
Yes to continue. This closes the OneTouch Status
application. In the event that the OneTouch Status Icon
still appears in the System Tray, simply move your mouse
over it to remove it.
To Re-open the OneTouch Status Application
1. Click Start ➔ Programs (all Programs with Windows XP)
➔ Maxtor ➔ OneTouch Status. The OneTouch Status
application will load the icon back into the System Tray.
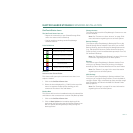
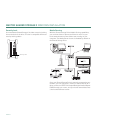
Using Media Server
Use Media Server to Manage your Digital Photo, Music and
Video Collection
If you have a networked home entertainment system, you can
use Media Server to manage your digital photo, music and
video collection on your Shared Storage Drive and use it with
your entertainment system. Media Server can even search
your iTunes Music folder for music and video files.
Media Server recognizes files in the following folders on your
Shared Storage Drive: Our Photos, Our Music, Our Movies, My
Photos, My Music, My Movies or My Multimedia. By placing
your files in these folders, they will automatically be available
for use with your entertainment system. In order to use Media
Server, your entertainment system will need to be compatible
with UPnP (Universal Plug and Play).
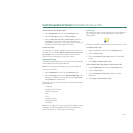
To enable Media Server on your Shared Storage Drive, click
the Media Server button in the main EasyManage screen.
To Enable Media Server
1. From the EasyManage main menu, click the Media Server
button.
2. This will launch your browser. When prompted, type the
User Name and Password to authenticate.
3. Click Login.
This will launch your browser directly to the Manage
Digital Photos, Music, and Video page.
Note: See “The Web UI” later in this guide for details on using
the Maxtor Shared Storage Web UI - Manage Digital Photos,
Music, and Video for more information on configuring these
settings.