


PAGE 24
MAXTOR SHARED STORAGE II
MACINTOSH INSTALLATION
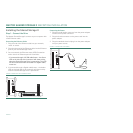
Step 3 - Setup the Drive
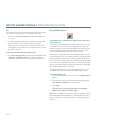
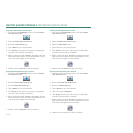
1. Insert the Maxtor Shared Storage II Installation Software
into your CD-ROM drive and double-click the
Install CD
icon.
2. Then double-click the
Maxtor
EasyManage.pkg
icon to
launch the program.
3. From the Welcome screen, click
Continue
.
4. Review the License Agreement and click
Continue
.
5. To accept the terms of the License Agreement, click
Agree
.
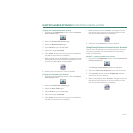
6. Select a
destination
to install the EasyManage software
and click
Continue
.
7. To start the installation, click
Install
.
8. When prompted, type your
Name
and
Password
of the
user to authenticate.
Click
OK
to proceed.
9. A restart is required to complete the installation. Click
Continue
Installation
to proceed.
10. The EasyManage software will install on your computer.
11. When finished, click
Restart
.
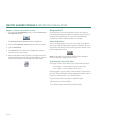
12. When the computer is ready, double-click the
EasyManage
icon.
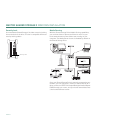
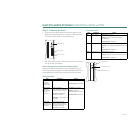
13. The EasyManage software will begin locating Shared
Storage Drives detected on the network.
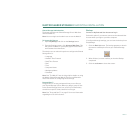
14. When found, you will see the Network ID number and
IP address for the located drive(s). For example:
MSS-0170CA (192.169.1.108).
15. The EasyManage - Shared Storage Administrator
Password window will appear for all new drives, allowing
you to set administrative security on the Shared Storage
drive.
16. Click
Yes
to launch the
Web User Interface
and set an
administrative password.
Note:
See “The Web UI” later in this guide for details on
using the Maxtor Shared Storage Web UI - Shared Folder
Backup for more information on configuring these
settings.