MY BOOK LIVE
USER MANUAL
CONNECTING THE DRIVE AND GETTING STARTED –17
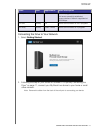
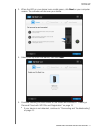
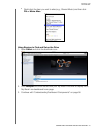
5. You’ve successfully setup your My Book Live device, and can now click one of
the links on the screen to begin using your device or click Finish to close the
setup wizard.
Getting Started Without the Online Setup Software
(Windows & Mac OS)
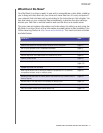
If you do not use the online setup software to get started, you can still:
Use your My Book Live as an external hard drive, dragging and dropping files
to and from it.
Configure the drive using the My Book Live dashboard. (See “Using the My
Book Live Dashboard” on page 54.)
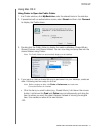
Save and restore files using Windows File History (see “Using Windows 8 File
History” on page 37), Windows Backup (see “Using Windows 7/Windows
Vista Backup” on page 38) or Apple Time Machine (see “Using Apple Time
Machine” on page 39).
Using Windows 8
Opening the Public Network
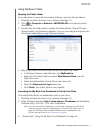
As an alternative to using the online software setup, open the drive as follows:
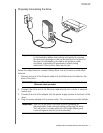
1. Physically connect the drive to your network (see “Physically Connecting the
Drive” on page 11).
2. On the Toolbar, click File Explorer .
3. Click Network > MYBOOKLIVEDUO, and locate the drive’s Public folder.
4. Double-click the Public folder to display the Shared Music, Shared Pictures,
Shared Videos, and Software subfolders. You can now drag and drop files into
the shared media folders using Windows Explorer.


