


D-Link ShareCenter Pulse User Manual
Page 54
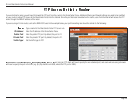
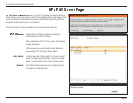
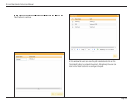
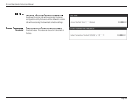
Here the user can enable the Time Machine option.
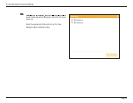
After enabling the Time Machine option the following
window will appear. In this window the user can add,
delete and view Time Machine entries.
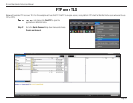
To add an entry, click on the ‘Add’ button.
To delete an entry, click on the ‘Delete’ button.
To remove all the Time Machine entries, click on the
‘Remove All Network Shares’ button.
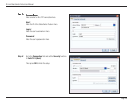
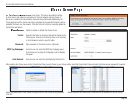
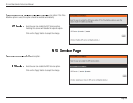
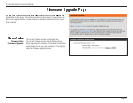
To add NAS folders as a destination for the OS X Time
Machine backup, carry out the following:
1. Check the Enable Time Machine box.
2. Click the ‘New’ button.
3. Check the boxes next to the NAS folders that you
want to use as OS X Time Machine destinations.
4. Click the Next button.
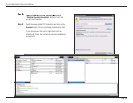
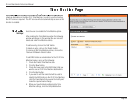
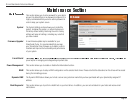
5. If you want to edit the name that will be used to
identify the NAS folders in the OS X Time Machine,
click the Share Name that you want to modify and
make the required name change.
6. When you have finished configuring the Time
Machine settings, click the Completed button.
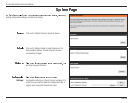
a backup destination in the Mac OS X Time Machine. In order to use this function,
the AFP service is required. The AFP service will start automatically as soon as this
function is enabled.