


Chapter 2 Music Features 19
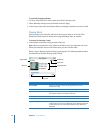
Importing Music From Your Audio CDs Into iTunes
Follow these instructions to get music from your CDs into iTunes.
To import music from an audio CD into iTunes:
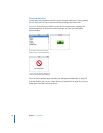
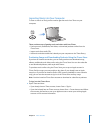
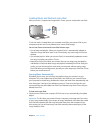
1 Insert a CD into your computer and open iTunes.
If you have an Internet connection, iTunes gets the names of the songs on the CD from
the Internet (if available) and lists them in the window.
If you don’t have an Internet connection, you can import your CDs and, later, when you’re
connected to the Internet, choose Advanced > Get CD Track Names. iTunes will bring in
the track names for the imported CDs.
If the CD track names aren’t available online, you can enter the names of the songs
manually. For more information, see “Entering Song Names and Other Details” on
page 19.
With song information entered, you can browse for songs in iTunes or on iPod by title,
artist, album, and more.
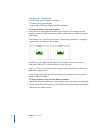
2 Click to remove the checkmark next to any song you don’t want to import from
the CD.
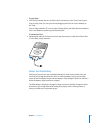
3 Click the Import CD button. The display area at the top of the iTunes window shows
how much time it will take to import each song.
By default, iTunes plays songs as they are imported. If you’re importing a lot of songs,
you might want to stop the songs from playing to improve performance.
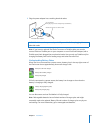
4 To eject the CD, click the Eject (C) button.
5 Repeat these steps for any other CDs with songs you want to import.
Entering Song Names and Other Details
To enter CD song names and other information manually:
1 Select the first song on the CD and choose File > Get Info.
2 Click Info.
3 Enter the song information.
4 Click Next to enter information for the next song.
Adding Lyrics
You can type or paste song lyrics in plain text format into iTunes so that you can view
the song lyrics on iPod while the song is playing.
To type or paste lyrics into iTunes:
1 Select a song and choose File > Get Info.
2 Click Lyrics.