57
GB
Printing in various ways
The following layouts are available.
• 1/2/4/9/13/16 photos per page
1 From the CreativePrint menu, press
B/b/v/V to select (Layout
print), then press .
The Layout print templates are displayed.
2 Press B/b/v/V to select the desired
template, then press .
The preview of the selected template is
displayed
3 Select an image.
When you select a template with multiple
images, select an image for each area. For
details on how to select an image, see step
3 on page 55. When you select image(s),
the adjustment screen appears.
4 Edit the image.
For details on how to edit an image, see
page 58.
5 Adjust the image.
For details on how to adjust an image, see
page 59.
6 Press PRINT.
Operate by following the instructions on
the screen.
Tips
• You can save the layout. See page
59.
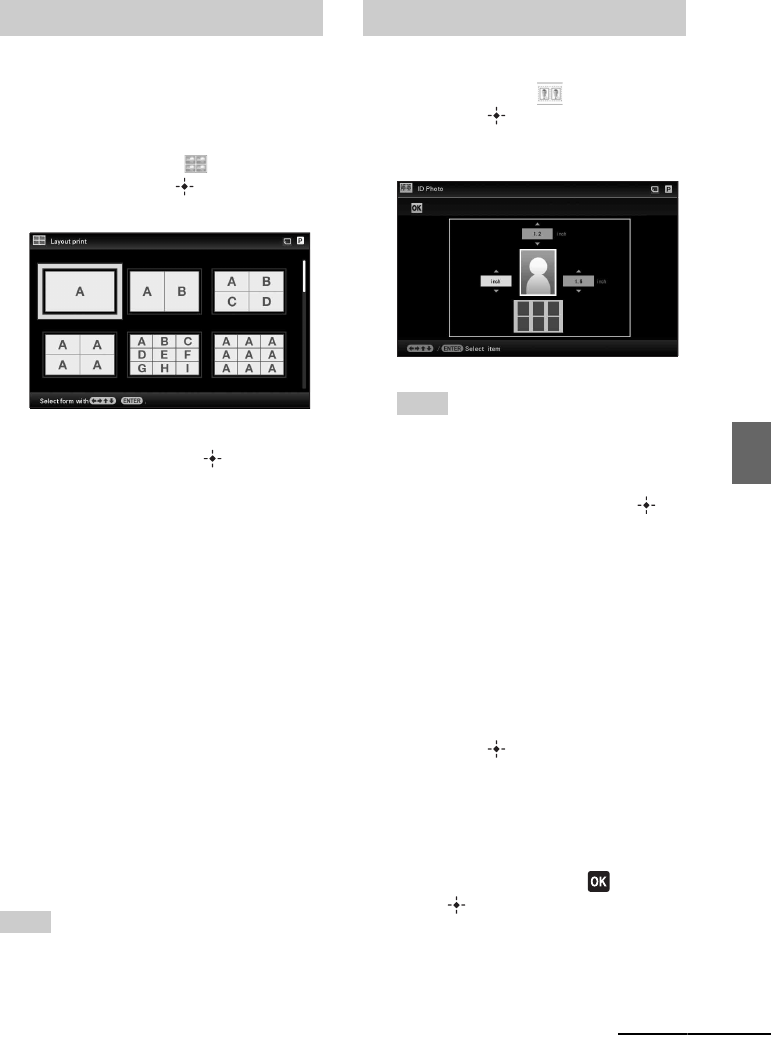
1 From the CreativePrint menu, press
B/b/v/V to select (ID Photo),
then press .
The window used for setting the height
and width of an ID photo is displayed.
Tips
• You can set a maximum size of 7.0 (width)
× 9.0 (height) cm.
2 Press B/b/v/V to select the item that
you want to adjust, and press .
• To specify the unit:
Select the text box at the left of the photo.
You can select either [cm] or [inch].
• To specify the height:
Select the figure box at the right of the
photo.
• To specify the width:
Select the figure box in the upper of the
photo.
3 Press v/V to set the size or unit and
then press .
The layout image of the selected size is
displayed.
4 If you want to specify the other
items, repeat steps 2 and 3.
5 Press B/b/v/V to select and
press .
The window for selecting an image is
displayed.
Making a Layout print Making an ID Photo
Continued


