4-Channel Mode Recording
ZOOM H2
29
Setup examples
The recommended placement when using the
H2 in 4-channel mode is shown below.
■
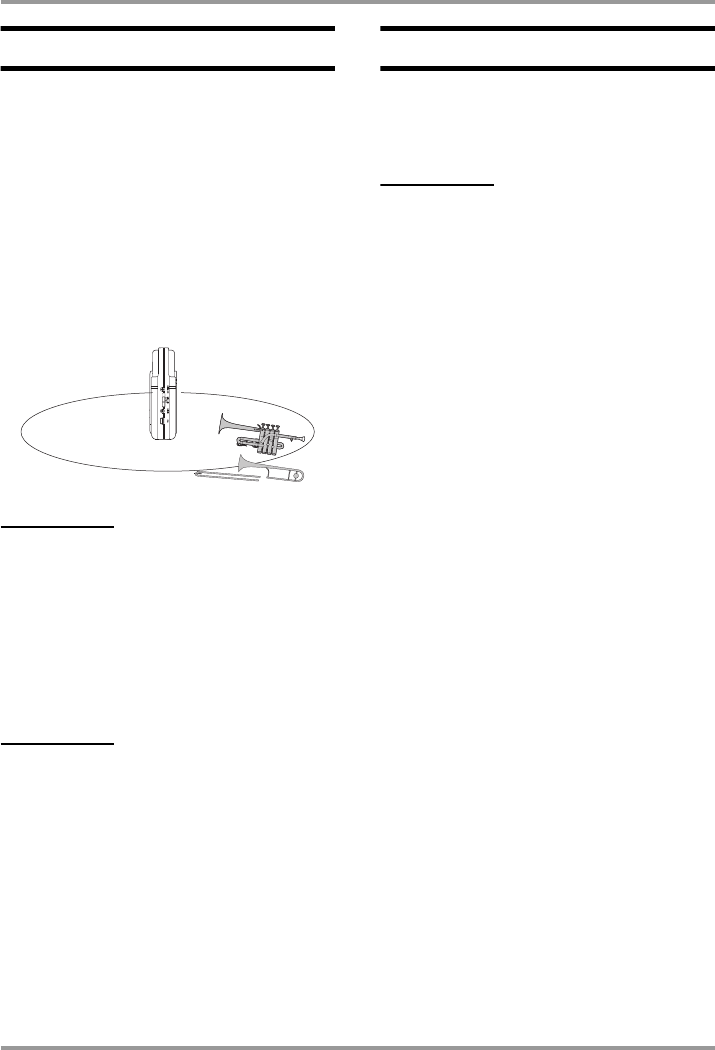
Recording a band rehearsal
When the members of the band are facing
each other, the H2 can be placed in the middle
to record sound coming from the front and
rear.
HINT
The front/rear/left/right balance can easily be
adjusted after a recording was made in 4-
channel mode.
■
Field recording
Position the H2 upright and have the front
panel face the main sound source.
NOTE
If you hold the H2 in your hand during field
recording, scratching noises may occur which
will detract from the recording. To avoid this,
mount the H2 on the supplied mic clip adapter
and grasp the adapter using a glove.
Recording
To record in 4-channel mode, proceed as
follows.
HINT
• In the initial condition, the H2 in 4-channel
mode is set up to record two stereo WAV
files (16 bit quantization, sampling frequency
44.1 kHz). The settings for quantization and
sampling frequency can be changed (
→
p.
35).
• After recording in 4-channel mode, you can
adjust the front/back/left/right balance and
convert the result into a single WAV file (
→
p.
57).
1.
Bring up the 4-channel mode top
screen.
2.
Adjust the input sensitivity.
In 4-channel mode, only the built-in mics can
be used. Set the input sensitivity to a suitable
value using the [MIC GAIN] switch.
Select the position of the [MIC GAIN] switch
so that the [MIC ACTIVE] indicator on the
front panel or rear panel does not flash when
the volume of the sound source is at
maximum. For information on recommended
[MIC GAIN] switch settings, see page 15.
3.
Set the H2 to the recording
standby condition.


