


Recording
ZOOM H2
13
Power-on
Use the following procedure to turn the H2 on.
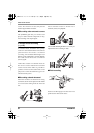
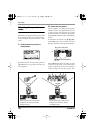
1.
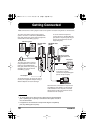
Insert a SD card into the H2.
Verify that power to the H2 is off. Then
insert the SD card into the [SD CARD] slot
(
→
p. 11).
Verify that a monitor system or headphones
are connected to the [PHONES/LINE OUT]
jack of the H2.
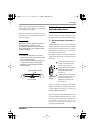
HINT
When using an external monitor system, make
sure that the volume is fully turned down and
power is off.
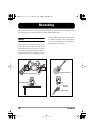
2.
Turn power on in the order H2
→
monitor system.
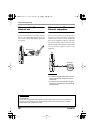
To turn the H2 on, slide the [POWER] switch
into the ON position. Next, turn power to the
monitor system on and adjust the volume.
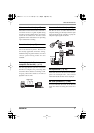
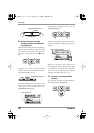
NOTE
• If the indication "No Card" appears when
you turn the H2 on, no SD card was
detected. Make sure that the SD card is
inserted properly.
• If the indication "Format Card?" appears
when you turn the H2 on, the inserted SD
card has not been initialized. To initialize
(format) the card, use the
3
(REW)/
2
(FF)
keys to move the cursor to "YES" and press
the
5
(REC) key.
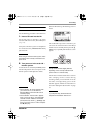
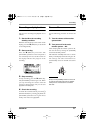
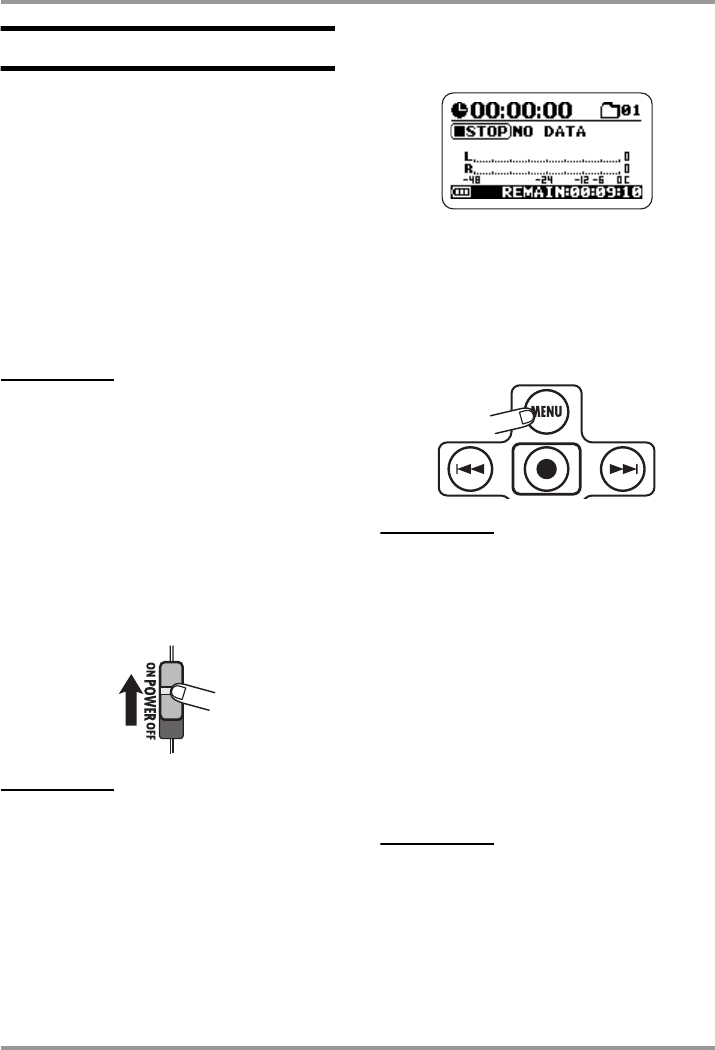
When the H2 starts up, the following screen is
shown.
This is called the "top screen". From here, you
can access the various functions of the H2.
If
another screen is currently shown, press the
4
(MENU) key repeatedly until the above screen
appears.
HINT
The top screen will look slightly different,
depending on the currently selected mode
(stereo mode or 4-channel mode).
The H2 has an internal clock that is used for
time stamping of files created during
recording. When you turn the H2 on for the
first time, a message asking you to set the
date/time appears. Follow the instructions in
the section "Setting the date and time" on page
78.
NOTE
If you skip this step, all files will be time
stamped with the default "2007/01/01".
H2-E.fm 13 ページ 2007年7月11日 水曜日 午後3時19分