Recording
Recording
25
EN
Adjusting the recording level manually
— Manual recording
For optimum recording with
microphones or from analog
audio equipment, adjust the
recording level manually.
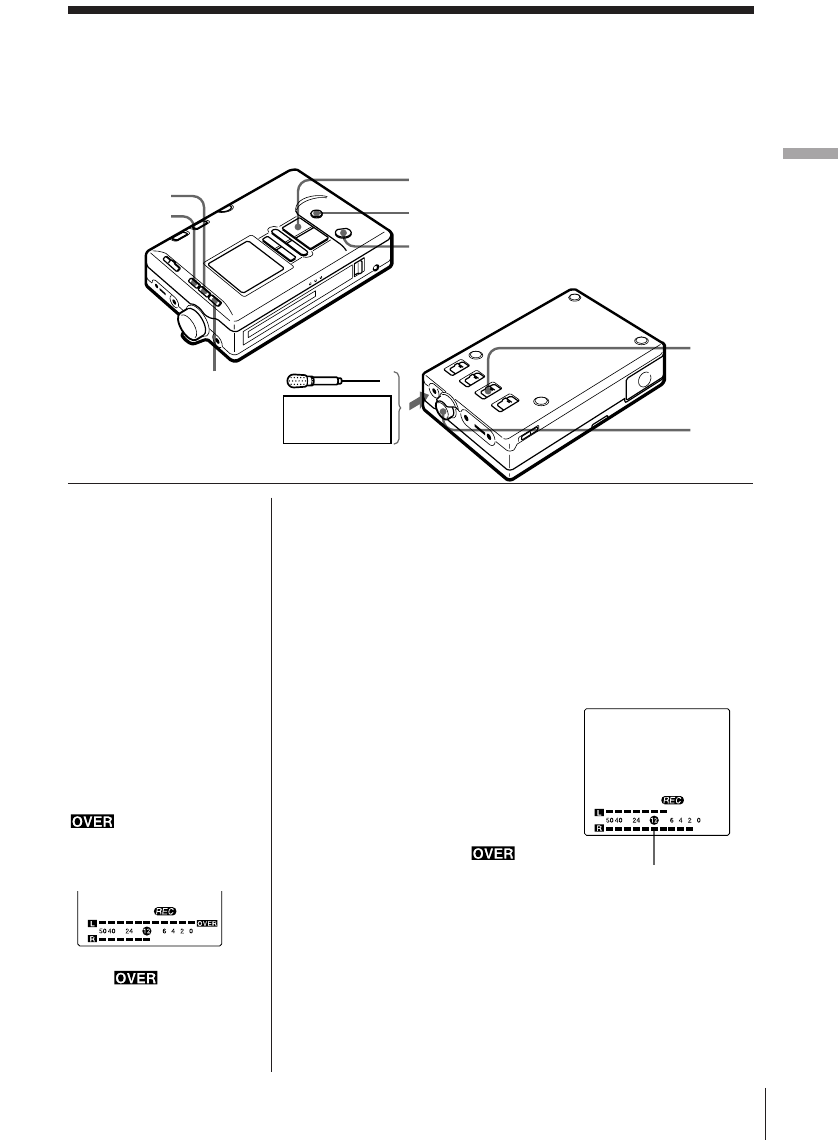
1 Set the MANUAL • MIC LIMITER • AUTO (AGC)
switch to MANUAL or MIC LIMITER.
MANUAL: to record via analog connection or
microphones.
MIC LIMITER: to record via microphones.
2 Press the r REC button to enter the recording
monitor mode.
3 Begin playback of the source and turn the REC
LEVEL control to adjust the
recording level while
monitoring the sound.
Turn the REC LEVEL
control so that the peak
level indicators are
maintained around level !™.
Make sure that
does
not appear when there is a
loud sound input.
4 Press the ( PLAY button while pressing the
r REC button to begin recording.
Peak level indicator
-dB-
What’s the
MIC LIMITER?
The MIC LIMITER
automatically holds down
sudden large input
signals. Setting the
recording mode to MIC
LIMITER and setting the
recording level slightly
higher than the usual
level will give good
results when recording at
parties or conferences.
Note
Recording level is set
excessively high when
appears in the
right side of the peak
level indicator. Turn
down the recording level.
If distortion still occurs
when is not
displayed, set the MIC
ATT switch to 20dB or
move the microphone
away from the sound
source.
-dB-
CLOCK/SET
r REC
( PLAY
COUNTER • –
RESET • +
P PAUSE
MANUAL
• MIC
LIMITER
• AUTO
(AGC)
to MIC/
LINE IN
Stereo unit,
mixer, etc.
REC
LEVEL
