The Initial Setup menu
13
96
En
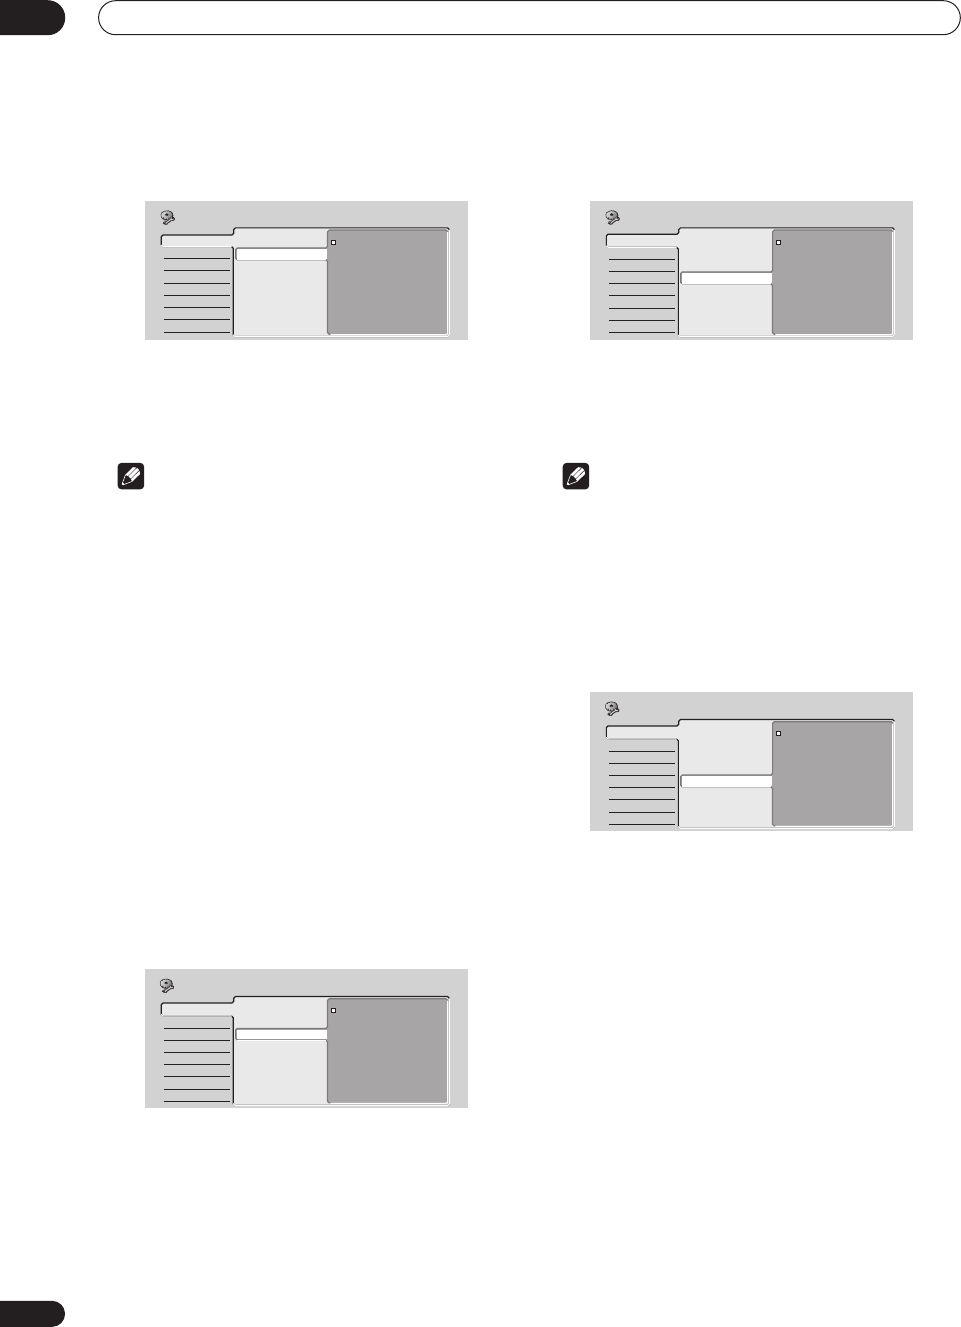
Input Line System
• Default setting: 525 System
For standard NTSC or PAL–60 recording, leave the input
line system to 525 System. When recording a PAL or
SECAM signal through an external input, change to 625
System.
Note
• If when this setting is changed, the screen goes
blank (due to incompatibility with your TV), you can
switch back by pressing and holding the front panel
+ button then pressing DVD (also front panel) while
the recorder is stopped.
• When you switch the Line Input System setting the
Copy List is erased. If you switch the setting using the
+ button and DVD buttons as described above, there
is no confirmation, so please use with care.
• You can’t mix recordings of different TV line systems
on the same disc.
• When you change this setting, the Input Colour
System setting also changes (see Input Colour
System on page 98).
• Changing the tuner country setting in the Setup
Navigator or using the Auto or Manual Channel
Setting functions may change the Input Line System
setting.
On Screen Display
• Default setting: On
On the default setting, the recorder shows on-screen
operation displays (Play, Stop and so on). Change to Off
to hide these displays.
Front Panel Display
• Default setting: On
On the default setting, the time is shown in the front
panel display when the recorder is in standby. Switch to
Off to have the front panel display switch off completely
when in standby.
Note
• When set to Off, the display still lights dimly in
standby when setting a timer recording, or during
Auto Start Recording.
Remote Control Set
• Default setting: Recorder1
You only need to set this if you are using more than one
Pioneer DVD recorder in the same room.
So that each remote control operates only its own
recorder, make this setting different for each recorder
and remote in the room.
There are three different recorder IDs. When set to
Recorder2 or Recorder3, the remote control mode is
shown in the front panel display.
After selecting a new recorder ID, you have to confirm the
change by selecting Yes or No (use the / (cursor
left/right) buttons), then pressing ENTER.
Note that as soon as you change the recorder ID, the
remote becomes inoperative until you change the remote
to the same ID.
To set the remote, press and hold RETURN and a number
button (1, 2 or 3) until the indicator on the remote lights.
Basic
Tuner
Video In/Out
Audio In
Audio Out
Language
Recording
Playback
Clock Setting
Input Line System
On Screen Display
Front Panel Display
Remote Control Set
Setup Navigator
525System
625System
Initial Setup
Basic
Tuner
Video In/Out
Audio In
Audio Out
Language
Recording
Playback
Clock Setting
Input Line System
On Screen Display
Front Panel Display
Remote Control Set
Setup Navigator
On
Off
Initial Setup
Basic
Tuner
Video In/Out
Audio In
Audio Out
Language
Recording
Playback
Clock Setting
Input Line System
On Screen Display
Front Panel Display
Remote Control Set
Setup Navigator
On
Off
Initial Setup
Basic
Tuner
Video In/Out
Audio In
Audio Out
Language
Recording
Playback
Clock Setting
Input Line System
On Screen Display
Front Panel Display
Remote Control Set
Setup Navigator
Recorder1
Recorder2
Recorder3
Initial Setup


