Recording
06
54
En
Recording from an external
component
You can record from an external component, such as a
camcorder or VCR, connected to one of the recorder’s
external inputs.
1 Make sure that the component you want to
record from is connected properly to the DVD
recorder.
See Chapter 2 (Connecting up) for connection options.
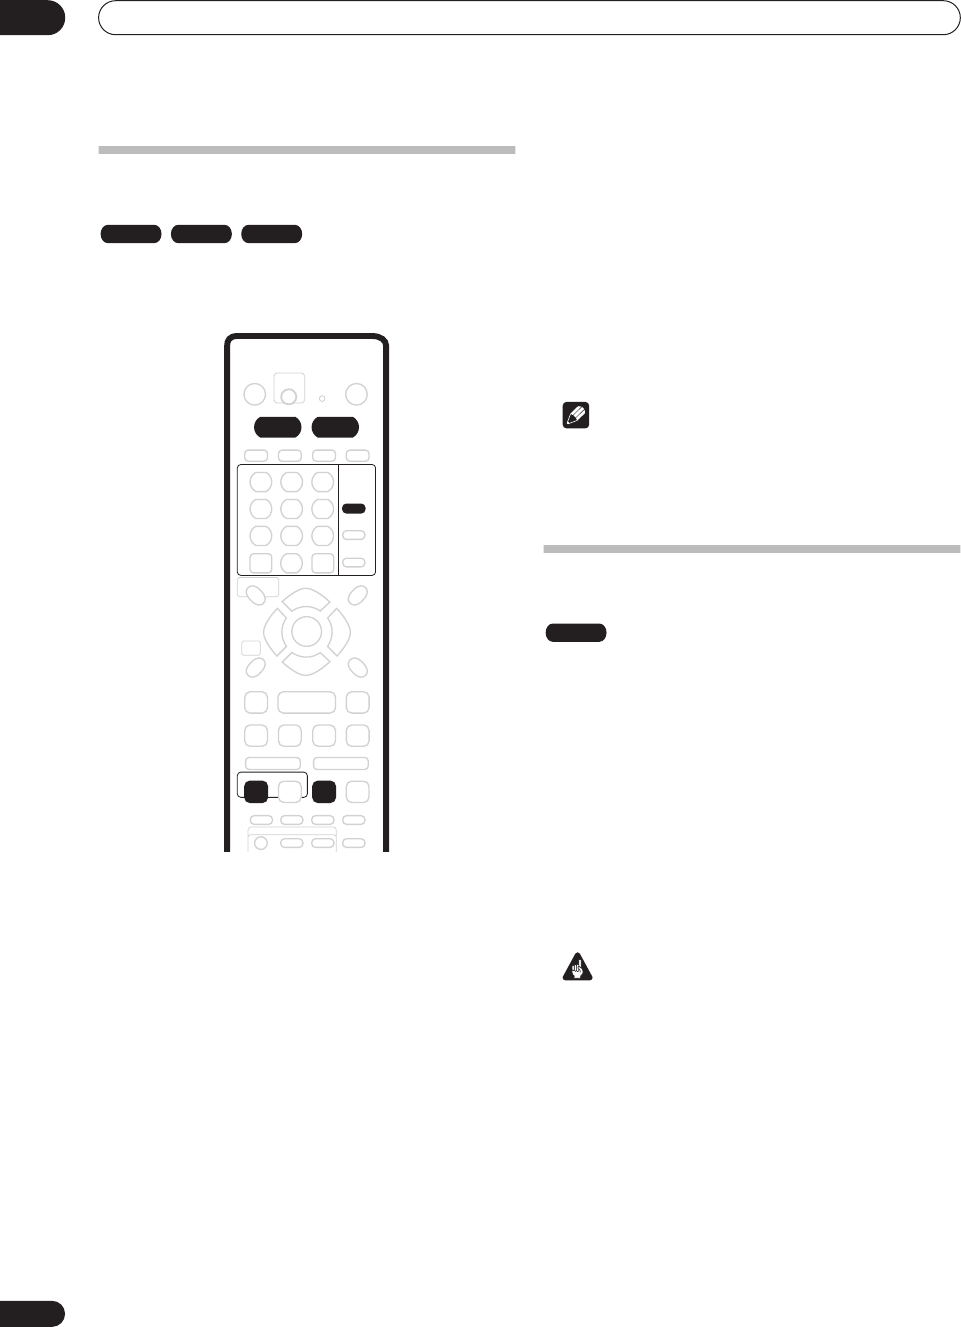
2 Press INPUT SELECT repeatedly to select one of
the external inputs to record from.
There are three analog inputs and a DV digital input. The
current input is shown on-screen and in the front panel
display:
• L1 – Input 1/Auto Start Rec
• L2 – Input 2 (front panel)
• L3 – Input 3
• DV – DV input/output (front panel)
Check that the Audio In settings for External Audio,
Dual Mono Recording and DV Input are as you want
them (see NTSC on PAL TV on page 99).
• If the aspect ratio is distorted (squashed or
stretched), adjust on the source component or your
TV before recording.
3 Set up the recorder.
• Use REC MODE to set the recording quality. See
Setting the picture quality/recording time on page 46
for detailed information.
• Press HDD to record to the hard disk drive, or DVD to
record to a DVD.
4 Press ì REC when you’re ready to start
recording.
• The recorder will only start recording from the DV IN/
OUT jack if there is a valid signal. Recording will also
pause if the signal is interrupted during recording.
Note
• If your source is copy-protected using CopyGuard,
you will not be able to record it. See Restrictions on
video recording on page 45 for more details.
Automatic recording from a satellite
tuner
If you have a satellite tuner or some other kind of set top
box connected to the L1 input, you can have the recorder
start and stop recording automatically with the timer
settings of the connected component. (If the other
component doesn’t have a built-in timer, you’ll need to
use it with an external timer unit.)
After setting up for Auto Start Recording, this recorder
starts recording when it detects a signal from the other
component. When the signal ceases, the recorder stops
recording.
If you want to use this recorder with the timer features of
your satellite tuner, see Additional information for cable/
satellite/STB (set-top box) users on page 114.
Important
• It takes a little while for this recorder to switch on and
start recording after detecting a signal. Please bear
this in mind when setting the timer.
• If Auto Start Recording is set, it will not start if
another timer recording is in progress.
• Timer recordings take precedence over Auto Start
Recording. Auto Start Recording will stop if a timer
recording is due to start. After the timer recording
has finished, Auto Start Recording will resume.
1 Set the timer for the satellite receiver (or other
component), then switch it into standby (if
necessary).
Check the manual that came with the receiver if you’re
not sure how to do this.
VR mode Video mode HDD
INPUT
SELECT
HDD DVD
ENTER
CLEAR
REC
REC MODE
ì
HDD
