Getting started
04
27
En
Use the / (cursor up/down) buttons to select
Compatible, Not Compatible, or Don’t Know, then
press ENTER.
• Note that progressive scan video is only output
through the component video outputs (see page 16).
9 Is this recorder connected to an AV amp/receiver
for digital audio?
Use the / (cursor up/down) buttons to select
Connected, or Not Connected, then press ENTER.
• If you select Not Connected, that completes the
setup. Press ENTER to exit the Setup Navigator, or
select Go Back if you want to start again.
10 Select the digital audio formats your AV amp/
receiver is compatible with.
Use the / (cursor up/down) buttons to select Dolby
Digital, Dolby Digital, DTS or PCM only, then press
ENTER.
• Check the operating instructions that came with your
AV amp/receiver if you’re not sure what it’s
compatible with.
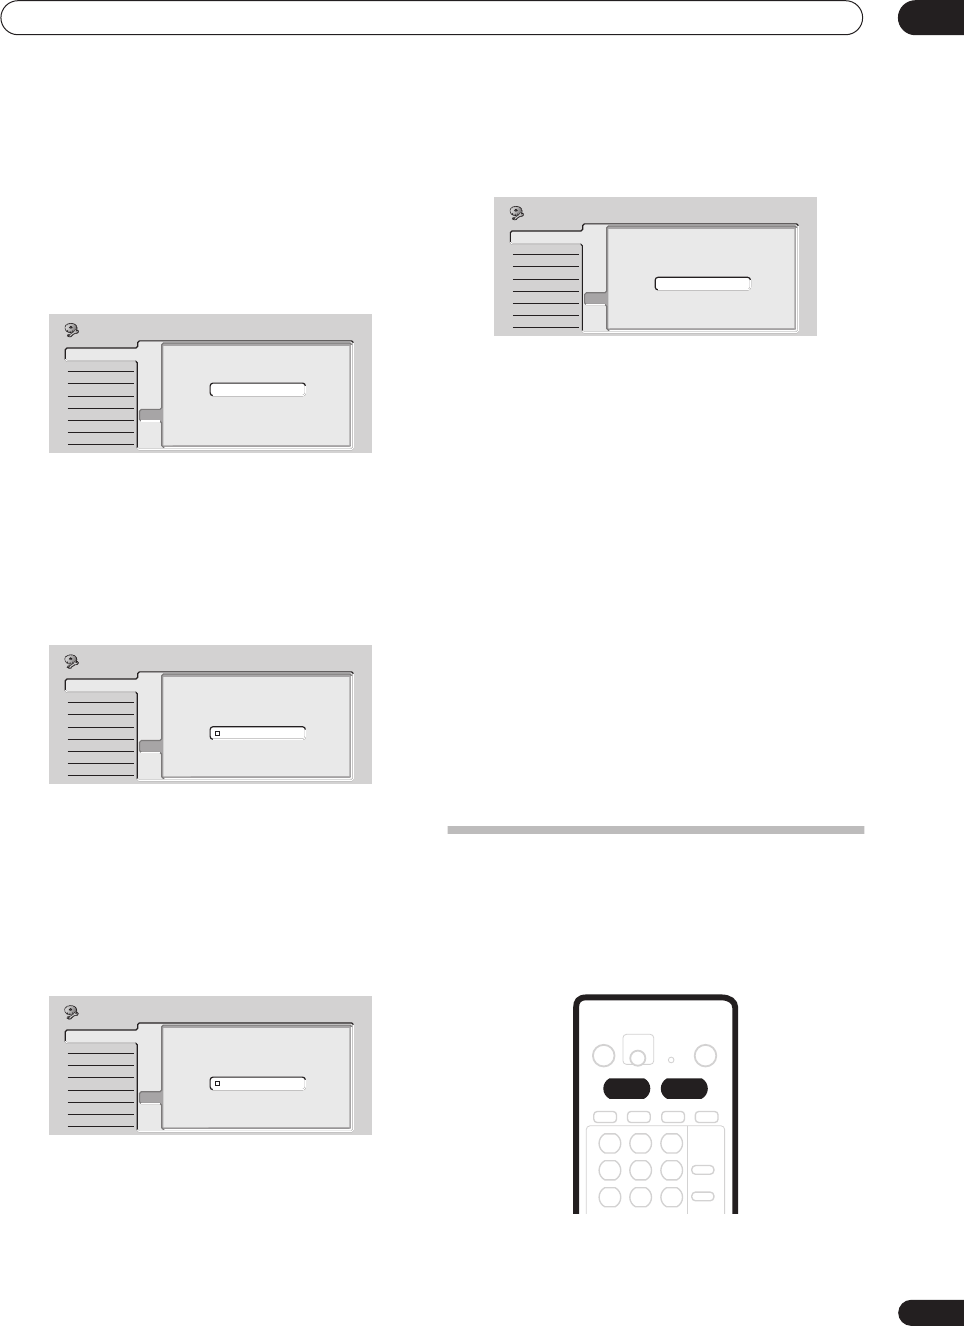
11 Is your AV amp/receiver compatible with 96 kHz
digital audio?
Use the / (cursor up/down) buttons to select
Compatible, Not Compatible, or Don’t Know, then
press ENTER.
• Check the operating instructions that came with your
AV amp/receiver if you’re not sure.
12 That’s it! Press ENTER to finish setting up, or
select ‘Go Back’ if you want to start again.
Other settings you can make
After setting up using the Setup Navigator, you should be
ready to start enjoying your DVD recorder. It’s possible,
however, that you may want to make a couple of
additional settings, depending on how the recorder is set
up for TV broadcasts.
• Manual channel setting – This setting lets you skip
channels where there is no station, as well as
manually tune to stations. See Manual CH Setting on
page 97.
• VCR Plus+ channel setting – This setting lets you
assign guide channels to ensure that the VCR Plus+
programming system works correctly. See VCR
Plus+ CH Setting on page 97.
That completes basic setup using the Setup Navigator.
• Setting up the remote to control your TV – You can set
up the supplied remote control to control many
brands of TV. See Setting up the remote to control your
TV on page 108.
Selecting the hard disk or DVD for
playback and recording
The HDD and DVD buttons (remote control and front
panel) are used to select the hard disk (HDD) or DVD for
playback and recording. The indicator in the front panel
display shows which is currently selected.
Basic
Tuner
Video In/Out
Audio In
Audio Out
Language
Recording
Playback
Clock Set
Input Line System
On Screen Display
Front Panel Display
Remote Control Set
Setup Mavigator
Setup Mavigator
AV Amp Digital Connect
Connected
Not Connected
Initial Setup
Basic
Tuner
Video In/Out
Audio In
Audio Out
Language
Recording
Playback
Clock Set
Input Line System
On Screen Display
Front Panel Display
Remote Control Set
Setup Mavigator
Setup Mavigator
AV Amp Compatibility
Dolby Digital
Dolby Digital,DTS
PCM only
Initial Setup
Basic
Tuner
Video In/Out
Audio In
Audio Out
Language
Recording
Playback
Clock Set
Input Line System
On Screen Display
Front Panel Display
Remote Control Set
Setup Mavigator
Setup Mavigator
Initial Setup
96kHz PCM Compatible
Compatible
Not Compatible
Don't Know
Basic
Tuner
Video In/Out
Audio In
Audio Out
Language
Recording
Playback
Clock Set
Input Line System
On Screen Display
Front Panel Display
Remote Control Set
Setup Mavigator
Setup Mavigator
Setup is complete!
Enjoy using your DVD recorder!
Finish Setup
Go Back
Initial Setup


