39
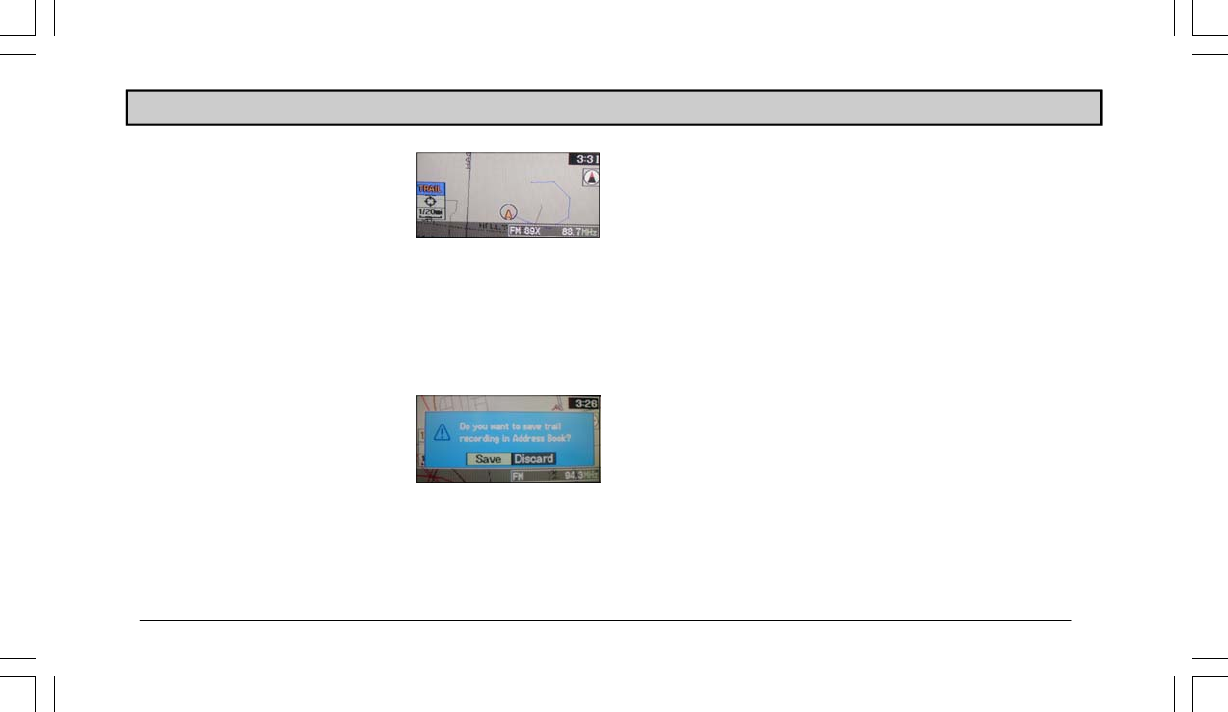
5. The Map screen appears. As
you drive the system will begin
recording your route. Every 164
feet (80 meters) the system will
drop “points” and connect these
points by lines. You will see
your trail on the screen.
NOTE: The Trail icon is yellow when Trail mode is on.
6. When you are done recording your trail, highlight the
Trail icon and press ENTER.
7. A message appears on the
screen. Highlight “Save” to save
the trail and press ENTER.
NOTE: If you do not wish to save the trail, highlight “Discard”. You will
be taken back to the Map screen.
8. The Input Trail Name screen appears. Use the Select En-
coder to input the name of your trail. It is recommended
that you number the trail end point, i.e. “TRAIL2”. High-
light “Save” and press ENTER.
9. A message appears prompting you to save the last posi-
tion on the road. If you didn’t save the current position
before you began the trail, follow the “Using the Map
Cursor” procedure on the previous page to do so.
10. The
Map screen appears with the Trail function turned
off.
Using a Trail as a Destination
After a trail has been recorded, you can recall the trail as a
destination from your address book.
NOTE: The system uses only GPS signals to map the trail data. If you
are following a trail in mountainous or forested areas or other areas
where the GPS signals may be blocked, the system may have trouble
registering the position of your vehicle.
USING THE TRAIL FUNCTION


