29
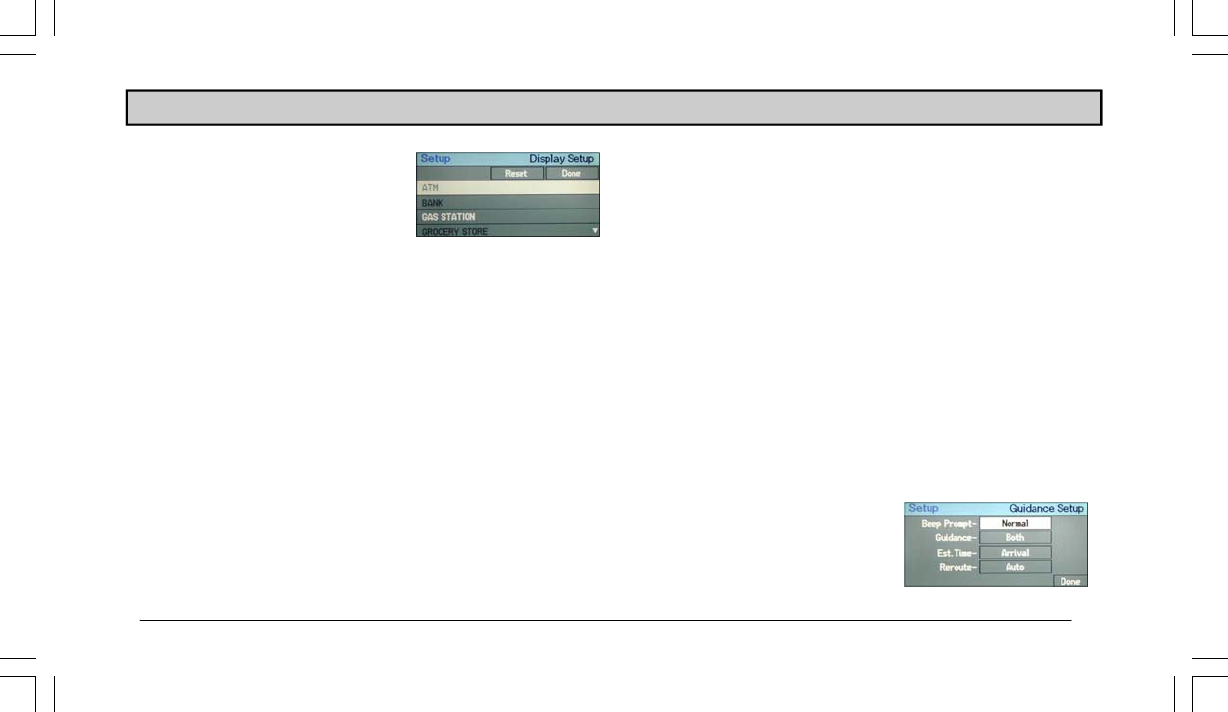
• To add an icon to the map dis-
play, select a grayed out icon
name and press ENTER. When
3 icon names are selected, the
rest of the list will be grayed
out and unavailable until one
of the names is deselected.
• To delete an icon from the map display, select a highlighted
icon name and press ENTER. The name will now be grayed
out.
• To reset the list of icons, highlight “Reset” and press ENTER.
4. When you are finished, select “Done” and press ENTER.
Orientation
Use this option to change how the map will display the route.
When set to “Heading Up”, the map display will rotate so that
the vehicle position icon is always pointing toward the top of the
screen. When set to “North Up”, the map display will always
show the map with north facing toward the top of the screen. The
vehicle position icon will rotate on the map display.
Trail
Use this option to view a saved trail on the map. Select the
box next to “Trail” and press ENTER. The
Select Trail
screen appears showing a list of all of your trail entries. Se-
lect a trail and press ENTER. Select “Done” and press EN-
TER. Press NAV to go to the
Main Menu screen. Select
“Map” and press ENTER. The
Map screen appears. If your
trail is not displayed, scroll through the map to find your trail.
Setting Guidance Properties
At the Guidance Setup screen you can change how the sys-
tem directs you to your destination. You can edit beep prompt
frequency, change the guidance map view, edit estimated time
options, and change rerouting methods.
1. From the
Select screen, highlight “Guidance Setup”.
Press ENTER.
2. The
Guidance Setup screen
appears.
SETUP MENU


