28
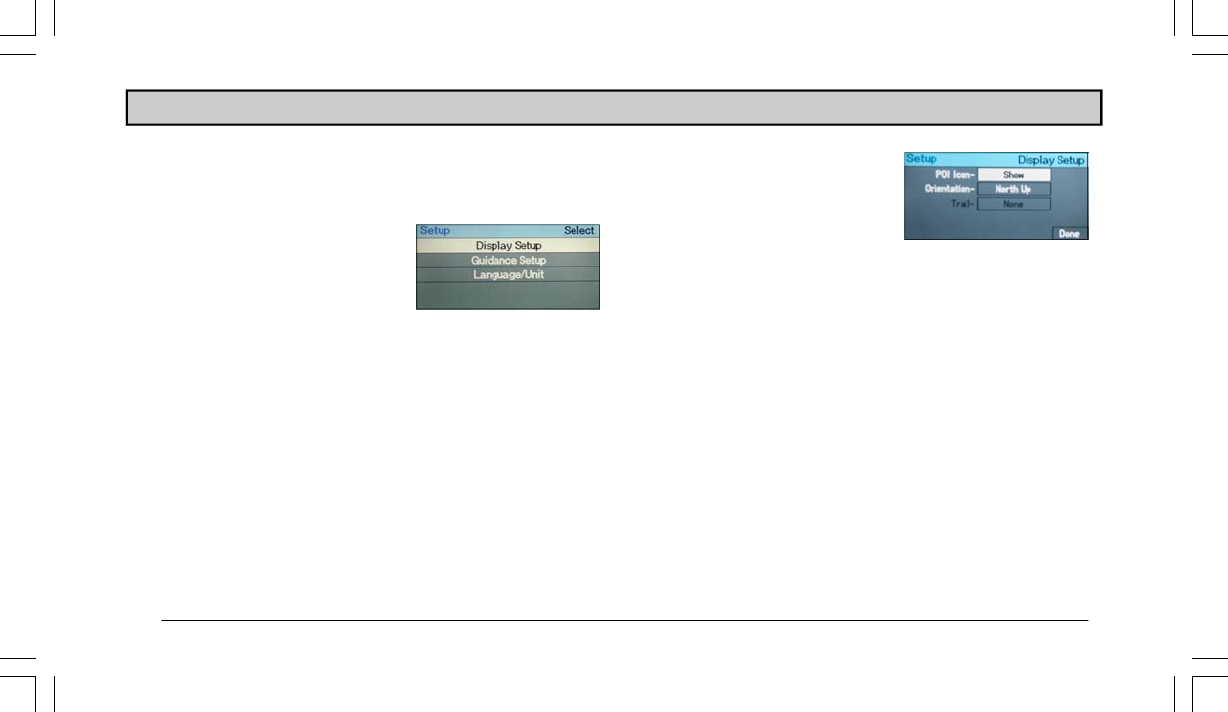
At the Setup menu you can set display properties, guidance prop-
erties, and a language and unit of measure.
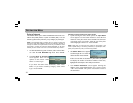
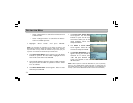
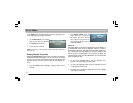
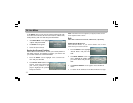
1. At the Main Menu screen high-
light “Setup” and press ENTER.
2. The
Select menu appears.
3. Select the desired mode.
NOTE: If the battery is disconnected, all settings will return to their de-
fault positions.
Setting Display Properties
Select the Display Setup screen when you want to change the
appearance of the map display. You can turn on/off or change
the POI icons, switch between the North Up and Heading Up
direction function, and turn on/off or clear the Trail display op-
tions.
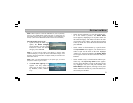
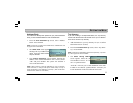
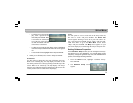
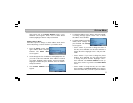
1. From the
Setup menu, highlight “Display Setup”. Press
ENTER.
2. The
Display Setup menu ap-
pears. There are 3 options on
this menu: POI Icon, Orienta-
tion, and Trail. To select an op-
tion, highlight the box next to it
and press ENTER.
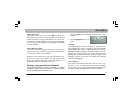
POI Icon
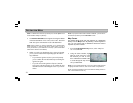
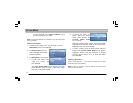
This option allows you to show or hide POI icons on the display, or
to choose which icons are to be displayed. There are 7 icons to
choose from: ATM, Bank, Gas Station, Grocery Store, Hotel, Park-
ing, or Restaurant. You may select up to 3 icons to appear on the
map at one time. The Gas Station icon is turned on by default, but
can be turned off. When you select Restaurant, you can choose the
types of cuisine you want.
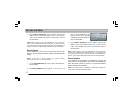
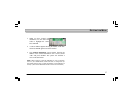
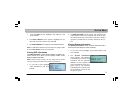
1. To show icons, highlight “Show” and press ENTER. Your
selected icons will be displayed on the map.
2. To hide icons, highlight “Hide” and press ENTER. No icons
will be displayed on the map.
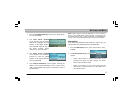
3. To change the icons that are displayed on the map, highlight
“Edit” and press ENTER.
SETUP MENU


