1
2
3
4
5
6
7
8
9
10
11
12
13
14
15
16
17
18
19
20
21
22
23
62
OPERATION FLOW
The following steps should guide you to a good start of
APRS operation.
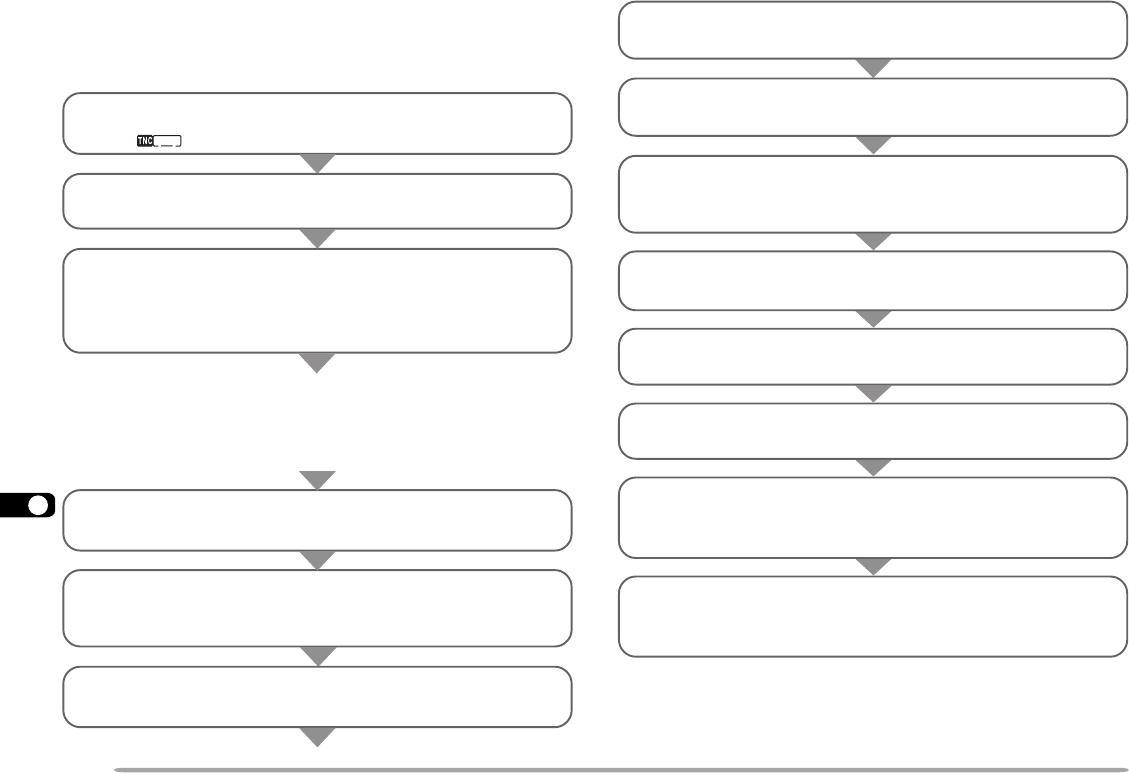
q Press [TNC] to switch ON the TNC.
•“ ” appears.
w Access Menu 1–4–1 to select band A or B as the
data band {page 55}.
e On the data band select the same frequency as
other stations in your group.
• You may tune to the frequency of an appropriate
digipeater {page 72}.
r Access Menu 2–1 to program your call sign
(9 digits max.) {page 66}.
t If you have connected a GPS receiver, access
Menu 2–2 and select “NMEA”. The default is
“NOT USED”.
y Access Menu 2–5 to select your station icon
{page 67}.
Now you are ready to receive APRS data from other
stations. Refer to “RECEIVING APRS DATA”
{page 63}. To transmit your APRS data, proceed to
step r.
Note: When using your personal computer, set the same communication
parameters as Packet Operation {page 54}. On the transceiver, press
[TNC] twice to enter Packet mode; “PACKET” should appear.
u Access Menu 2–3 to enter latitude and longitude
data {page 68}.
i Access Menu 2–4 to select from 8 position
comments {page 69}.
o If you want, access Menu 2–6 to enter status
text using up to 20 alphanumeric characters
{page 70}.
!0 If you want, access Menu 2–A to program a group
code {page 71}.
!1 If necessary, access Menu 2–8 to program a
packet path {page 72}.
!2 Access Menu 2–9 to select the operation method
for transmitting beacons {page 74}.
!3 If you selected “PTT” or “AUTO” in step !2,
access Menu 2–7 to select the interval for
transmitting beacons {page 75}.
!4 Press [BCON]. If you selected “PTT” in step !2,
then press and release the PTT switch. See
page 74.


