


48
49
.
.
Press the FUNCTION/ button to select TUNER mode.
Press the SELECT ID3/BIT RATE button on remote control.
Press the SKIP/TUNING buttons to select the rate you prefer. Options are:
32KBPS
48KBPS
64KBPS
96KBPS
128KBPS
Press the SELECT ID3/BIT RATE button to confirm.
RECORDING
Getting Started
V1 allows you to record music and audio content to the USB or SD/MMC card device in WMA
format. Files are stored on the flash device in a specially created folder named “AUDIO” and
sequentially named FILE000.WMA, FILE001.WMA etc.
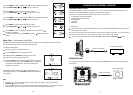
Insert a USB device or SD/MMC card into the slot on the side of the main unit. If
you attempt to record without any media connected, display will show “NO MEDIA.”
Ensure that the device has spare capacity for recording.
Choose a recording bit rate. Bit rate or recording quality can be selected according
to your preference. Selecting a lower bit rate will create small recording files,
therefore longer recording time, at the expense of audio quality. Selecting a higher
bit rate will create larger files with better audio quality.
Recording from CD
Recording from Tuner (FM Stereo only)
When track playback is complete, recording will stop and recording file is created.
Recording from iPod or other Stereo Bluetooth Source
Insert a disc.
Press the FUNCTION/ button to select “CD” mode.
Select the track on the CD you wish to record.
Press the REC button once.
“USB”, “CARD” or both appear on the display.
If you have multiple media connected, use and to select the media.
Press REC again “CHECKING” will show on display. The unit checks for
sufficient space for the recording.
If sufficient space is available, “REC” and “USB” or “CARD” shows flashing on
the display and recording begins.
Press STOP/BAND or REC to cancel recording.
You may record from your iPod via the Wireless iPod Dock, or from a mobile phone or other stereo
Bluetooth device.
Press the FUNCTION/ button to select “iPod/BLUETOOTH” mode.
Start music playback on the iPod, mobile phone or other device.
Press the REC button once.
“USB”, “CARD” or both appear on the display.
If you have multiple media connected, use and to select the media.
Press REC again
“REC” and “USB” or “CARD” shows flashing on the display.
Recording begins.
Press the STOP/BAND button or REC to end recording.
Press the FUNCTION/ button to select “TUNER” mode.
Select your desired FM Stereo station.
Press the REC button once.
“USB”, “CARD” or both appear on the display.
If you have multiple media connected, use and to select the media.
Press REC again.
“REC” and “USB” or “CARD” shows flashing on the display.
Recording begins.
Press the STOP/BAND button or REC to end recording.
OTHER FUNCTIONS
Setting the Wake Timer
(On Remote Control Only)
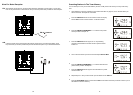
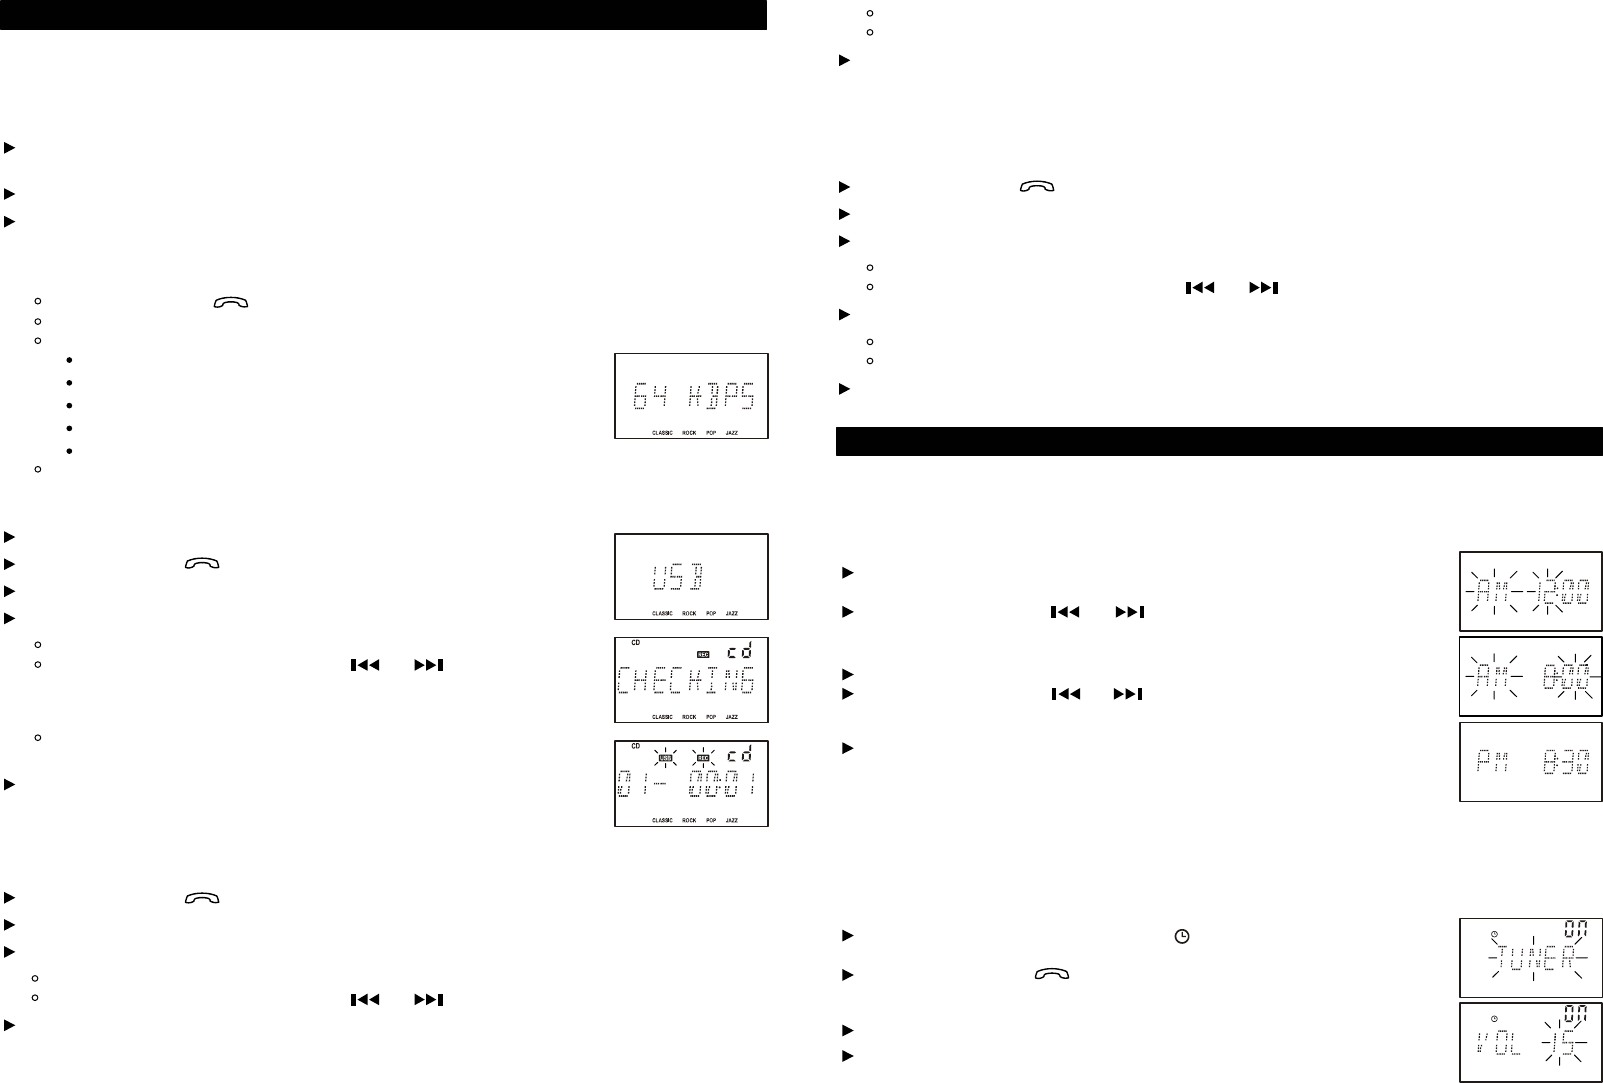
When the AC power is connected, “AM 12:00” will appear on the display.
The clock can only be se
t while the unit is off.
Setting the Clock
(On Remote Control Only)
Note: This unit uses 12 hour time format only.
Press the PROG/CLK button to confirm.
Press the
PROG/CLK
button on remote control, the
“AM”
and hour digits
begin to flash.
Press the SKIP/TUNING or buttons to adjust the hour.
Press the
PROG/CLK
button to confirm. The minute digits begin to flash.
Press the SKIP/TUNING
or buttons to adjust the minute.
This system includes a timer to allow you to wa
ke up to your iPod, CD, radio or MP3/WMA music.
The wake timer can be set only while unit is off. Please ensure the clock is set
to the correct time before
setting the wake timer. If you wish to use the wake
timer with iPod, please make sure Wireless iPod Dock is
set up and connected. Please refer
page 32.
Press the
TIMER
button on remote control, and
“ON” appears on the
display.
Press the
FUNCTION /
button to select
“CD”
,
“USB”, “CARD”
or
“iPod/BT.”
Press
TIMER
to confirm. The VOLUME level appears flashing on the display.
Press the
VOLUME +/- buttons to adjust the volume output level.
Press
SKIP/TUNING
or to set the on time hour.
Press TIMER to confirm. Display shows “OFF” and hour digits begin to flash.
Press
SKIP/TUNING
or to set the off time hour.
Press
TIMER
to confirm. Display shows “ON” and hour digits begin to flash.
Press
TIMER
to confirm. Minute digits begin to flash.
Press
SKIP/TUNING
or to set the on time minute.
Press
TIMER
to confirm. The display reverts to the current time and
remains on the display.
To cancel the timer setting, press
TIMER once more, disappears from the
display.
Press
TIMER
to confirm. Minute digits begin to flash.
Press
SKIP/TUNING
or to set the off time minute.
Press the FUNCTION/ button to select TUNER mode.
Press the SELECT ID3/BIT RATE button on remote control.
Press the SKIP/TUNING buttons to select the rate you prefer. Options are:
32KBPS
48KBPS
64KBPS
96KBPS
128KBPS
Press the SELECT ID3/BIT RATE button to confirm.
RECORDING
Getting Started
V1 allows you to record music and audio content to the USB or SD/MMC card device in WMA
format. Files are stored on the flash device in a specially created folder named “AUDIO” and
sequentially named FILE000.WMA, FILE001.WMA etc.
Insert a USB device or SD/MMC card into the slot on the side of the main unit. If
you attempt to record without any media connected, display will show “NO MEDIA.”
Ensure that the device has spare capacity for recording.
Choose a recording bit rate. Bit rate or recording quality can be selected according
to your preference. Selecting a lower bit rate will create small recording files,
therefore longer recording time, at the expense of audio quality. Selecting a higher
bit rate will create larger files with better audio quality.
Recording from CD
Recording from Tuner (FM Stereo only)
When track playback is complete, recording will stop and recording file is created.
Recording from iPod or other Stereo Bluetooth Source
Insert a disc.
Press the FUNCTION/ button to select “CD” mode.
Select the track on the CD you wish to record.
Press the REC button once.
“USB”, “CARD” or both appear on the display.
If you have multiple media connected, use and to select the media.
Press REC again “CHECKING” will show on display. The unit checks for
sufficient space for the recording.
If sufficient space is available, “REC” and “USB” or “CARD” shows flashing on
the display and recording begins.
Press STOP/BAND or REC to cancel recording.
You may record from your iPod via the Wireless iPod Dock, or from a mobile phone or other stereo
Bluetooth device.
Press the FUNCTION/ button to select “iPod/BLUETOOTH” mode.
Start music playback on the iPod, mobile phone or other device.
Press the REC button once.
“USB”, “CARD” or both appear on the display.
If you have multiple media connected, use and to select the media.
Press REC again
“REC” and “USB” or “CARD” shows flashing on the display.
Recording begins.
Press the STOP/BAND button or REC to end recording.
Press the FUNCTION/ button to select “TUNER” mode.
Select your desired FM Stereo station.
Press the REC button once.
“USB”, “CARD” or both appear on the display.
If you have multiple media connected, use and to select the media.
Press REC again.
“REC” and “USB” or “CARD” shows flashing on the display.
Recording begins.
Press the STOP/BAND button or REC to end recording.