


12
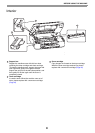
BEFORE USING THE MACHINE
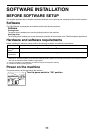
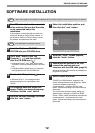
SOFTWARE INSTALLATION
1
The USB cable shall not be connected
to the machine. Be sure that the cable
is not connected before the
installation.
If the machine is connected with the cable, the
screen will display a Plug and Play window. In
this situation, click the "Cancel" button to close
the window, and disconnect the cable.
2
Insert the "Software CD-ROM"
CD-ROM into your CD-ROM drive.
3
Click "start" button, click "my
Computer" ( ), and then double
click the CD-ROM icon ( ).
• In Windows Vista/7, click "start" button, click
"Computer", and then double click the CD-ROM
icon.
• In Windows 2000, double click "my Computer",
and then double click the CD-ROM icon.
4
Double click "Setup" icon ( ).
In Windows Vista /7, if a message window
appears asking for your confirmation, click
"permit".
5
The language selection screen will
appear. Select your desired language,
and then click the "next" button.
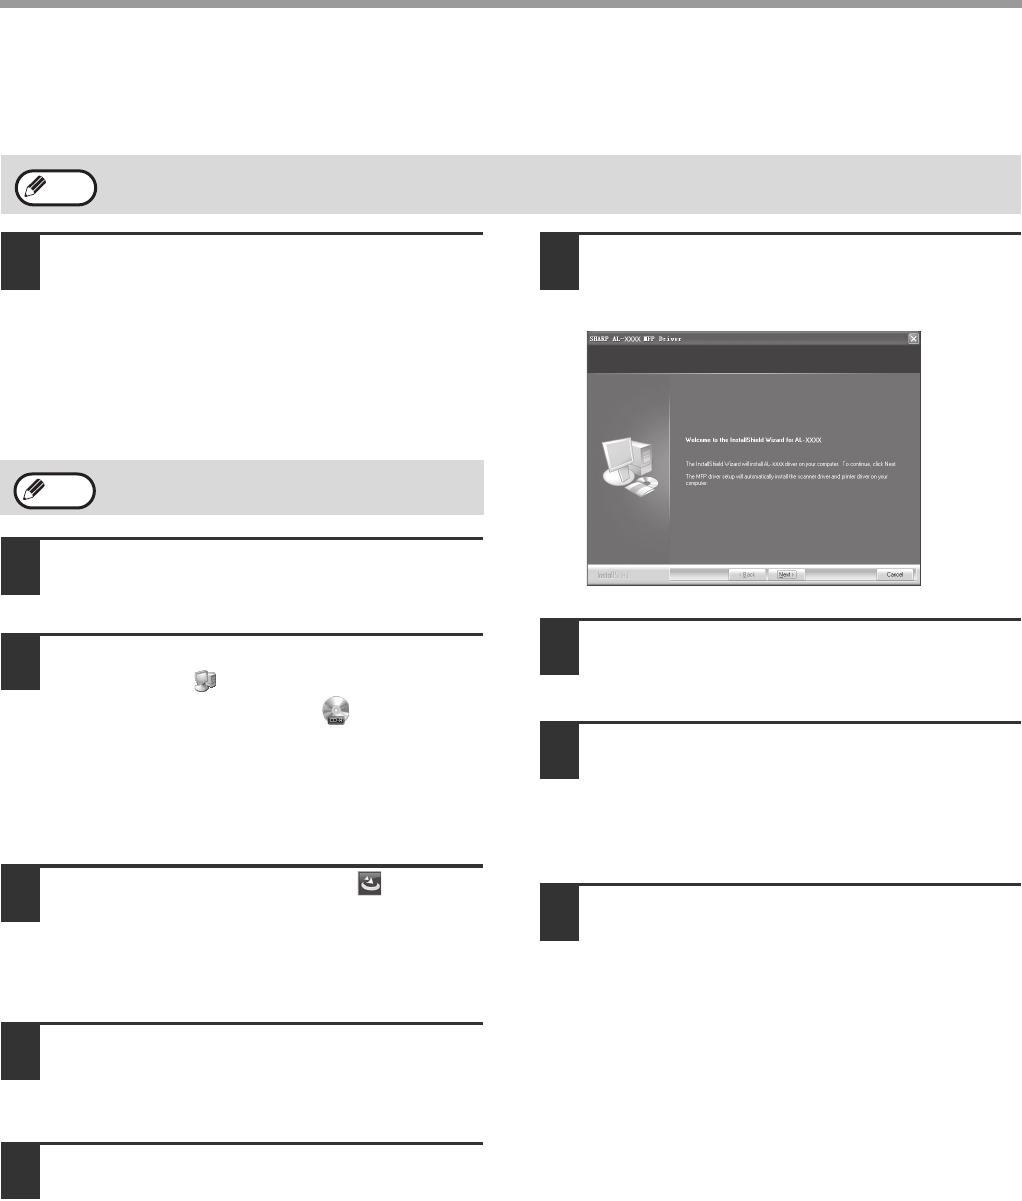
6
Read the welcome message, and then
click the "next" button.
7
Select the installation position, and
then click the "next" button.
7
8
When the "finish" screen appears,
click the "finish" button.
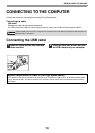
9
Ensure that the machine is on, and
connect the machine and your
computer with the USB cable (page14).
Windows will detect the machine and display the
Plug and Play screen.
10
Start to install the driver.
"SHARP AL-XXXX Scanner" appears in the
"locate new hardware wizard" dialog box. Select
"install the software automatically
(recommended) ", and then click the "next"
button. Operate according to the instructions on
the screen.
The "locate new hardware wizard" dialog box
appears again, displaying "SHARP AL-XXXX
Printer". Select "install the software automatically
(recommended) ", and then click the "next"
button. Operate according to the instructions on
the screen.
The screen images in this Guide are for Windows XP. The screen images for other Windows version are different.
Note
The USB cable is connected in step 10.
Note