


If you need any further advice, please call our Technical Helpline on :-
020 8758 0338 (Mon-Fri)
30
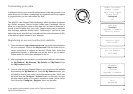
Connecting the radio using UPnP
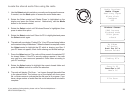
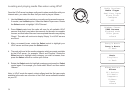
1. Use the Select control to switch on your radio and to access the menus.
If needed, use the
Back option. Select the Media Player menu. Rotate
the Select control to highlight 'UPNP Servers'.
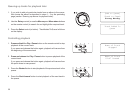
2. Press and release the Select control and the radio will scan for all
available UPnP servers. Note, this may take a few seconds for the
radio to complete its scan and before the scan has completed, the
radio will display 'Empty'. The radio will continue to display 'Empty' if
no UPnP servers are found.
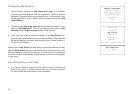
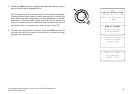
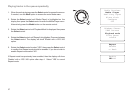
3. After scanning, select your UPnP server (rotate the Select control if
more than one UPnP server is found), and then press the Select control.
Your radio will normally display 'Access Denied' at this stage.
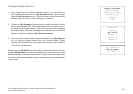
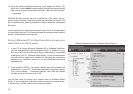
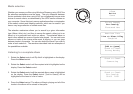
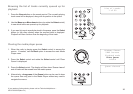
4. Your PC may now prompt you that a device has attempted to connect
to your UPnP server. Whether you are prompted or not, in order to
allow the radio to have access to the media files, you will need to click
the 'Library' tab in WMP 11 and select the 'Media Sharing…' item to
open the 'Media Sharing' window.
5. From the 'Media Sharing' window, the radio will be listed as an unknown
device. Click on the unknown device shown to select it, then click the
'Allow' button and then click 'OK'.
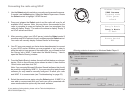
Note: If you are using Microsoft Windows' firewall software, this should
be correctly configured by WMP 11. If you are using third party firewall
software you may need to manually configure it to allow your radio
and WMP 11 to communicate (see 'Troubleshooting' on page 53).
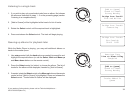
6. Select the named server again using the
Select control. If WMP 11 is
now able to communicate with your radio you will be presented with
some media selection options by the server software.
Windows Shares
UPNP Servers
Playback mode
Clear Queue
<<Back
1-6
Access denied
801
Gerry's Music
Jenny's Music
<< Back
Allowing a device to connect to Windows Media Player 11