


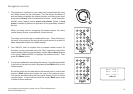


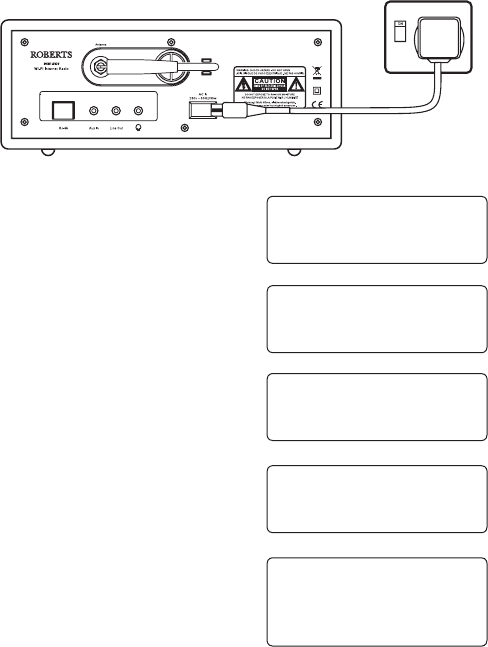
Connecting your radio to your computer network
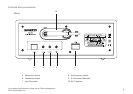
1. Place your radio on a flat surface and plug the mains lead into the
Mains input socket located on the rear of your radio (marked 'AC in')
ensuring that the plug is pushed fully into the socket.
2. If planning to use a wired network connect the Ethernet cable into the
RJ-45 socket at the back of the radio. If a wired connection is present
then the radio will use this in preference to a wireless connection.
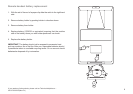
3. Plug the other end of the mains lead into a wall socket and switch on
the wall socket.
IMPORTANT: The mains plug is used as the means of connecting
the radio to the mains supply. The mains socket used for the radio
must remain accessible during normal use. In order to disconnect the
radio from the mains completely, the mains plug should be removed
from the mains socket outlet completely.
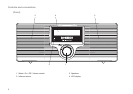
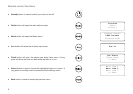
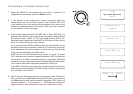
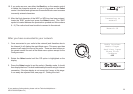
4. The display on the front of the radio will light up and say: 'Roberts
Internet Radio'. If you are using a wired Ethernet connection to your
router, the radio should connect, and download a radio station list
update. It will then go to the main mode menu, see page 14, 'After
you have connected to your network'.
If you are not using a wired connection, or if the wired connection is
not working, after a few seconds the display will change to show 'Scan
for networks', see page 12.
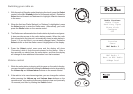
There are two indicator lights incorporated into the RJ-45 connector.
If you have problems with your wired connection, they may help you
to identify the possible cause of the problem.
Green ON = Link established, Flashing = Data transfer
Yellow ON = 100M bps link, OFF = 10M bps link
Initialising
network
11
Roberts Internet
Radio
Connecting to
network
Network OK
Radio Stations
Media Player
Auxiliary Input