


29
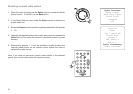
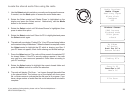
10. Once the radio has finished scanning, it will display ‘By Album’, 'By
Artist', etc. Use the
Select control to scroll through the scanned media
files, which will now be organised ‘By Album’, ‘By Artist’ and ‘Playlists’
– if available.
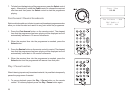
Note that the first time the file scan is performed, a file called ‘.reciva_
media_cache’ is written to the folder where the audio files are stored. This
file is created by the scanning software in order to speed up subsequent
file scans.
In the event that your radio cannot connect to your PC or its shared folders
it is most likely that your PC's firewall software is blocking access (see the
section 'Troubleshooting' on page 53).
Set up a Windows PC to allow the radio to access your
audio files via a UPnP server
1. If your PC is running Microsoft Windows XP or Windows Vista then
you can use Microsoft's Windows Media Player 11 (WMP 11) to act
as your UPnP (Universal Plug and Play) media server. If not already
installed on your PC, Windows Media Player 11 may be downloaded
from Microsoft’s website and installed by following the instructions
detailed in its installation wizard, or by using Microsoft's Windows
Update facility.
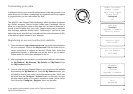
2. Once installed, WMP 11 can create a library from all the media files
available to it on your PC. To add new media files to the library, select
'File > Add to Library… > Advanced Options', click 'Add' and choose
the files you wish to add and click ‘OK’.
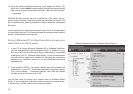
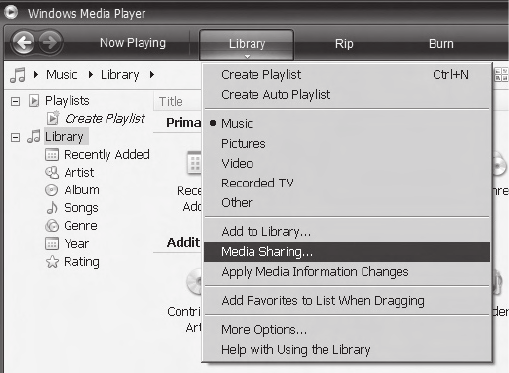
You will now need to connect your Internet radio to Windows Media
Player 11 and configure it to allow the radio to access your media library.
In order to this, you will need to follow these next steps.
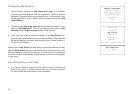
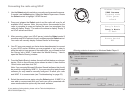
Selecting Media Sharing in Windows Media Player 11