55
4
Connection to Your PC
1
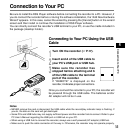
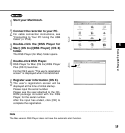
Turn ON the recorder (☞ P.17).
2
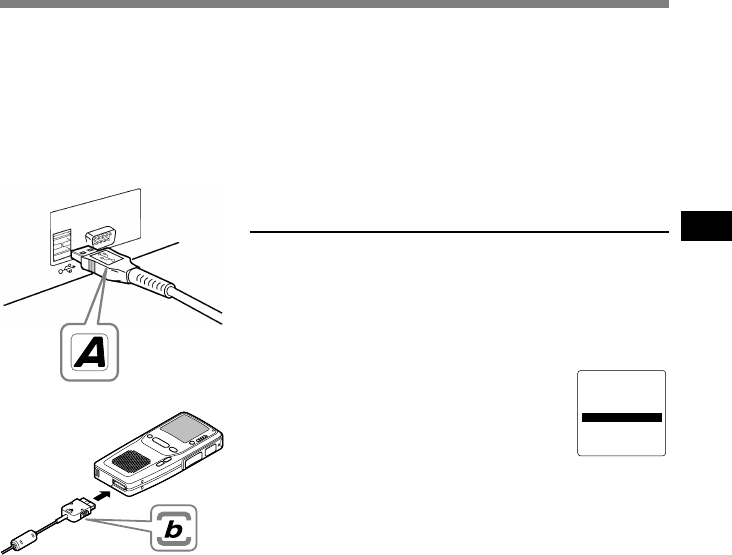
Insert end A of the USB cable to
your PC’s USB port or USB hub.
3
Make sure the recorder has
stopped before attaching end b
of the USB cable to the terminal
port of the recorder.
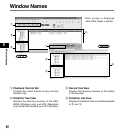
If “REMOTE” is displayed on the
recorder, it indicates proper connections.
REMOTE
Once you connect the recorder to your PC, the recorder will
be powered through the USB cable. The batteries and/or
AC adapter will not be in use.
Be sure to install the DSS Player software before connecting the recorder to a PC. However, if
you do connect the recorder before or during the software installation, the “Add New Hardware
Wizard” appears. In this case, cancel the wizard by pressing the [Cancel] button in the wizard
screen and then install or continue the installation of DSS Player software.
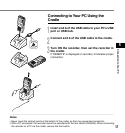
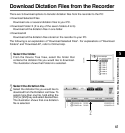
You can directly connect the recorder’s USB terminal to your PC, or use the cradle included in
the package (desktop holder).
Connecting to Your PC Using the USB
Cable
Connection to Your PC
..............................................................................................................................................................
Notes
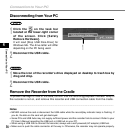
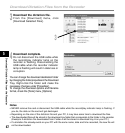
• NEVER remove the card or disconnect the USB cable while the record/play indicator lamp is flashing. If
you do, the data on the card will get destroyed.
• Some PCs and USB hubs may not supply sufficient power and the recorder fails to connect. Refer to your
PC User’s Manual regarding the USB port or USB hub on your PC.
• When using a USB hub to connect the recorder, always use a self-powered (AC adapter) USB hub.
• Make sure to push the cable connector all the way in. Otherwise, the recorder may not operate properly.


