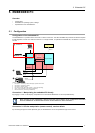
6. Configuration scheme
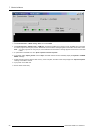
Image 6-3
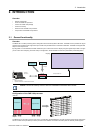
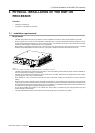
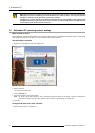
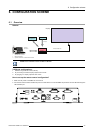
3. Turn on the power of the DM P-100.
Note: The Led’s indicated with “PW R” and “MCU” will light up.
4. Use the REAL VNC application on the remo te PC to login to the emb edded PC.
5. Use the RMS control software to com municate with the DMP-100 processor.
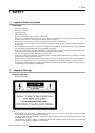
WARNING: The DMP-100 processor does not support the “HOT SWAP ” function. The LED-wall and the D MP-
100 should b e switched off before any cab le can be disconnected or reconnected.
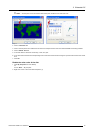
Use the Flash Loader software to download updates on the software and firmw are used by the DMP-100 pro-
cessor.
How to connect a laptop to locally control the DMP-100 processor?
1. Turn on the power of the DM P-100.
Note: The Led’s indicated with “PW R” and “MCU” will light up.
2. Wait until the operating system and the RMS software has loaded.
3. Shut down the operating software.
4. Wait until the operating system has fully shut down.
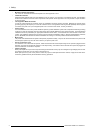
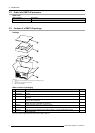
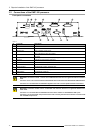
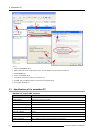
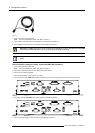
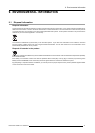
5. Connect the DV I c able ( R9851210) between the DMP-100 processor and the LED-wall, using the LED Interface port.
Image 6-4
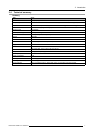
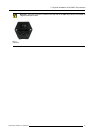
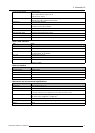
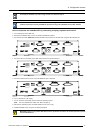
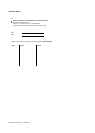
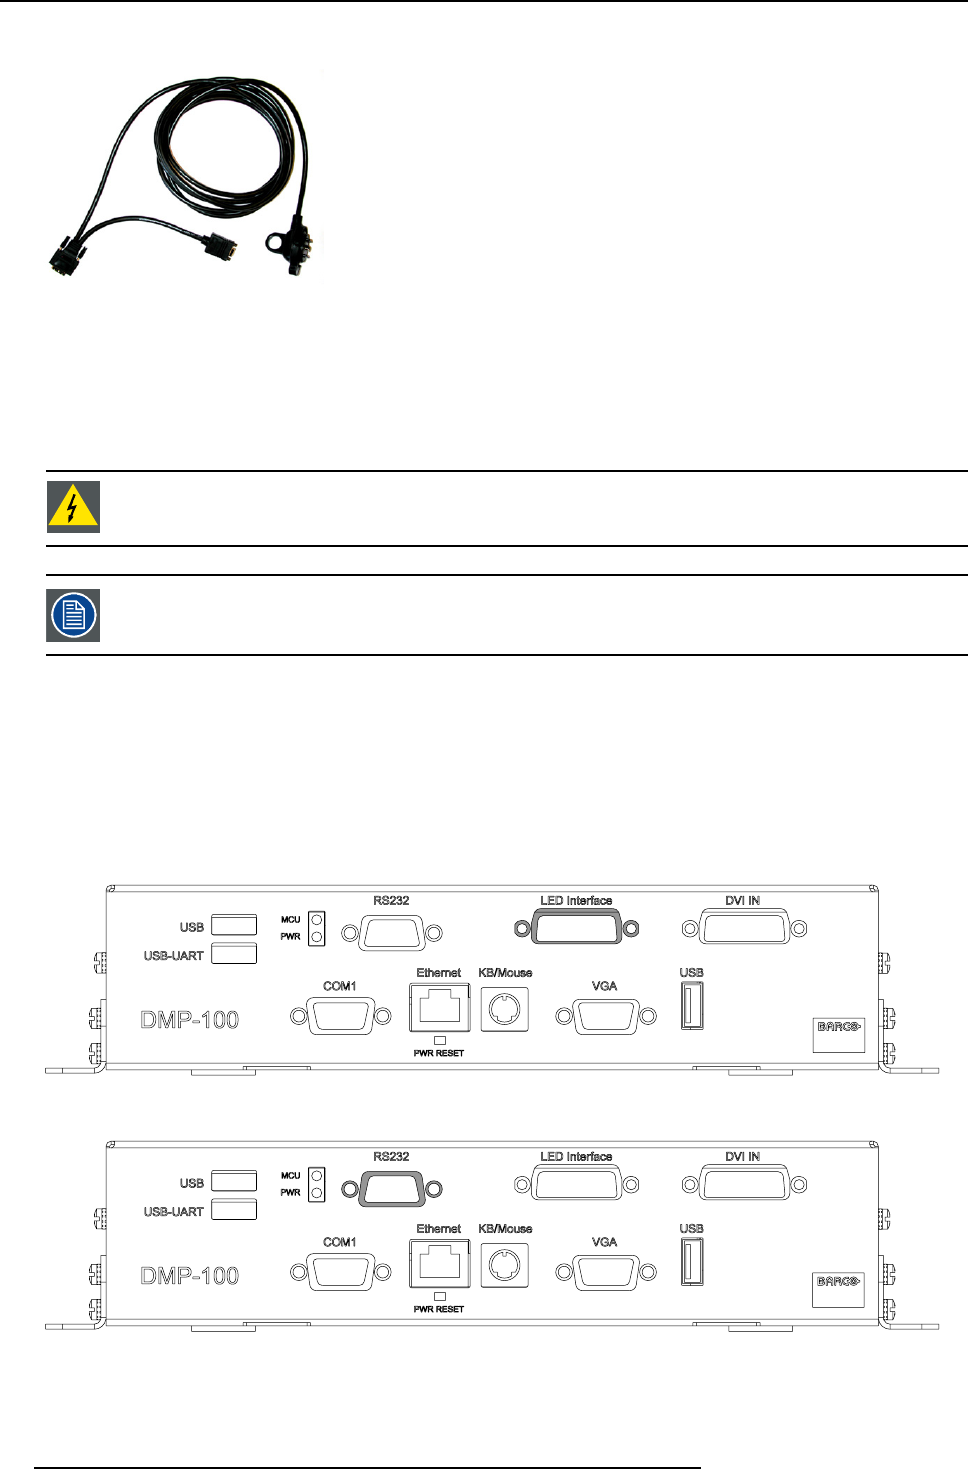
6. Connect a serial line (Z3499916) from the control PC to the RS232 interface.
Image 6-5
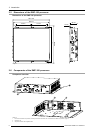
7. Use the connec ted laptop to comm unicate with the DMP-100 processor.
24
R59770263 DMP-100 15/09/2011