25
Hookups and Settings
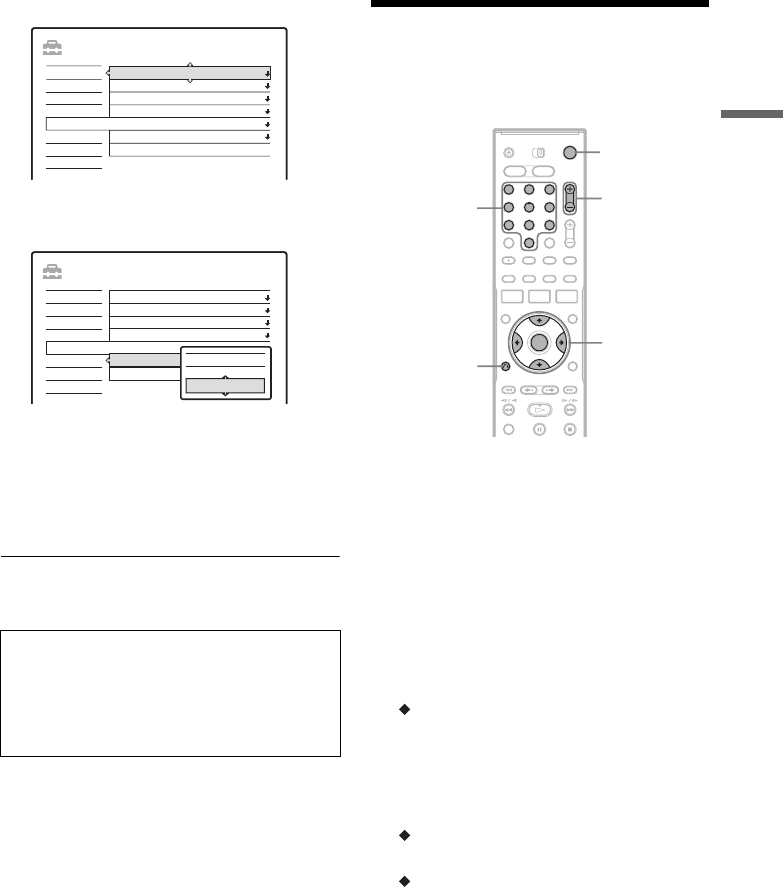
3 Select “Options,” and press ENTER.
4 Select “Command Mode,” and press
ENTER.
5 Select the Command mode (DVD1, DVD2,
or DVD3), and press ENTER.
6 Slide the COMMAND MODE switch on the
remote so it matches the mode you
selected above.
To return to the previous step
Press O RETURN.
Step 7: Easy Setup
Make the basic adjustments by following the on-
screen instructions in “Easy Setup.”
1 Turn on the recorder and switch the input
selector on your TV so that the signal from
the recorder appears on your TV screen.
The message about the initial settings appears.
• If this message does not appear, select “Easy
Setup” from “SETUP” in the System Menu
to run “Easy Setup” function (“Settings and
Adjustments” on page 88).
2 Press ENTER.
Follow the on-screen instructions to make the
following settings.
Area Setup
“Area Setup” will enable you to use the TV
Guide On Screen system (page 42).
Enter your area of residence and zip code even
if you do not want to use the TV Guide On
Screen system.
Language
Select the language for the on-screen displays.
Clock
Set the clock manually using </M/m/,,
and press ENTER.
If the clock data has already been received, go
to “Set Top Box Control.”
Check that the command mode switch on the
remote is set to the default setting of DVD3
before you try to change the command mode for
the recorder. If the command mode for the remote
is changed to DVD1 or DVD2, you may be
unable to operate this recorder.
SETUP
Format DVD-RW : VR
Settings
Options
Features
Audio
Video
Easy Setup
Command Mode :
Factory Setup
Tuner Audio :
Auto Stereo :
Auto Display :
Dimmer :
DVD3
Main
On
On
Normal
SETUP
Format DVD-RW : VR
Settings
Options
Features
Audio
Video
Easy Setup
Command Mode :
Factory Setup
Tuner Audio :
Auto Stereo :
Auto Display :
Dimmer :
DVD3
On
On
On
Normal
DVD1
DVD3
DVD2
1 2 3
4 6
7 8 9
0
5
[/1
</M/m/,,
ENTER
O RETURN
CH +/–
Number buttons
,continued


