


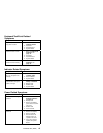

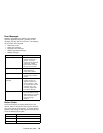

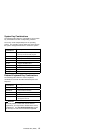

Viewing the Test Groups
As you move the cursor bar up or down in the Module
Tests menu, the right hand screen changes to show the
attributes, parameters, and the selected tests of the
corresponding Test Group. The “DIAMOND” mark
indicates a module selected for testing.
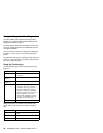
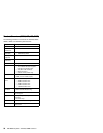
Module Testing Mode
If the Quick Check does not find a problem, or you want to
perform in-depth testing, the Module Testing mode
provides a method to run individual tests on a single
module. For example, you can run an individual test for
the diskette drive, or you can the test for all selected
modules.
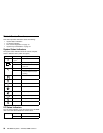
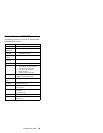
To start the Module Tests:
Attention
To use the IBM ThinkPad 365 Advanced Diagnostics
Diskette, you must have at least 500KB of free
memory. Be sure to read the “README.PO” file on
the IBM ThinkPad 365 Advanced Diagnostics Diskette
before using the following instructions.
1. Power-off the computer.
2. Insert the IBM ThinkPad 365 Advanced Diagnostics
Diskette into drive A.
3. Power-on the computer.
4. Follow the instructions on the screen and proceed to
the Main Menu. Allow two to four minutes for the
diagnostic programs to load.
5. At the Main Menu, select Diagnostics.
6. At the Diagnostics Menu, select Module Tests.
7. At the Module Tests Menu, select the modules to test.
8. Use the up and down arrow keys (↑ and ↓) to move
the highlight bar from one selection to the next.
9. Press Enter to run the tests.
10. Do not press any key until prompted, then follow the
instructions on the screen.
11. Follow the instructions on the screen.
12. Select Exit.
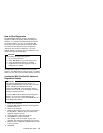
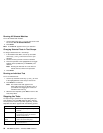
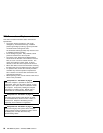
Running Selected Module Tests
To run a selected tests for a test group:
1. Use the up and down arrow keys (↑ and ↓) to move
the cursor to your selection.
2. Press Enter.
Note: A “DIAMOND” appears next to your selection.
ThinkPad 365 (2625)
55