


TASCAM DR-701D
13
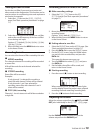
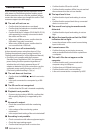
Setting the low-cut filter
Use the low-cut filter if you want to cut noise and
other sounds at low frequencies. This function can be
used to reduce air-conditioning noise and unpleasant
wind noise, for example.
1. Select the
LCF
item on the
LEVEL CONTROL
page. (See “Basic operation procedures” on page
11.)
2. Select the channel that will use the low-cut filter,
and set the cutoff frequency of the low-cut filter
to use during mic input.
Options:
OFF
(default),
50
(Hz),
80
(Hz),
120
(Hz),
180
(Hz),
220
(Hz)
3. When finished, press the MENU button to return
to the Home Screen.
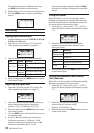
Recording formats
You can select the format of files created by this unit.
8
MONO recording
The channels selected for recording will be recorded
as mono files.
A file will be made for each channel selected for
recording.
8
STEREO recording
Stereo files will be recorded.
Examples:
If only channel 1 is selected for recording, a
stereo file with channel 2 silent will be created.
If only channels 1 and 3 are selected for
recording, stereo files with channels 2 and 4
silent will be created.
8
POLY (6ch) recording
Channels 1–4 and a stereo mix will all be recorded as
a single file.
Recording (MONO/STEREO/POLY (6ch))
8
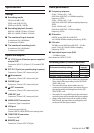
Make recording settings
1. Select the
FILE TYPE
item on the
REC
SETTING
page. (See “Basic operation procedures”
on page 11.)
2. Move the cursor to the setting, and set the
recording format.
Options:
MONO
(default),
STEREO
,
6ch
3. When finished, press the MENU button to return
to the Home Screen.
8
Setting where to save files
1. Select the
BROWSE
item on the
MEDIA
page. (See
“Basic operation procedures” on page 11.)
2. Press the DATA dial to open the
BROWSE
screen.
3. On the
BROWSE
screen, select the folder where
you want to save recorded files, and press the
DATA dial.
This opens the browse menu pop-up.
4. Turn the DATA dial to select
SELECT
, and press
the DATA dial.
5. Set the folder where files will be saved, and
return to the Home Screen.
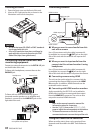
8
Starting recording
1. Press the record (0) button to start recording.
When recording starts, the REC indicator lights
and the display shows the project name, elapsed
recording time and remaining recording time.
2. Press the 1/8 button to finish recording.
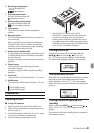
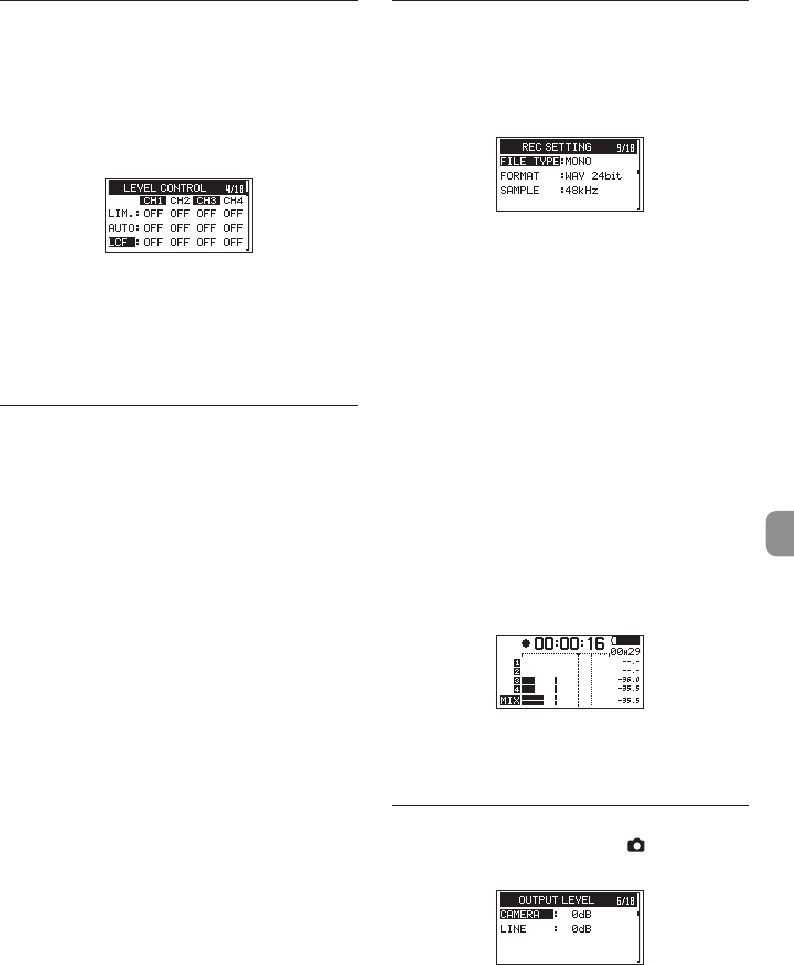
Adjusting the volume
Adjust the volume output from the OUT and LINE
OUT jacks individually on the
OUTPUT LEVEL
page.
Use the PHONES volume control to adjust the
volume output from the PHONES jack.