30
CHAPTER 4 – Admin User Interface
Press the •
ä
Options button and choose Mark all.
Press the •
O
Select
button.
Press the •
ä
Options button again and choose Delete
marked albums.
Press the •
O
Select
button.
The mark function can also be used when adding multiple
Audio Library items to a Playlist.
For example:
To add multiple albums to a playlist
Navigate to the • Admin UI as previously described and
select the Audio Library.
Press the •
U
or
V
buttons to highlight Albums and
press the
O
Select
button to display the Albums list.
Use the •
U
or
V
buttons again to highlight an album
you wish to add to a playlist and press the
p
Mark
button.
A mark symbol will appear next to the album.
Use the •
U
or
V
buttons again to highlight another
album you wish to add to a playlist and press the
p
Mark button.
A mark symbol will appear next to this album also.
Press the •
M
Add To button.
Use the •
U
or
V
buttons to select a playlist and press
the
ä
Add button.
Both marked albums will be added to the playlist.
Note: If pressing the
p
Mark button has no effect, then the
mark function is not available on the current screen.
Editing and Renaming Playlists
To edit a Playlist name:
Navigate to the • Admin UI and select Audio Library.
Press the • U or V buttons to select Playlists and
press the T button.
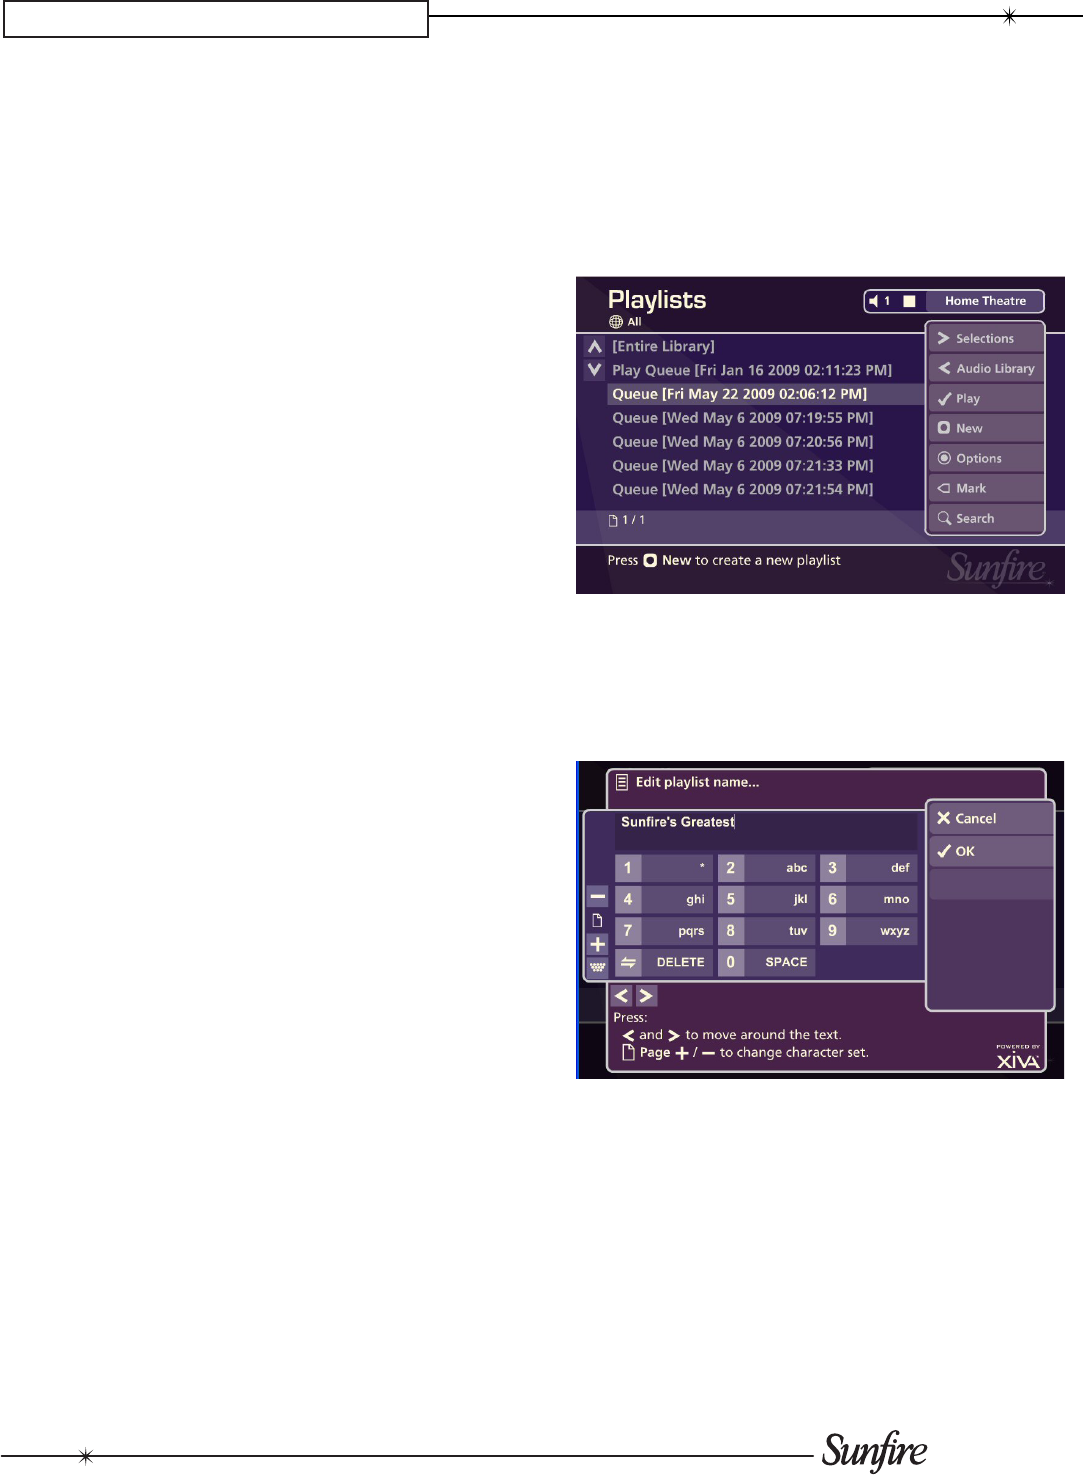
The Playlists screen will now be displayed:
From the • Playlists screen, use the
U
or
V
buttons to
highlight the Playlist you wish to edit.
Press the •
ä
Options button and choose Edit Playlist
Name.
Use the alphanumeric keypad to edit the playlist name •
and then press the
O
Ok button.
