


FlashTrax Tutorial
Before You Begin
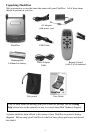
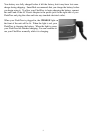
Before starting the tutorial, we need to make sure your FlashTrax has power. Insert the
battery and connect the AC Power Adapter as described in the previous section. Now
that your FlashTrax is charging, it’s time to start the tutorial.
Setting the Date
The first thing we’re going to do is set the clock on your FlashTrax. This will give
you a chance to see how the FlashTrax interface works – don’t worry, we’ll get to the
exciting part soon enough.
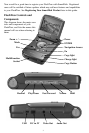
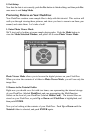
1. Power on
Flip open the screen on your FlashTrax, then push and hold the POWER button for
about three seconds. The screen will light up and display the SmartDisk logo for a
moment. In a few seconds you’ll be looking at the
File Explorer.
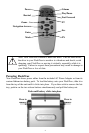
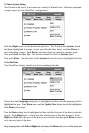
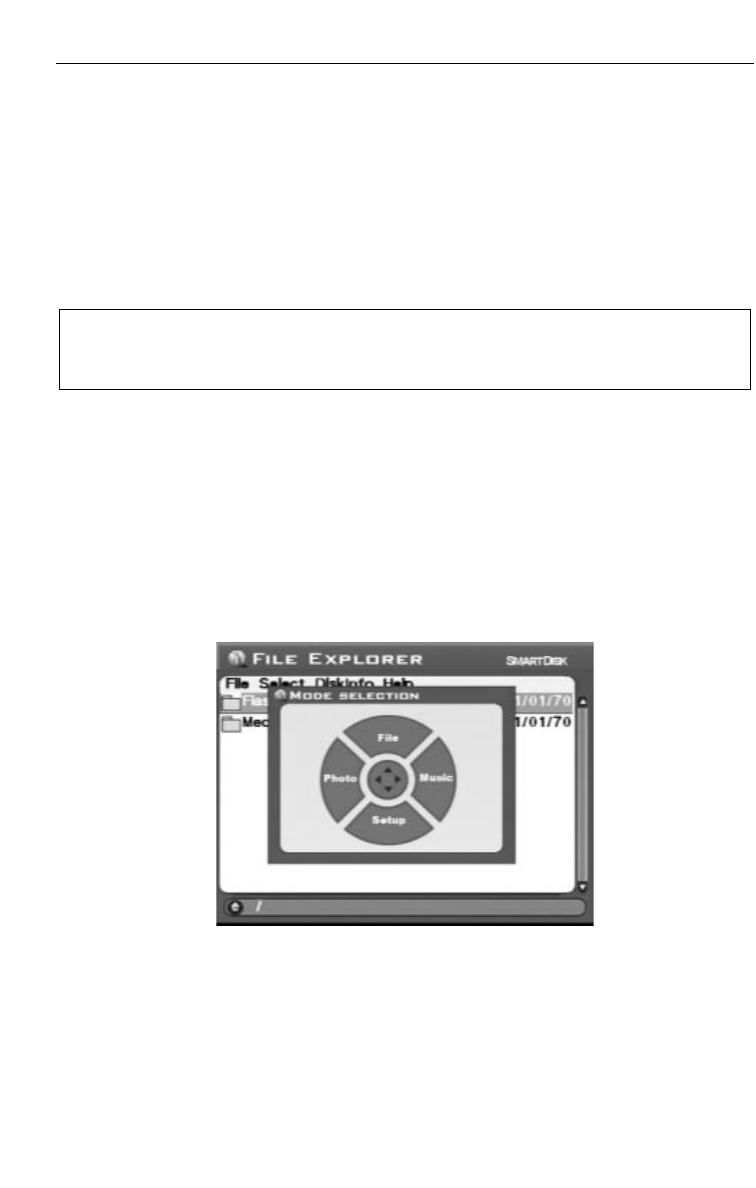
2. Enter Setup Mode
We’ll come back to the File Explorer in a moment, but right now we’re going to enter
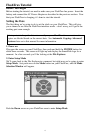
Setup Mode. Just push once on the Mode button on your FlashTrax, and the Mode
Selection Window
will appear.
Push the
Down arrow on your FlashTrax once to enter Setup Mode.
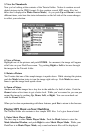
It’s important to keep the date set correctly on your FlashTrax because automatic
copies are labeled based on the current date. See
Automatic Copying: Advanced
Features
later on in this manual for more information.
6