


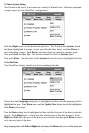

Now that the card is inserted, push the COPY button on the front of the unit. In a
moment, your FlashTrax will start up and begin copying the data off of the
CompactFlash card. The progress of the copy is shown on your screen with a progress
bar that slowly fills up.
When the automatic copy is complete, your FlashTrax will inform you with a message
box. Just push
ENTER to continue. At this point, it’s safe to remove the
CompactFlash card from your FlashTrax.
When you run an automatic copy, the contents of your flash media are copied into a
folder named
Backup on your FlashTrax. Using the techniques from this tutorial,
you should have no trouble navigating to the backup directory and taking a look at
your files (Remember that you need to be in
Photo Viewer Mode to see your photos!).
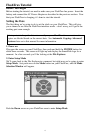
Downloading Pictures to Your Computer
Now that you’ve loaded pictures onto your FlashTrax, you might be wondering how
you can get them onto your computer. The answer couldn’t be simpler.
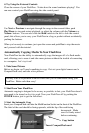
1. Connect Your FlashTrax
Using the included mini-USB cable, connect your FlashTrax to any free USB port on
your computer. If your computer is running Windows Me, Windows 2000, Windows
XP, Mac OS 8.6 or newer, or any version of Mac OS X, your FlashTrax will be recognized
and installed automatically. On Windows machines, your FlashTrax will appear in
My Computer as a new removable disk. On Macs, your FlashTrax will appear on
your Desktop as a new disk.
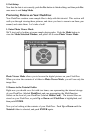
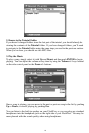
2. Access the Contents of Your FlashTrax
Once your FlashTrax is connected, you can access it like any other disk; copy files to
or from it, delete files, save files to it – anything. For help working with files, folders,
and disks, consult the documentation for your operating system.
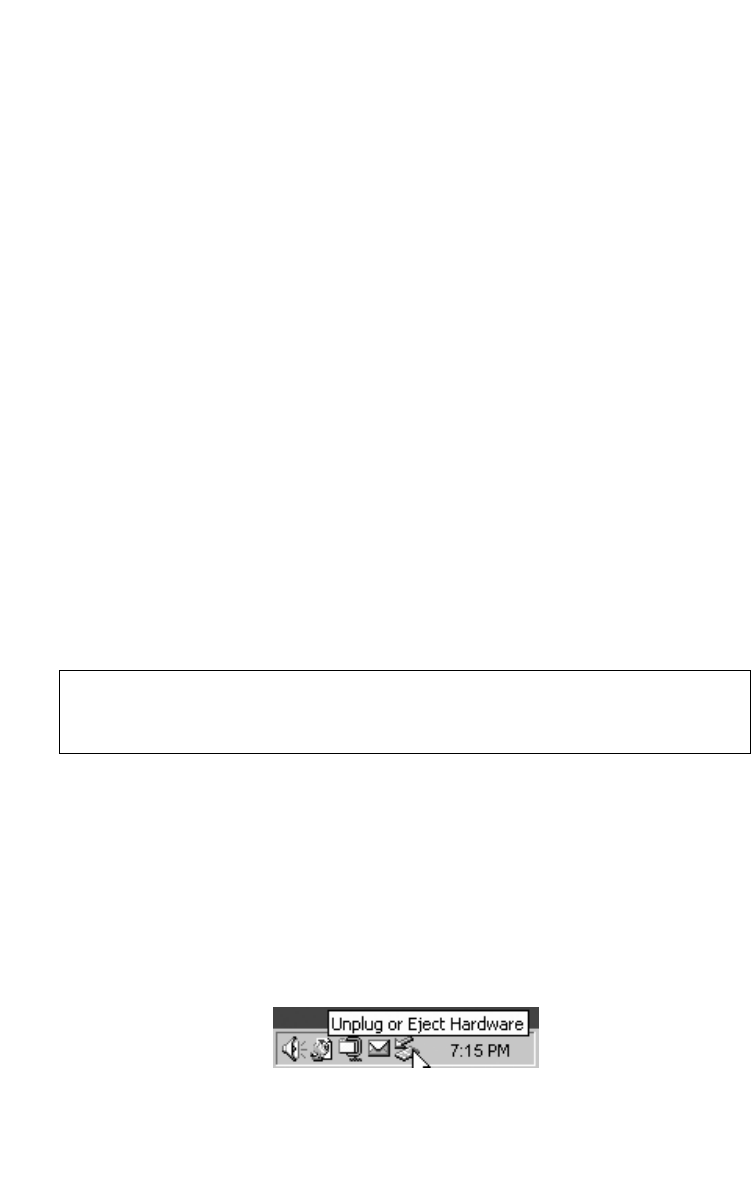
3. Disconnect Your FlashTrax
When you’re done using your FlashTrax, you must correctly disconnect it before
unplugging the cable. On Windows computers, use the
Unplug or Eject Hardware
button in the System Tray, and select your FlashTrax from the menu that appears.
On Mac OS computers, just drag the disk icon for your FlashTrax to the Trash.
If your computer is running Windows 98 Second Edition, you’ll need to complete
some additional steps to connect your FlashTrax. See
Connecting to a Computer
later in this guide for more information.
12