46
TASCAM DR-60D
4 – Recording
Using plug-in power
The plug-in power function can be turned on when an external mic
that requires it is connected to the 3-4 jack.
1. Press the MENU button to open the
MENU
screen.
2. Turn the DATA dial to select
OTHERS
, and press the DATA dial or
/ button to open the
OTHERS
screen.
3. Turn the DATA dial to select
SYSTEM
, and press the DATA dial or
/ button to open the SYSTEM screen.
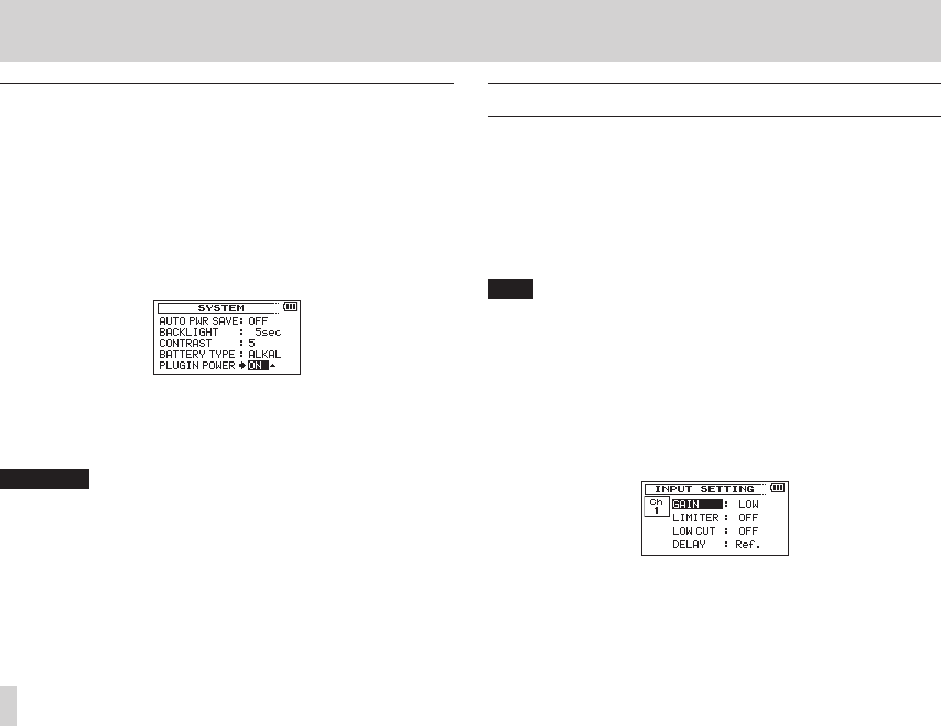
4. Turn the DATA dial to select
PLUGIN POWER
, and press the
DATA dial or / button.
5. Turn the DATA dial to turn plug-in power
ON
(default value:
OFF
).
6. When finished making the setting, press the stop (8) [HOME]
button to return to the Home Screen.
CAUTION
•
When connecting a dynamic mic or external mic that has its own
battery, set
PLUGIN POWER
to
OFF
. If
ON
, the connected mic
could be damaged.
•
When using a mic to record, use headphones for monitoring.
If you use speakers for monitoring, the sound output from the
speakers could be picked up by the mic, resulting in its unwanted
recording or feedback noise.
Adjusting the input level
Before starting recording, the input level should be adjusted to
prevent the recorded sounds or signals from being distorted due to
excessively large input signals or from being inaudible due to exces-
sively low input signals compared to noise.
In addition to manual adjustment, the unit has the following three
level adjustment functions: peak reduction, automatic level control,
and limiter. Any of these can be used as required. (See “Using the
limiter” on page 48. )
TIP
In addition to adjusting the INPUT level, try changing the
distance and angle between the microphone and the sound
source. The angle and distance of the microphone can also
change the character of the recorded sound.
1. Press the MENU button to open the
MENU
screen.
2. Turn the DATA dial to select
INPUT SETTING
, and press the
DATA dial or / button to open the
INPUT SETTING
screen.
3. Turn the DATA dial to set the
GAIN
for each channel, and press
the DATA dial or / button.
Ch1 INPUT SETTING screen


