19
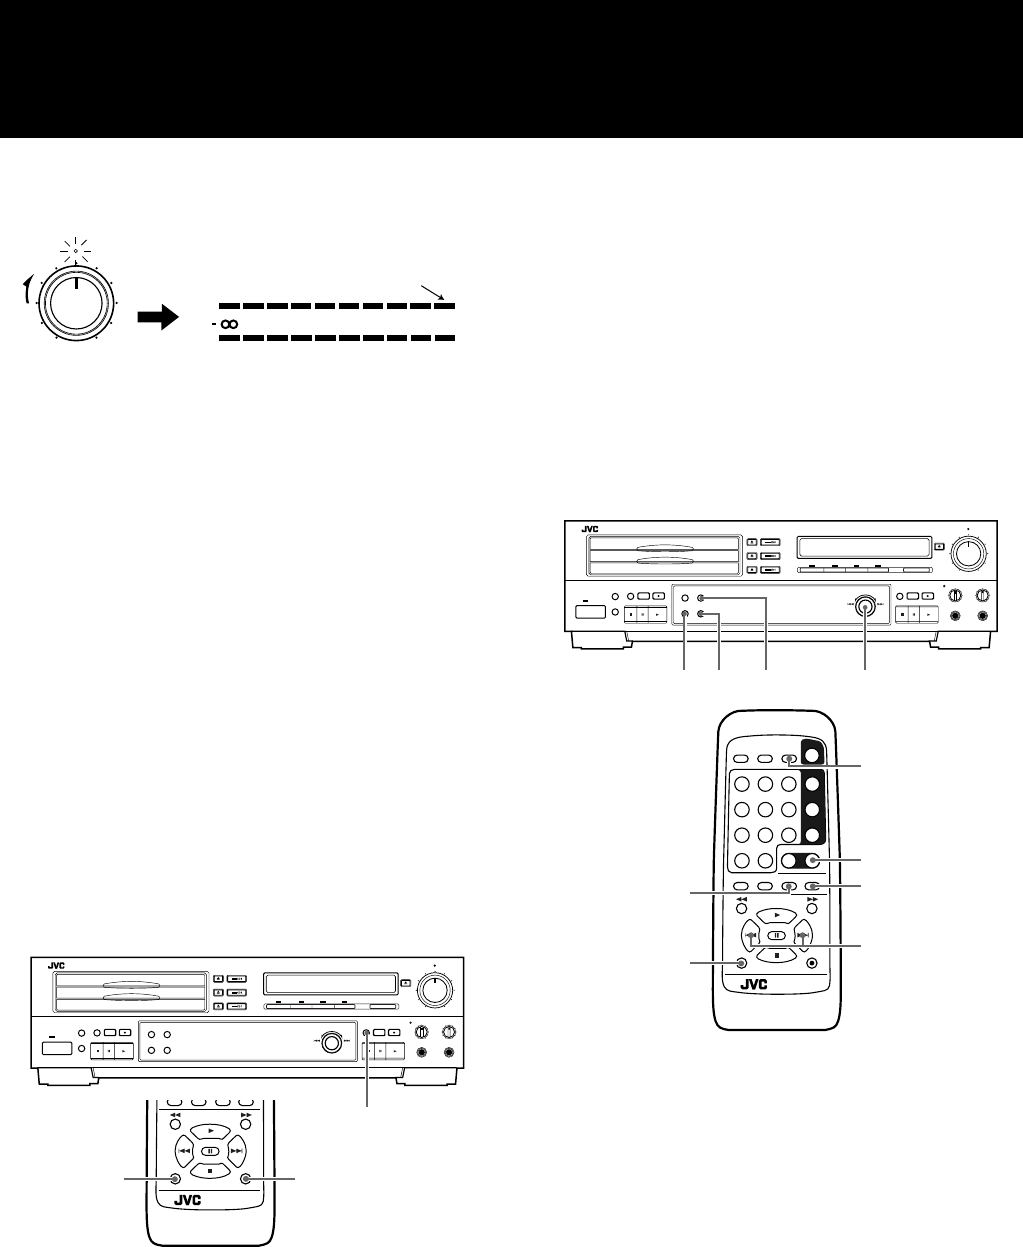
4 When analog signals are to be recorded, adjust
the recording level.
The OVER indicator should not be made to light as this may cause
distortion in the recording.
5 Play the sound of the source to be recorded.
• If the CD1 button is pressed when CD serves as the source, the
tracks are recorded in the following sequence:
CD1 = CD2 = CD3
6 Press the 3 (play) button to start recording.
When recording is complete
Press the 7 (STOP) button to stop, the 3 indicator flashes and
operation stops.
Note
• When UNLOCK appears in the display, the OPTICAL IN con-
nector is not connected to the source unit.
• Upon completion of recording, the 3 indicator flashes. Operat-
ing any button while this indicator flashes may render the disc
unusable. Always wait until the 3 indicator stops flashing
before proceeding with the next operation.
• When digital input signals are supplied, they will be recorded in
their original digital form. There is no need to adjust their
recording level.
To record silence in the recording
1 While the CDR is recording, press the REC MUTING button
on the main unit (or press REC ¶/REC MUTING while the
SHIFT button is pressed down on the remote control) to start
recording silence .
2 Release the REC MUTING button. After four seconds of
silence has been recorded, the unit is put in the record pause
mode.
Notes
• Four seconds of silence is recorded even if the button is held
down for less than four seconds. Even if the button is held down
for longer than four seconds, the unit is put in the record pause
mode after the button is released.
• REC MUTING cannot be used at the beginning of a recording
from the record pause mode
Setting automatic or manual track marking
When automatic track marking is turned on, tracks are automati-
cally set in the recording. For digital sources, the track information
recorded in the digital source signal is used. For analog recording,
spaces of silence are interpreted as track separations. For analog
recording, automatic track marking is performed when the unit
detects 4 seconds of silence in the recording.
Manual track marking offers the flexibility to place track marks
anywhere in your recording.
To turn on automatic track marking
1 Press CD-R on the remote control while pointing at the unit to
select the CDR function.
2 When the unit is in the stop mode, press the MENU button on
the main unit (or the DISPLAY/MENU button on the remote
control while holding down the SHIFT button).
3 Turn the MULTI JOG dial or press the 4/¢ button on the
remote control until “AUTO TRACK” appears in the display.
4 Press the SET button.
• The current setting is displayed on the screen. (The setting is on
by default.).
5 Turn the MULTI JOG dial or press the 4/¢ button on the
remote control to select “AUTO TR ON”.
6 Press the SET button.
• If “AUTO TR ON” is selected, the AUTO TRACK indicator
lights in the display.
• Press the CANCEL button to cancel the procedure and return to
the normal display.
REC LEVEL
MIN MAX
L
R
40 30 15
10
20
6
30dB
• Adjust the volume in such a way that
the 0 dB display is not exceeded when
the loudest sound is supplied.
MIX BALANCE
STANDBY
PHONES LEVEL
MAXMIN
MULTI JOG
+–
POWER
REC LEVEL
1,2
XL - R5000 CD/CDR MULTIPLE COMPACT DISC RECORDER
PITCH 0
PITCH
+
PITCH
–
SHIFT REC MUTING
REC
1,2 1,2
REMOTE CONTROL
RM-SXLR5000J
MIX BALANCE
STANDBY
PHONES LEVEL
MAXMIN
MULTI JOG
+–
POWER
REC LEVEL
24,6 3,5
XL - R5000 CD/CDR MULTIPLE COMPACT DISC RECORDER
12
3
4
5
6
78
10
+
10
9
PLAY MODE
REPEAT SET CANCEL
CONTROL
PITCH 0
PITCH
+
PITCH
–
SHIFT REC MUTING
REC
DISPLAYSYNCHROCD REC
CD EDIT FINALIZE MENU
POWER
CD 1
CD 2
CD 3
CD CDR
2
1
3,5
4,6
2
REMOTE CONTROL
RM-SXLR5000J
CANCEL
CANCEL
XL-R5000.FM Page 19 Friday, March 31, 2000 12:55 PM


