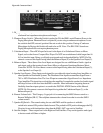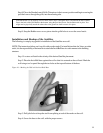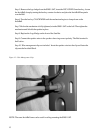
Step 8: Place the Punched-metal Grille Trim pieces in their correct position and begin screwing the
provided screws through the grille, into the mounting tabs.
If the Subwoofer is to be used on a floor or shelf, follow steps 5 through 8 above. Then attach the INCLUDED
Feet to the back of the Wall Baffle at the bottom, using the provided screws. Set the Subwoofer in place. You
might need to physically attach the subwoofer to the ground or shelf to secure it in place.
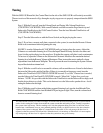
Step 9: Snap the Rubber screw cover pieces into the grille holes to cover the screw heads..
Installation and Hookup of the Satellites
The following is a step by step guide for installation of the Satellites on a wall.
NOTE: The instructions below are for walls with wooden studs. For installations that don’t have wooden
studs, it is the responsibility of the installer to attach the InvisiBall base in a safe manner to the building
structure.
Step 1: Locate a wall stud in the vicinity of the desired Satellite placement.
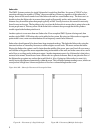
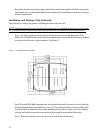
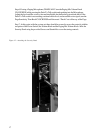
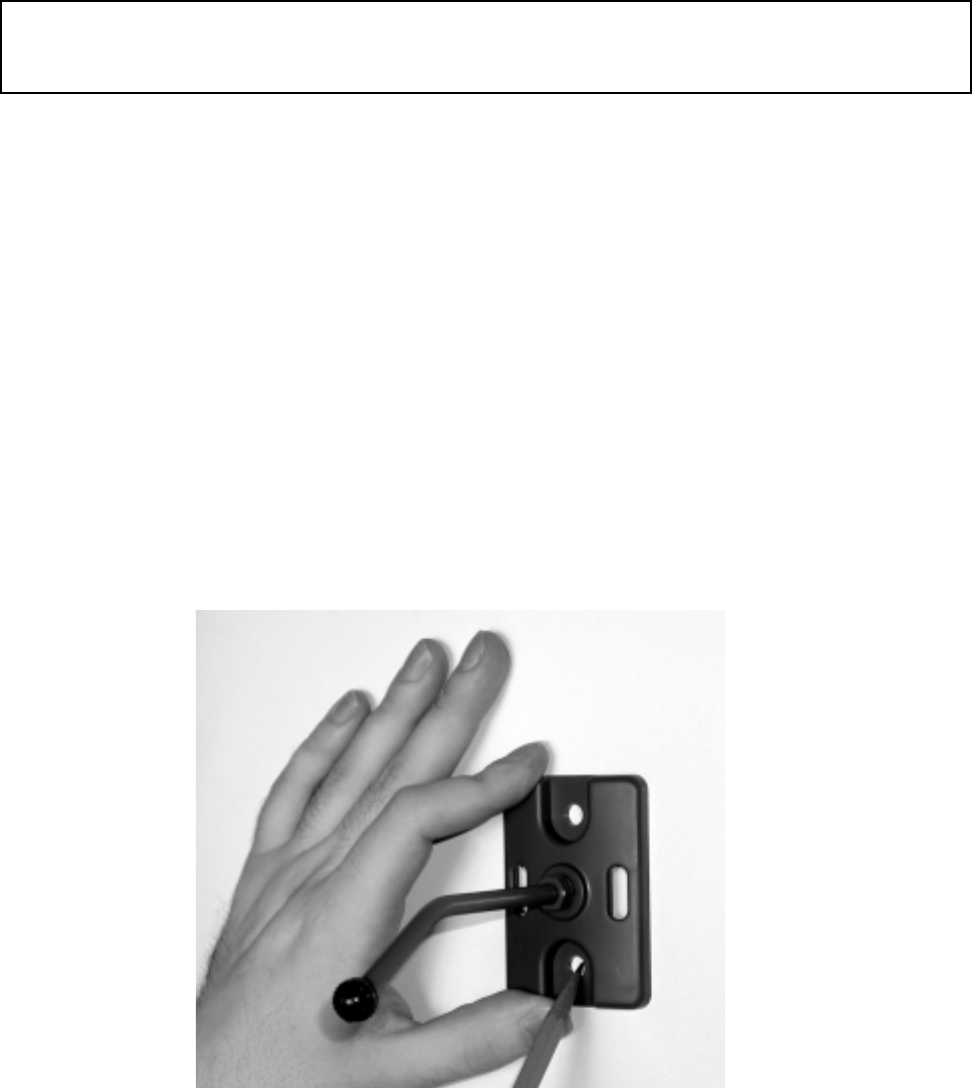
Step 2: Place the InvisiBall base against the wall so that it is centered on the wall stud. Mark the
wall using a tool or pencil through the two holes at the top and bottom of the base.
Figure 10 – Marking the Wall with the InvisiBall Base
Step 3: Drill pilot holes to keep the stud from splitting at each of the marks on the wall.
Step 4: Screw the base to the wall, with the proper screws.
14


