85
85
23.1 Connect & Test Method
23.1 Connect & Test Method
Even if connecting audio-visual equipment is not your strong suit, by following our instructions and applying our
Connect & Test method, you will be able to verify that your connections are correct. Refer to the color connection
diagrams in the back of this manual while reading through each section below.
23.2 Connection (1): Powering the TV Docking Pod
23.2 Connection (1): Powering the TV Docking Pod
Plug the included adapter/charger into the jack labeled DC-in on the TV docking pod. Your docking pod must
always be powered, even if you do not have your AV700 connected to it. If not powered, your regular tuner’s
output (VCR, cablebox, satellite receiver) will not be seen on your television.
23.3 Connection (2): Breaking your regular TV Connection
23.3 Connection (2): Breaking your regular TV Connection
The TV docking pod is a pass-through device. That is, if you do nothing more than connect it to your VCR, Cable
box, or Satellite receiver and your television, it will pass the audio and video signals through to your TV and you
will notice no difference in how your television system operates. Start by disconnecting your television from its
usual source (vcr, cable box, or satellite receiver).
23.4 Connection (3): Put the TV docking pod between your TV and Tuner
23.4 Connection (3): Put the TV docking pod between your TV and Tuner
We will now put the TV docking pod between these two devices you just separated.
Take one of the AV cables (they are identical, don’t worry), and plug it into the AV Out
jack of the TV docking pod, and plug the other end of this cable into your television
(European users may need to use the included IN labeled scart adapter). Take the
second AV cable and plug it into the AV In jack of the TV docking pod. The other end
of this cable must now go to the video and audio output of your tuner (VCR, cable box,
satellite receiver) that was previously connected to your television (European users
may need to use the included OUT labeled scart adapter). Power the TV docking pod
with the included ARCHOS
™
adapter/charger.
86
86
TEST IT: Verify that you made the correct connections.
• Turn on your television
• Turn on your video device (vcr, cable box, or satellite receiver)
• You should be able to use your television system as you normally do. The TV docking pod is merely passing
through the video and audio to your television.
• Europe: If you don’t see the video, check to make sure you used the correct SCART IN and OUT adapters.
23.5 Connection (4): Connect the AV 700 to the TV Docking Pod
23.5 Connection (4): Connect the AV 700 to the TV Docking Pod
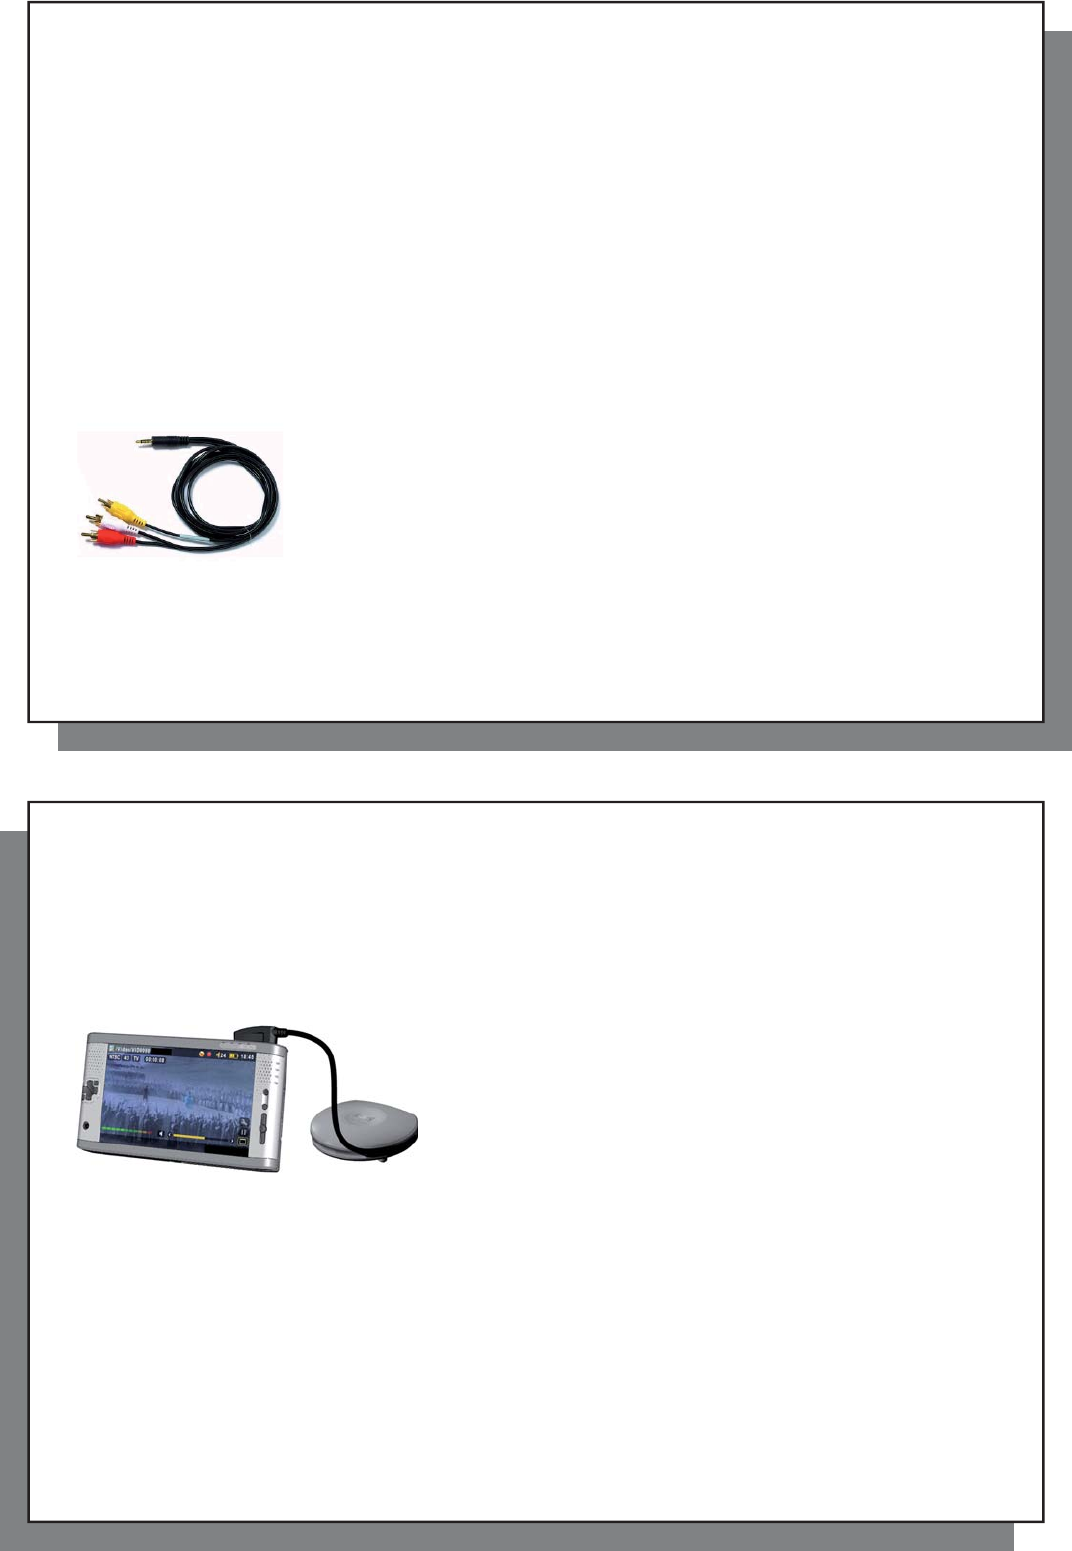
Connect your AV 700 to the docking pod as shown. The AV 700 can
be on or off when you connect it. If it is off, the act of connecting it to
the docking will turn it on. If the AV 700 is lying fl at next to the docking
pod, there is a good chance that you will not be able to control it with
the remote control. Thus, you should always set it up on its stand.
TEST IT: Test now to verify that it works as desired.
• Turn on the AV 700 and your television.
• Hold down on the TV/LCD button for 2 seconds (button located on top of the AV 700).
• The screen on your AV should go black.
• You should see the AV 700 screen now displaying to your television.
• If not, switch your television to auxiliary input (often called L1 or L2 just below channel 1)
• Hold the TV/LCD button again to return to viewing on your AV 700.


