


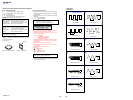
20
MZ-DH10P
3-6-2. Destination setting
1. Enter the test mode (Display Check mode).
2. Press the [VOL+] key to enter the Manual mode.
3. Press the > key five time to select the item number 0113
and display as follows.
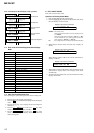
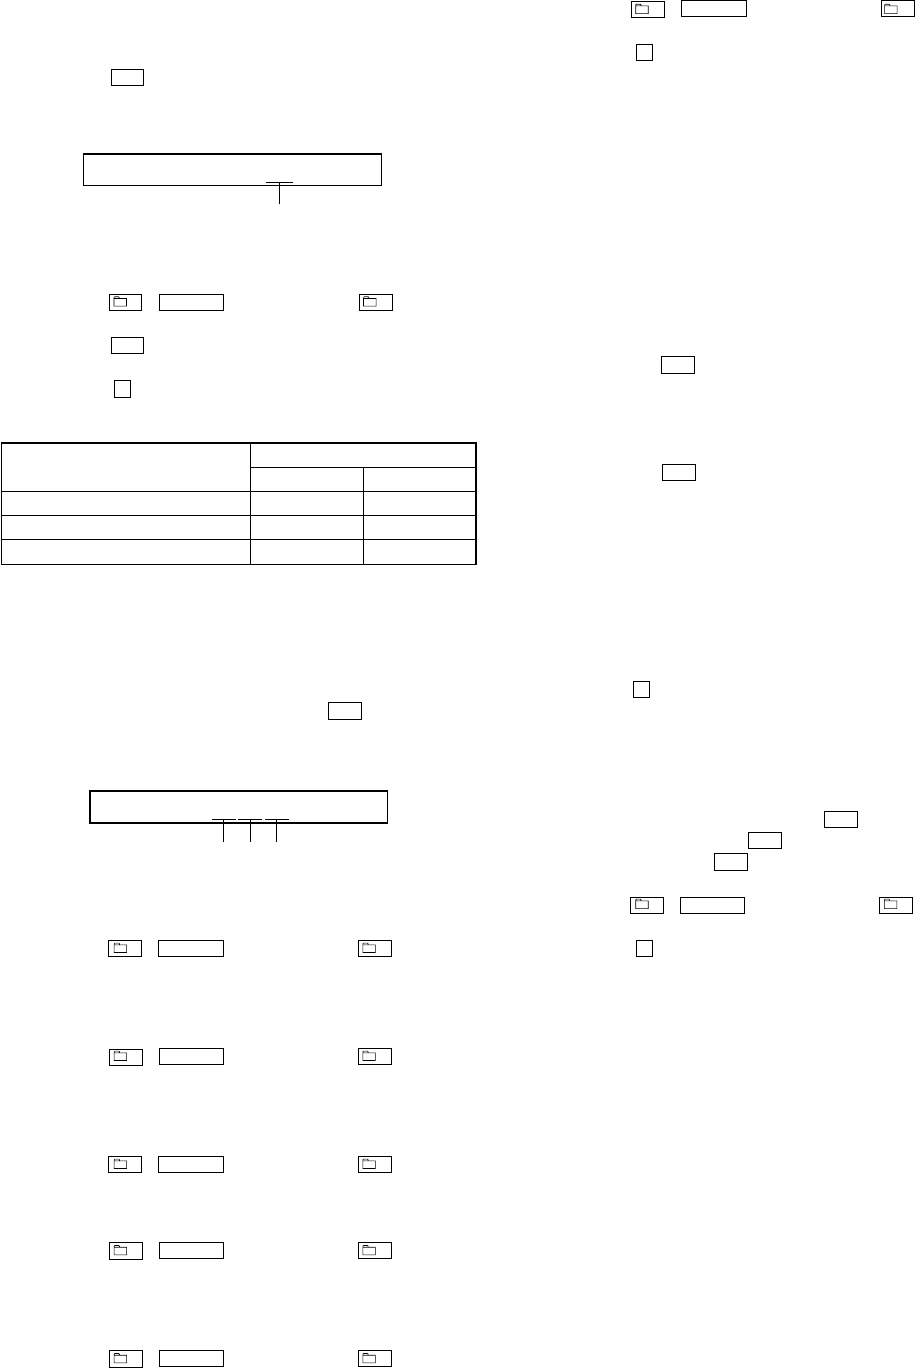
Display of the remote commander
adjustment value (hexadecimal
)
113 DistFL **
4. Press the [VOL+]/[VOL--] key and set the according value to
each destination referring to the following table.
5. Press the + , u ENT key on the set or – key on the
remote commander to write the adjusted value.
6. Press the > key to select the item number 0114.
7. Repeat adjustment from step 3.
8. Press the x key four times and back to the Display Check
mode.
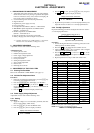
Destination
Setting value
Item No. 0113 Item No. 0114
US 28 80
AEP and UK A0 80
Chinese and Tourist 24 80
Table 3-6-2. Destination Setting
3-6-3. Other setting
Procedure:
1. Enter the test mode (Display Check mode).
2. Press the [VOL+] key to enter the Manual mode.
3. Press the [VOL+] key once and press the
> key five time to
select the item number 1113 and display as follows.
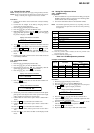
Display of the remote commander
15. Press the + , u ENT key on the set or – key on the
remote commander to write the adjusted value.
16. Press the x key four times and back to the Display Check
mode.
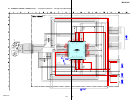
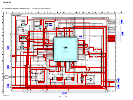
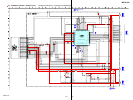
3-7. Servo Overall Adjustment
Note1: Be sure to adjustment so that the set is horizontal and the LCD is
upside. Unless performed in that state, it is not adjusted correctly.
Note2: If NG is displayed in the middle of this adjustments, perform “3-2.
Initialize The Adjustment Value” and “3-6. Setting The Adjustment
Values” again, then retry this adjustments from step 1.
Procedure:
1. Enter the test mode (Display Check mode).
2. Press the [VOL--] key to enter the Overall Adjustment mode.
3. Insert the CD adjustment disc (TDYS-1).
4. Put the main unit horizontal so that the LCD becomes upside,
and press the . key.
5. Wait until “CD OK” is displayed on the LCD.
6. Insert the MD1/HiMD1 hybrid adjustment disc
(MDW-74/GA2).
7. Put the main unit horizontal so that the LCD becomes upside,
and press the > key.
8. Wait until “MD1 OK” is displayed on the LCD.
9. Insert the Hi-MD3 adjustment disc (HMD1GSDJ).
10. Put the main unit horizontal so that the LCD becomes upside,
and press the [VOL+] key.
11. Wait until “HMD3OK” is displayed on the LCD.
12. Eject the disc and close the lid.
13. Put the main unit horizontal so that the LCD becomes upside,
and press the [VOL--] key.
14. Wait until “OfstOK” is displayed on the LCD.
15. Press the x key and back to the Display Check mode.
3-8. Resume Clear
Procedure:
1. Enter the test mode (Display Check mode).
2. Press the [VOL+] key to enter the Manual mode.
3. Press the [VOL+] key once, press the
> key once, press the
[VOL--] key once, press the > key once, and press the [VOL+]
key twice, press the > key three times to select the item
number 1933.
4. Press the + , u ENT key on the set or – key on the
remote commander to resume clear.
5. Press the x key four times and back to the Display Check
mode.
3-9. Releasing The Test Mode
Refer to the “SECTION 4. TEST MODE”. (See page 13)
4. Adjust with [VOL+]/[VOL--] keys so that the adjustment value
of “**” on the LCD becomes “1A”.
5. Press the + , u ENT key on the set or – key on the
remote commander to write the adjusted value. ($$ blinks and
disc mark rotates on the LCD)
6. Adjust with [VOL+]/[VOL--] keys so that the adjustment value
of “$$”on the LCD becomes “20”.
7. Press the + , u ENT key on the set or – key on the
remote commander to write the adjusted value. (## blinks and
disc mark rotates on the LCD)
8. Adjust with [VOL+]/[VOL--] keys so that the adjustment value
of “##”on the LCD becomes“ 5E”.
9. Press the + , u ENT key on the set or – key on the
remote commander to write the adjusted value.
10. Press the [VOL+] key once to change the adjustment value of
“**” on the LCD into “1B”.
11. Press the + , u ENT key on the set or – key on the
remote commander to write the adjusted value. ($$ blinks and
disc mark rotates on the LCD)
12. Adjust with [VOL+]/[VOL--] keys so that the adjustment value
of “$$”on the LCD becomes “F1”.
13. Press the + , u ENT key on the set or – key on the
remote commander to write the adjusted value. (## blinks and
disc mark rotates on the LCD)
14. Adjust with [VOL+]/[VOL--] keys so that the adjustment value
of “##”on the LCD becomes “1A”.
adjustment value (hexadecimal)
113 SS**$$##
Ver. 1.2